Data Edit
After completing scanning, you can edit the point cloud data.
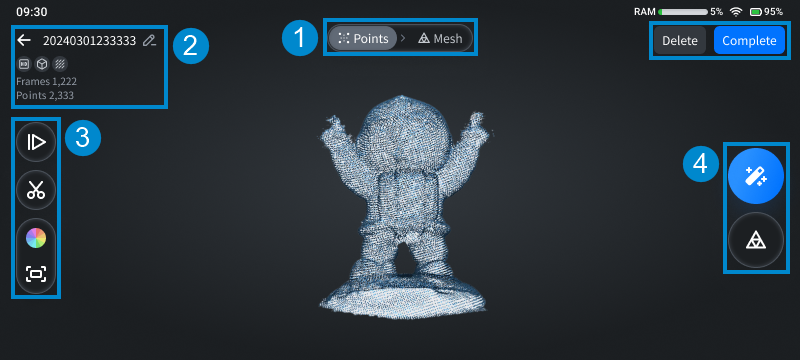
Interface Overview
Note
- When you tap
 in the upper left corner to return, there will be a pop-up window for confirmation asking if you want to discard the generated mesh (if there exists).
 - If
 Marker alignment has been enabled, the markers
  recognized by the camera will be displayed.
 - The model can be panned, rotated or scaled (
 Reset View function can be used to reset the model to its original position).
| Index | Function | Description |
|---|---|---|
| ① | Switch data | Tap to switch the displayed data of the model to |
| ② | Project information | Tap Tap Save button to save the current project to file list and return to the interface of scan preview. |
| ③ | Point cloud edit tools |
|
| ④ | Function buttons |
|
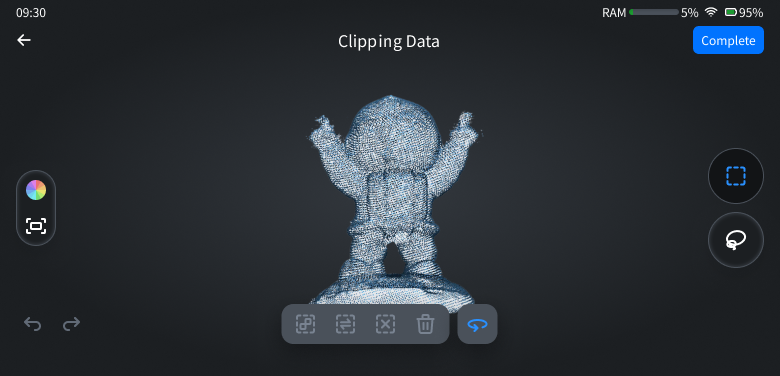
Data Clipping
On the ![]() Point interface, tap
Point interface, tap ![]() in the left-side tool bar to enable the data clipping function.
in the left-side tool bar to enable the data clipping function.
Note
In the selection mode (when the rotation mode is disabled), you can hold down on any area but buttons to activate the magnifying glass function, and you can drag the magnifying glass to the model area to zoom in and view a specific part of the model.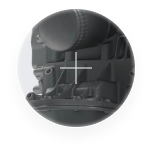
| Icon | Function | Description |
|---|---|---|
 |
Texture | For more, see scan settings. |
|
Reset view | For more, see scan settings. |
 |
Rectangle lasso | In the selection mode, rectangle lasso is chosen by default, and you can drag with a single finger in the model area to draw a rectangular selection area.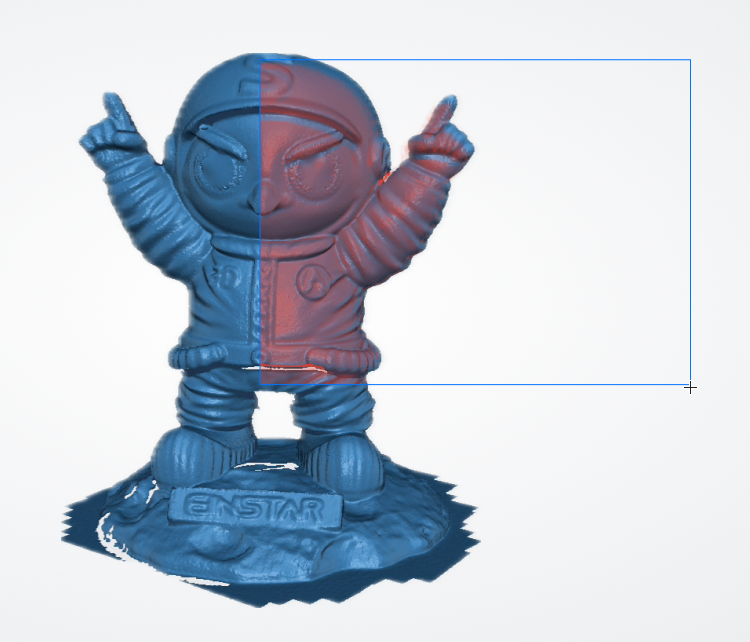 |
 |
Free lasso | In the selection mode, tap this button to switch the selection tool to free lasso, and you can drag with a single finger in the model area to draw a selection area in irregular shape.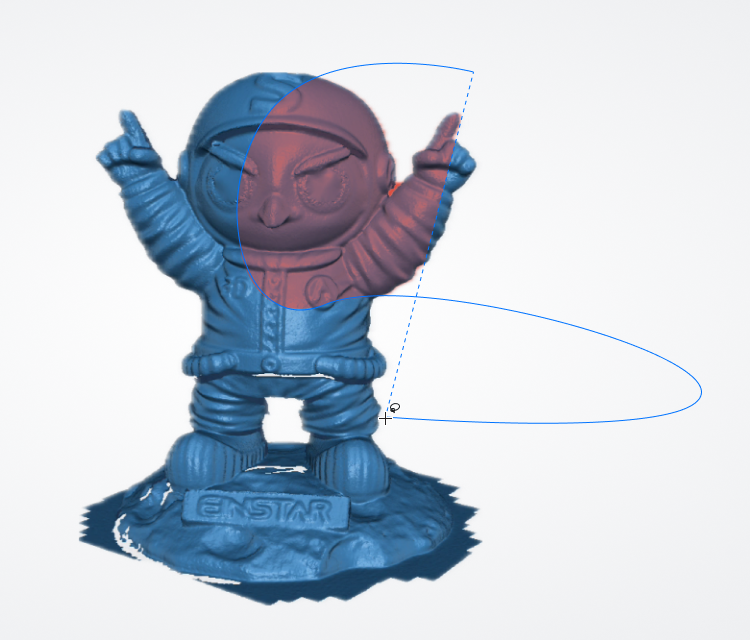 |
Note
In the selection mode (when the rotation mode is disabled), using the rectangular / lasso tool, you can select common areas by making consecutive selections.
For selected areas, you can use tools as follows:
| Icon / Function | Description |
|---|---|
 Connected domain |
After selecting the area, tap this button to automatically select all the rest parts connected to the selected area. |
 Invert |
After selecting the area, tap this button to select the invert area according to the selected area. |
 Unselect |
After selecting the area, tap this button to deselect all selected areas. |
 Delete |
After selecting the area, tap this button to delete all selected areas. After deleting, you can  undo or undo or  redo the last operation. redo the last operation. Note NoteOnly operations in the current data clipping can be undone or redone. |
 Rotation Mode |
Disabled by default, and you can only drag with a single finger in the model area to select the area; you can tap this button to switch to the  , allowing you to use single-finger dragging to rotate the model in the model area. Note , allowing you to use single-finger dragging to rotate the model in the model area. NoteWhen activating any tool, the rotation mode will automatically turn off, and the selection mode will be used instead. |
Note
If all scanned data is deleted, you will not be allowed to operate one-click processing or other functions, but you can undo the last operation.
Tap the Complete button in the upper right corner to save the cropped data and return to the point cloud editing interface; you can also tap the Delete button to permanently remove the current scan project, and it cannot be recovered.
Note
The previous scan data can not be rewind after you confirm the clipping.