Model Pretreatment
Process the data intelligently and ensure that the digital model is ready for 3D printing.
Within the model pretreatment column, users can delete redundant data and fill the vacancies with the function of Remove Island and Hole Mending.
Remove Island
- Click Remove Island.
- Click Generate, then all the isolated data having no connection to the main body of scanned data is to be deleted.

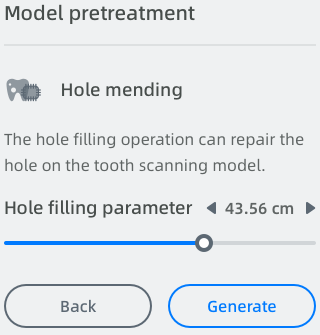
Hole Mending
- Click Hole Mending.
- Drag the bar or click one of the arrows on the right side to adjust the application range.
- Click Generate, then all the vacancies with enclosed edge in the application range are to be filled with white smooth digital data.
 Note
Note
-
Drag the bar to the right for expanding the application range, by doing which the upper limit to the area of vacancies to be filled would increase.
-
Preview the result of hole filling by recognizing the color to the edges of vacancies. The vacancies with green edge will be filled while those with red edge will not.
-
Hole Filling is not available for those vacancies having gap on edge.

After finishing pretreatment, click > Next Step at the right lower corner for further setting.
 Caution
If the following pop-up appears after clicking > Next Step, it means there remains unignitable isolated data or vacancy.
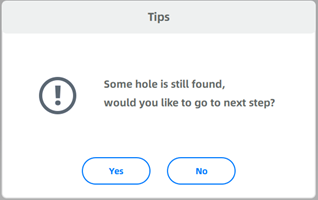
Highly recommend to click No to redo the Remove Island and Hole Mending operation.
In this case, if clicking Yes and forcing to enter Cut Out Dies Design linking may lead to the fail of calculation when generating extra dies.