Bind to Dental Cloud
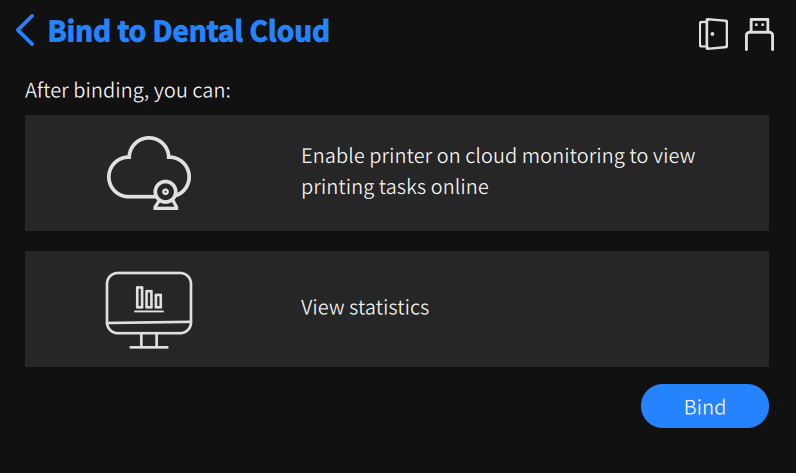
Binding the printer to your Dental Cloud account for unlimited cloud storage and real-time monitoring and managing printers.
Note
The printer can only be bounded to 1 organization.
Caution
-
Administrative Authority: Only administrator accounts have the authority to add printer to the Dental Cloud.
-
Network Requirement: Binding the Dental Cloud account and using all other cloud-based functions require an Internet connection.
Please follow the instructions below to bind the printer to your Dental Cloud account:
Tap Settings > Network Settings > Bind to Dental Cloud, then tap Bind.
Caution
The printer should be connected to the Internet before being bound to the Dental Cloud, and environment library files should be updated as well.
Tap  for loading the binding code.

Open the Dental Cloud website through the QR code or the link on the interface.
Login with administrator account to the Dental Cloud, then click ![]() to expand the left-side menu bar and select
to expand the left-side menu bar and select  printer.
![]()
Click + Add and enter the binding code.
![]()
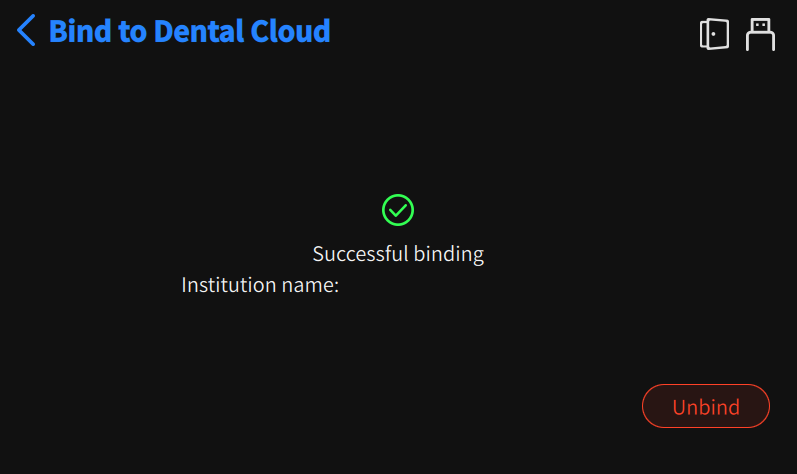
Click Connect, and the printer data will be loaded and added to the top of the Printer List.
Meanwhile, the touch screen displays Binding Successfully message and the Dental Cloud icon ![]() appears on the status bar.
appears on the status bar.
Note
-
Dental Cloud icon:
 : The connection works.
 : The signal is missing, please check the network connection to the printer.
-
To unbind, tap the Unbind button on the touch screen and Confirm, or log in with an administrator account on the Dental Cloud and follow the unbinding steps. After unbinding, the data for the printer will no longer be displayed on the Dental Cloud. To recover the missing data, simply rebind the printer to the original organization.