Settings
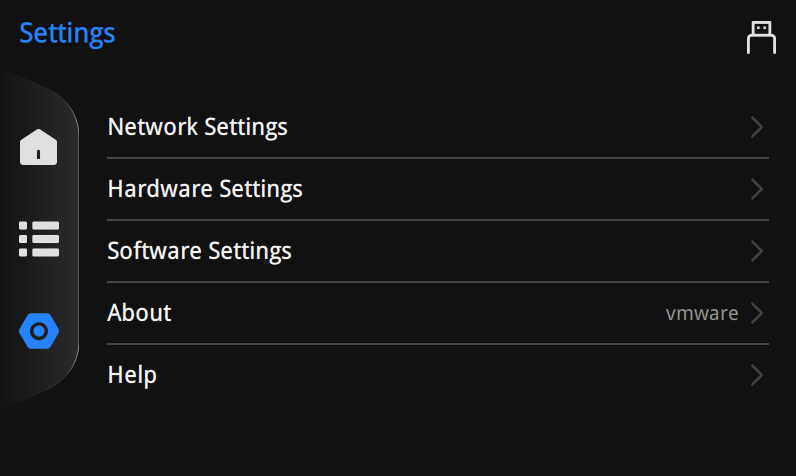
On the Settings interface, check or update current settings.
Note
The Hardware Settings and Software Settings are not available during printing. Debug the device before printing.
Switch columns to view the introduction of various functions.
-
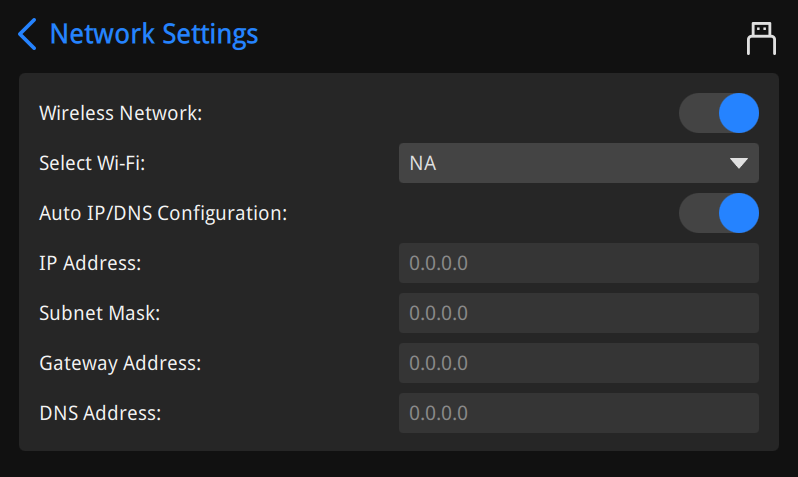
Wireless Network:
Check Wireless Network option, select a network and enter the key to connect.
The icon
 will appear on the status bar since the network connection being done.
-
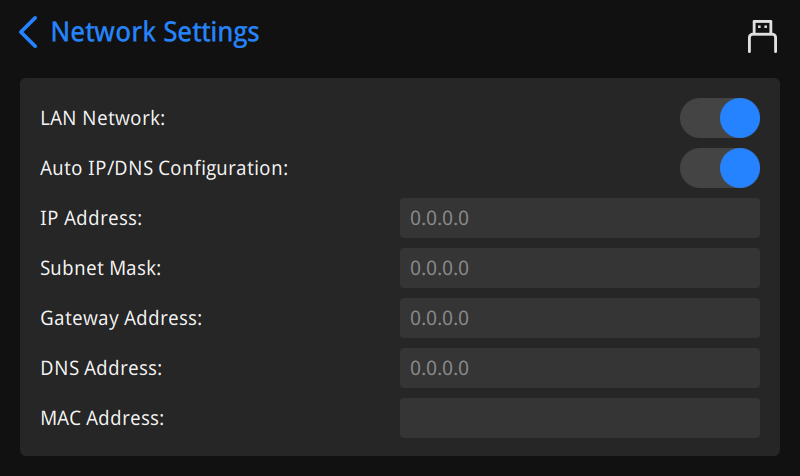
Lan Network:
After inserting network cable, check Lan Network option to connect.
The icon
 will appear on the status bar since the network connection being done.
Note
Auto IP / DNS Configuration function is enabled by default, and the automatic filling of IP / DNS information suggests the network connection is successful.
-
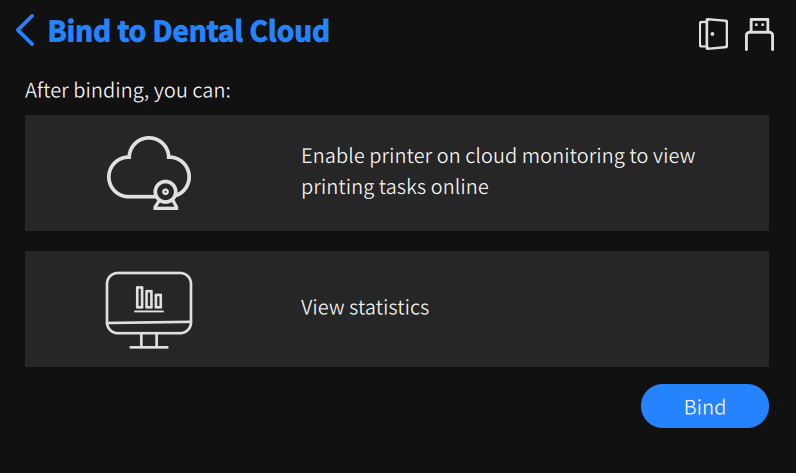
Bind to DentalCloud:
Bind the printer to your DentalCloud account, and monitor the queue status, printing status and temperature&humidity in real time on the DentalCloud. For more see Bind to DentalCloud.
-
Motor Settings
Caution
Before setting the motor, it is necessary to clean the print platform and remove the resin tank to avoid collision.
-
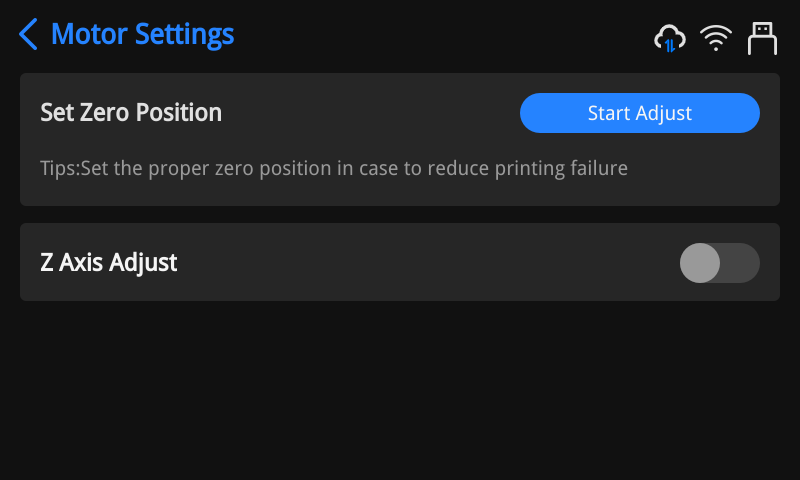
Set Zero Position: Tap Start Adjust to enter the zero position adjustment guide. Please follow the guide to loosen the screws, lay out an A4 paper, tighten the screws, and so on.
Note
- If it prompts that "Please remove the resin tank", please follow the instructions.
- Do not perform any operations while the platform is moving. After the prompt "Zero position adjustment successful," tap Confirm to return to the Motor Settings interface.
- If the zero position is adjusted, the exposure compensation time for the enhanced layer adjusted by the AI mode will be reset to 0.
-
Z Axis Adjust: Enable this function to unfold the settings columns, where you can adjust the moving distance and direction to control the print platform.
Note
The position of the build platform equals to the position of the Z axis; The position of the resin tank equals to the position of the X axis.
Danger
Do not adjust X axis unless you are manufacturer's technical staff, or the model may fail to separate from the the resin tank when the printing is finished.
-
-
Optics Settings:
-
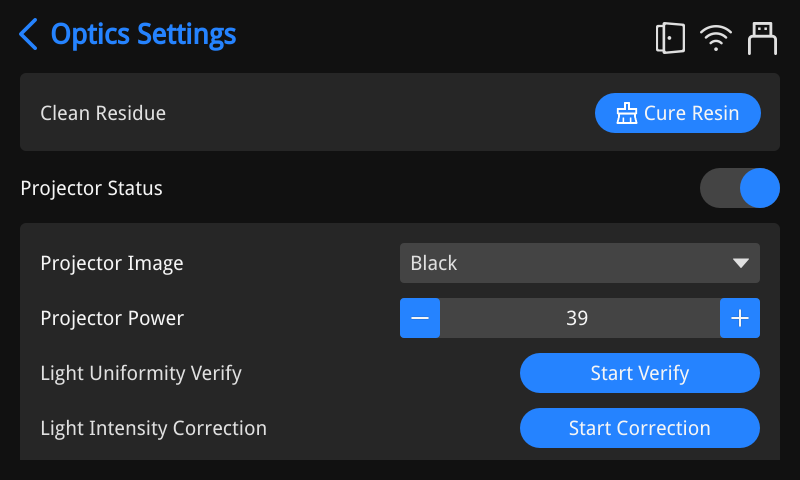
Clean Residue: Tap Cure Resin, the printer projects LED light to cure the resin in the tank.
-
Projector Status: Enable this function to proceed with Light Uniformity Verify and Light Intensity Correction.
Danger
Do not change any settings of the projector unless you are manufacturer's technical staff.
-
Light Uniformity Verify:
-
Please follow the instructions to remove the resin tank, clean the glass, and tap Next; then connect the optical power meter probe and tap Detection.
Note
If prompted with "Please remove the resin tank first", please follow the instructions.
-
13 circles will be illuminated on the software sequentially, and please place the probe on the corresponding illuminated circular spot on the projection screen to capture the light power, and the value will be recorded on the corresponding circle on the interface.
Note
If prompted with "Verification fails", please follow the instructions to reverify.
-
-
Light Intensity Correction:
-
Please follow the instructions to remove the resin tank, clean the glass, and tap Next; then connect the optical power meter probe and tap Correction.
Note
If prompted with "Please remove the resin tank first", please follow the instructions.
-
The light will be projected onto the screen, and the printer will enter the medium and high power automatic calibration process, until prompted with "Automatic correction complete".
-
-
-
-
Language:
Tap the checkbox to select a language.
Note
If you have inserted the flash drive, it also allowed to tap Import Language to import the language package.
-
AI mode: With this function enabled, the software will adjust printing parameters automatically based on the reported issues.
Note
This function is enabled as default, and you can set the switch status in the installation guide.
-
Auto Find FabCure/FabWash:
With this function enabled (disabled by default), the printer will find power-on accessories (curing box & cleaning machine) automatically and synchronize the data about the print material; and a window will pop up on the screen of an idle printer when any accessory which can be connected is found, and tap Connect to connect the accessory. Three connection status are listed as follows:
Connecting: the connection period is 0s~30s, and if the connection is successful, it will display "Connected"; if it fails to connect after 1 min, it will be deemed as "Connection fails", when you can tap Manual Connection in the lower right corner.
 Connected: Display the firmware version, curing parameter package version and the switch (enabled by default) for automatic synchronization of printing parameters.
 Disconnected: On the interface of "Connected", tap "Disconnect" in the lower right corner to manual disconnect the accessory.
Note
- Each printer can connect to a maximum of one curing box and one cleaning machine.
- The pop-up notification for attachment connection only appears on the Home/Queue/Settings interface, and the attachment which is in the Network Settings interface can not be found.
- If the wireless network signal to which the printer is connected is weak, it may affect the automatic search function.
- After the printer successfully connects to the accessory, if there is a power outage and reboot, it will automatically reconnect to the same accessory within the same local area network. If the network environment is switched, the connection status will change to "disconnected," and upon switching back to the original local area network, it will automatically reconnect.
- After the printer and the accessory are connected automatically, the accessory will synchronize the print material of the slice file when the print completes; if the connected accessory is still in operation, it will synchronize related data afterwards.
- After the printer and the accessory are connected automatically, the accessory's material package and firmware will be automatically checked for updates. When a new version is detected, the software will provide a pop-up prompt.
-
Activate Cover Sensor When Printing
Enable Activate Cover Sensor When Printing helps to ensure print quality and reduce security risks.
Note
If this function is enabled under the mode of Constant Temperature, en error message "Door open, heating stopped" will be displayed when the chamber door is opened.
-
Constant Temperature Mode:
The Constant Temperature Mode is enabled by default, usually controlled by fan heating to maintain a temperature of 25 +/- 2℃ inside the chamber; it supports the manual setting of the effective constant temperature time. During the constant temperature time, if the temperature inside the chamber is below 23℃, heating will be activated, and if it is above 25℃, heating will be stopped.
Note
- If the temperature inside the chamber is too low, it may result in continuous fan heating throughout the day.
- If the Activate Cover Sensor When Printing function is enabled during the constant temperature time, an error message "Door open, heating stopped" will be displayed when the chamber door is opened.
- In constant temperature mode, when starting to print a file and the temperature inside the chamber is below 23℃, the print platform will move down to the zero position by 1mm. At this point, the fan will stop working, and the resin will be heated using the projector's exposure for 1 minute before the printing begins.
-
Enable NFC:
Enable NFC, and the printer can automatically recognize the type of the resin tank and the number of printed layers.
-
Push Updates:
Enable Push Updates option, and the software will display a prompt for update when there is a new version of the system or material packages available for download.
-
Skip Print Guide:
Enable Skip Print Guide option, the printer will directly enter thee Home interface after boot-up.
-
Basic Information:
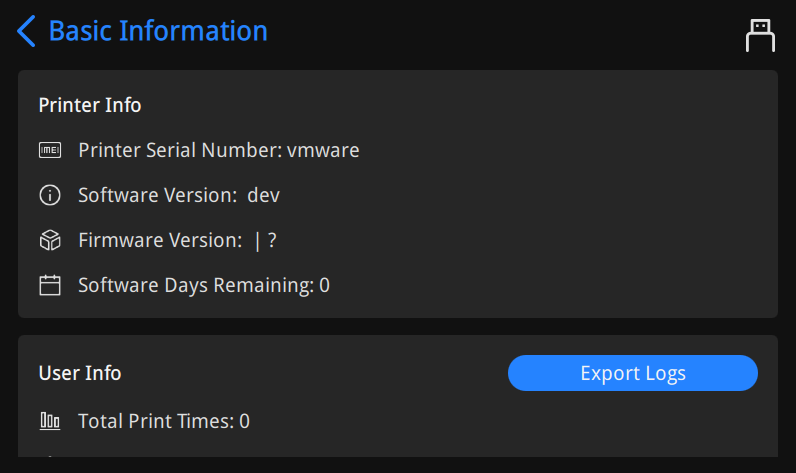
Displays the serial number, the version number, and the work log.
Note
After inserting the flash drive, tap Export Logs to export the work log to the flash drive inserted.
The log records the volume of materials used in each completed printing task and the temperature & humidity of the last 20 printing tasks for traceability.
-
Update Software:
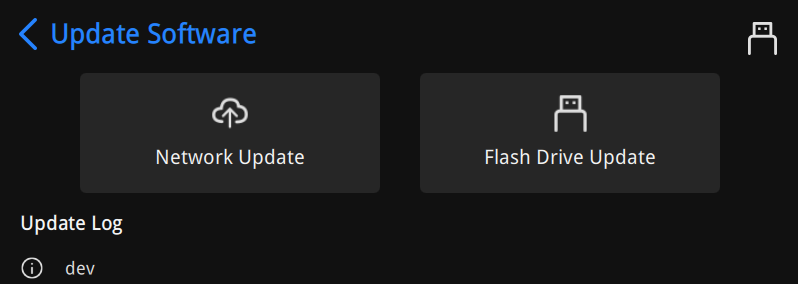
When a new version is available, tap Update Software to choose Network Update or Flash Drive Update.
When there is an update to environment library files, you need to update it via network or flash drive.
Note
Please connect to the Internet before updating environment library files.
-
Activate License:
If the software has not been activated yet, it is suggested that tap Activate License and follow the instructions below to complete offline activation.
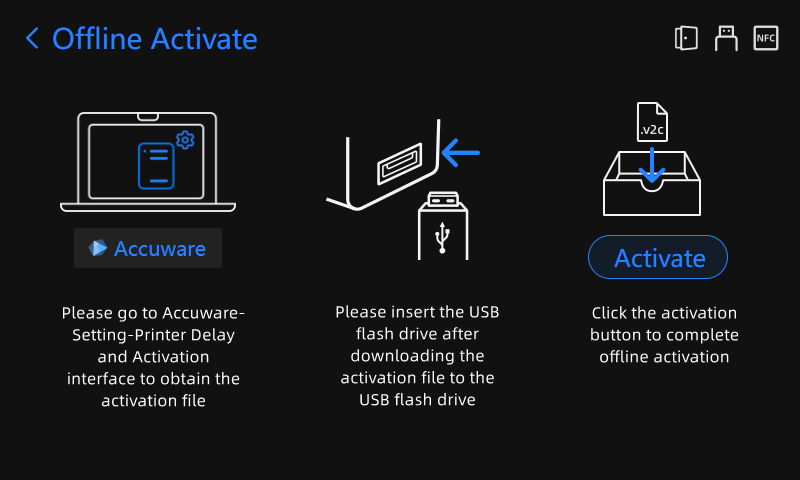
Note
When you are prompted that the remaining days are insufficient, please contact Shining 3D technical supporters to process activation with the activation file.
-
Recovery:
 : Burn all the data;
  : Clear files on the Queue interface;
  : Restore default settings.
 -
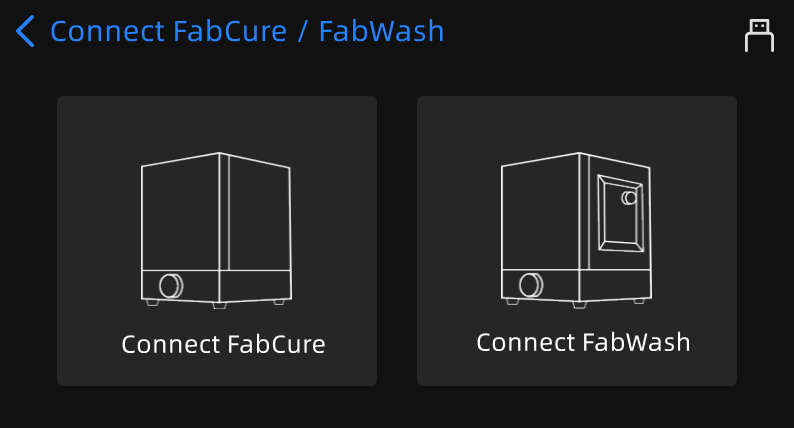
Connect FabCure / FabWash:
After connecting to wireless network, tap Connect FabCure / FabWash and enter the hot-spot code of FabCure / FabWash to share their network signal.
Note
- It is recommended that you enable Auto Find FabCure/FabWash in the software settings.
- A printer can assist the networking of multiple curing boxes / cleaning machines.
-
User Guide:
Tap to enter the User Guide.
Note
If this is the first boot-up, the software will walk you through the User Guide automatically.
-
User Manual:
Scan the QR code and view the User Manual on web.