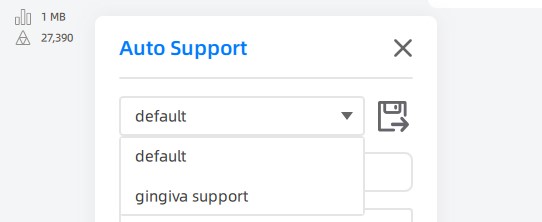
Setting Support Parameters
Select the model in need of support, than click  on the Support page and modify parameters to support.
Caution
Note that gradually increase / decrease parameters by 0.05 mm each time, or the print may fail.
Adjust the Pillar of Support
Sometimes the removal of supports might be tricky, in this case, adjusting Support Pillar helps.
Caution
Ba cautious in adjusting parameters. Aware that the model may fell during printing process when the adherence is too low.
there are 4 settings related to support pillar. Let’ discuss them one by one.
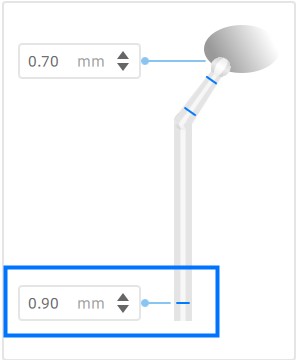
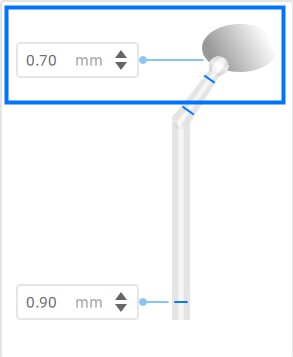
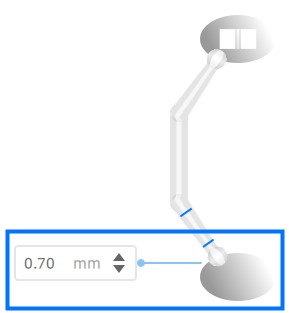
Support Diameters
Here lists main differences between those diameters.
When diameters above increase, the support becomes more stable and the removal becomes harder; when they decrease, the support becomes less adhesive and the removal becomes easier.
Lift Height and Spacing
 |
 |
|---|---|
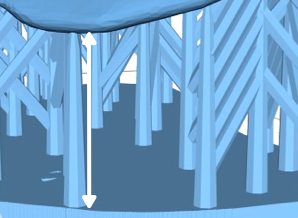
| Lift Height: The minimum distance between model and printing platform. |
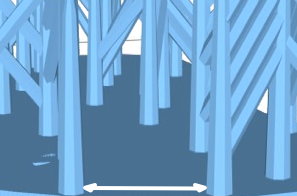
Spacing: The minimum distance between adjacent support pillars. |
When the Lift Height or Spacing decrease, the support becomes more stable and the removal becomes harder; when they increases, the support becomes less adhesive and the removal becomes easier.
Reinforce Support
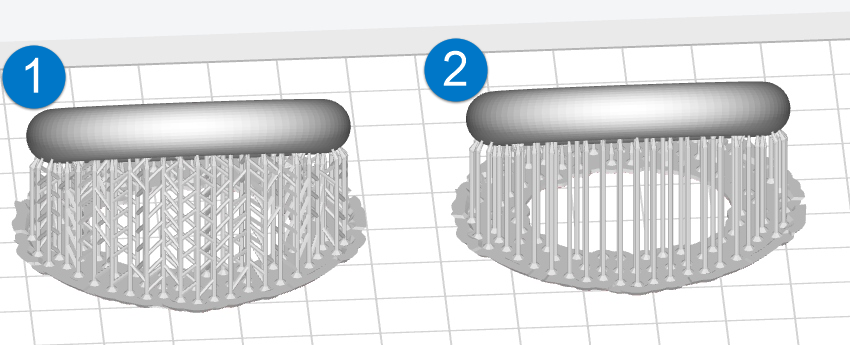 |
① Reinforce Support: Add tree branch shaped connections between adjacent support pillars. ② Support With no Reinforce: The firmness of support drops significantly. |
It is enabled by default for its strongly improving the strength of support.
Adjust the Base of Support
Base Type
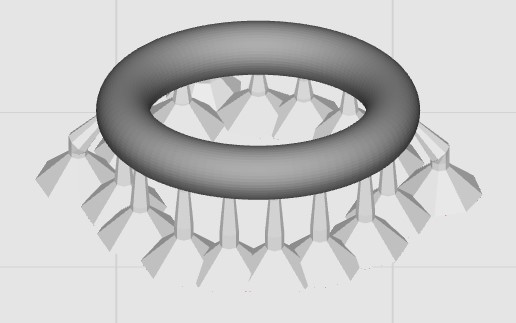
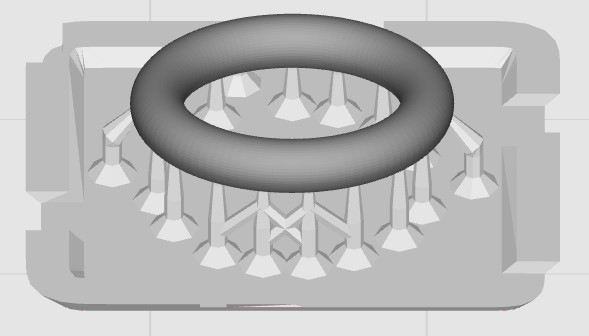
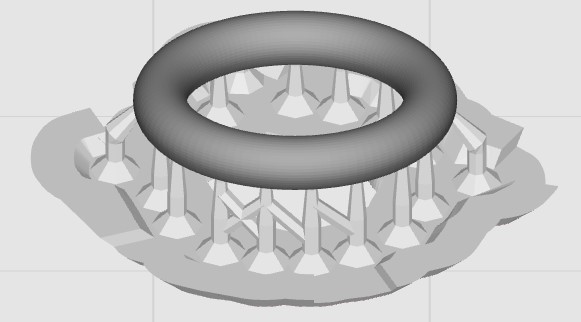
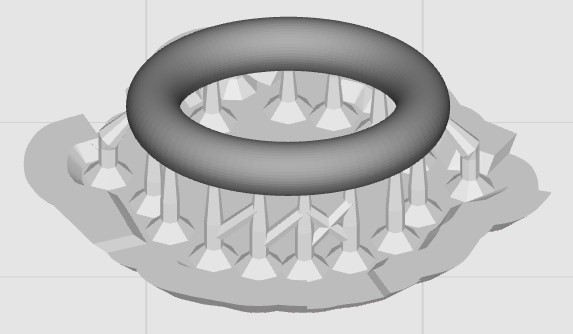
Projection Base is set as the default base type, however, you may replace it with the one more adapting to the application.
There are 4 base types provided for selection:
Base Height
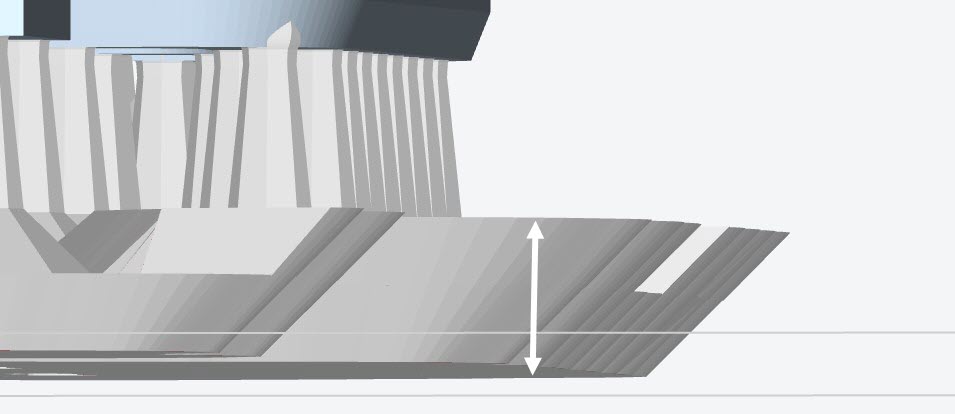 |
It is the thickness of the base. When the thickness is proper, it can be easier to remove prints by the cocked edge of the base. |
Base Only
After checking this option, the printing model cling to the printing platform only with a base. This function is turned off by default.
