Arrange Models
Enter the Layout page for arranging models.
Caution
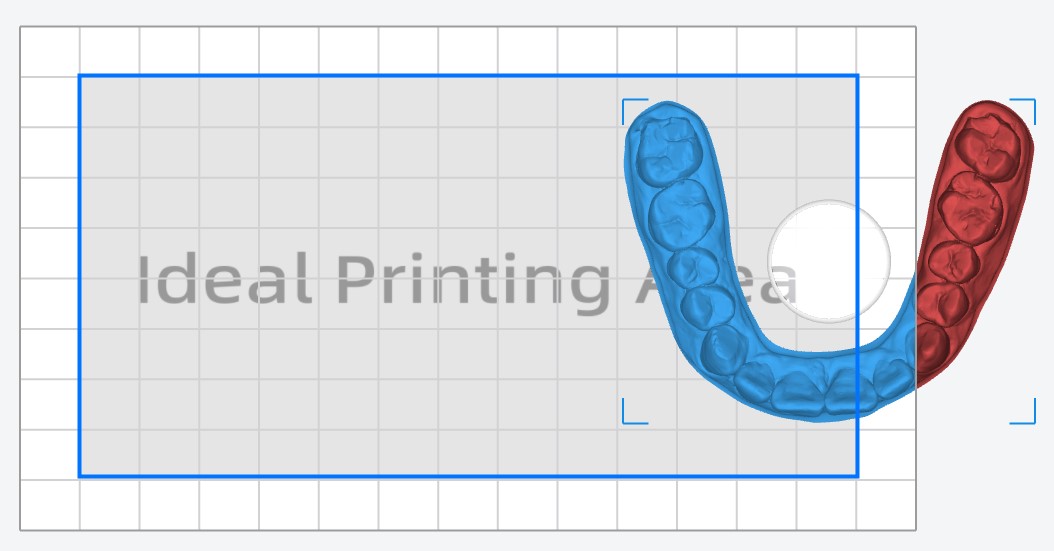
There shall be no red data that will not be printed for its being out of the valid printing range.
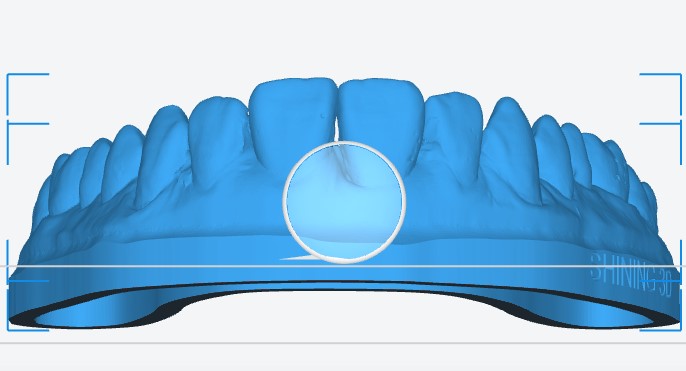
To ensure the printing quality, prioritize placing model on the center of printing platform; if there are multiple models, at least place models inside the Ideal Printing Area.
Selecting Models
Use the following methods to choose at least 1 model as application object.
-
Select One Model: Click the model directly or click it on the printer list.
-
Select Multiple Models: Use Ctrl key to select multiple models.
-
Select All the Models: Right click on a blank working space, when choose Select All, or use the keyboard shortcuts Ctrl + A.
Moving Models
Select the model, click  and move models.

-
Move One Model: Click up and down arrow to gradually increase / decrease X Y Z value by 1 mm each time or directly enter the value in the input box.
-
Move Multiple Models: Select multiple models, then move them together in the same direction and distance.
-
Move To Center: Click to put the chosen model on the center of printing platform.
-
Stick To Platform: Click to put the selected model directly on the printing platform.
Note
By using move indicator, you can only drag the model horizontally. To change the distance between the model and the printing platform, you may exert methods above.
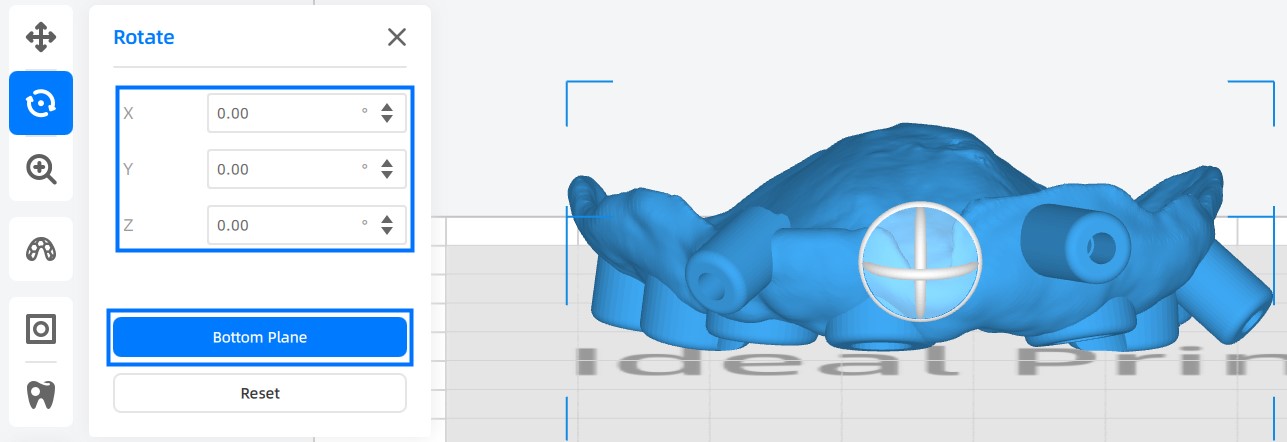
Rotating Models
Select the model, click  to rotate models.
-
Rotate One Model: There are 2 ways for orienting models.
-
Click up and down arrow to gradually increase / decrease X Y Z angle by 1° each time or directly enter the value in the input box.
-
Exist rotation mode, click the model to activate the rotation indicator line and rotate model by moving mouse in X / Y / Z direction.
-
-
Rotate Multiple Models: Select multiple models, then rotate them together in the same direction.
-
Bottom Plane: Click a flat surface to put the model directly on the printing platform.

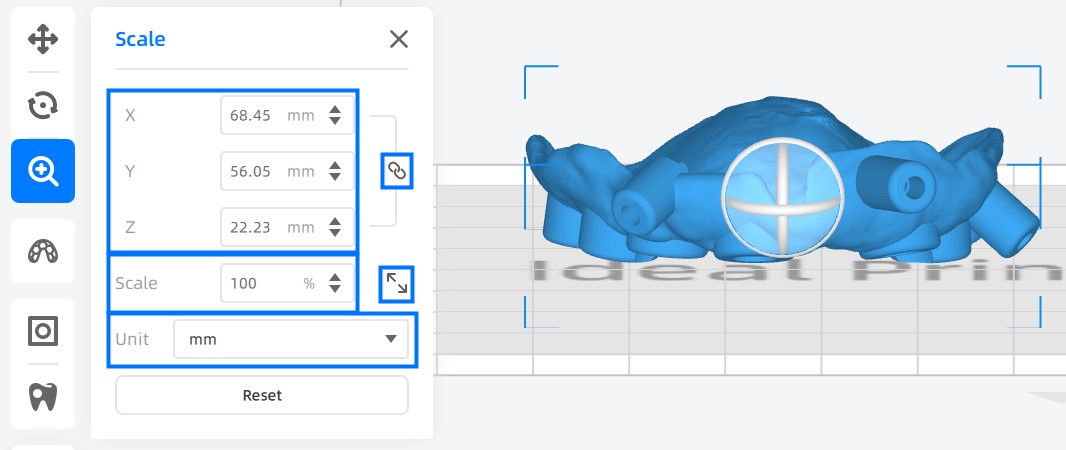
Scaling Models
Select the model, click  to scale models.
-
X, Y, Z Value: Specify the size of model along X, Y, Z axis.
 : Specify one dimension and have the others automatically adjusted in proportion. Click this button to specify only the width, length or height of model.
-
Scale Value: Set scale level.
 : When is turned on, every time you click this button, the model will be scaled with the value in scale box.
-
Scale the whole Model: Click up and down arrow to gradually scale the model or directly enter the value in the input box.
-
Scale Multiple Models: Select multiple models, then scale models or along X / Y / Z axis together with the same scale.