Common Functions
There are many convenient functions which may not be so obvious for users who are not familiar with AccuWare. Here, let's reveal those features.
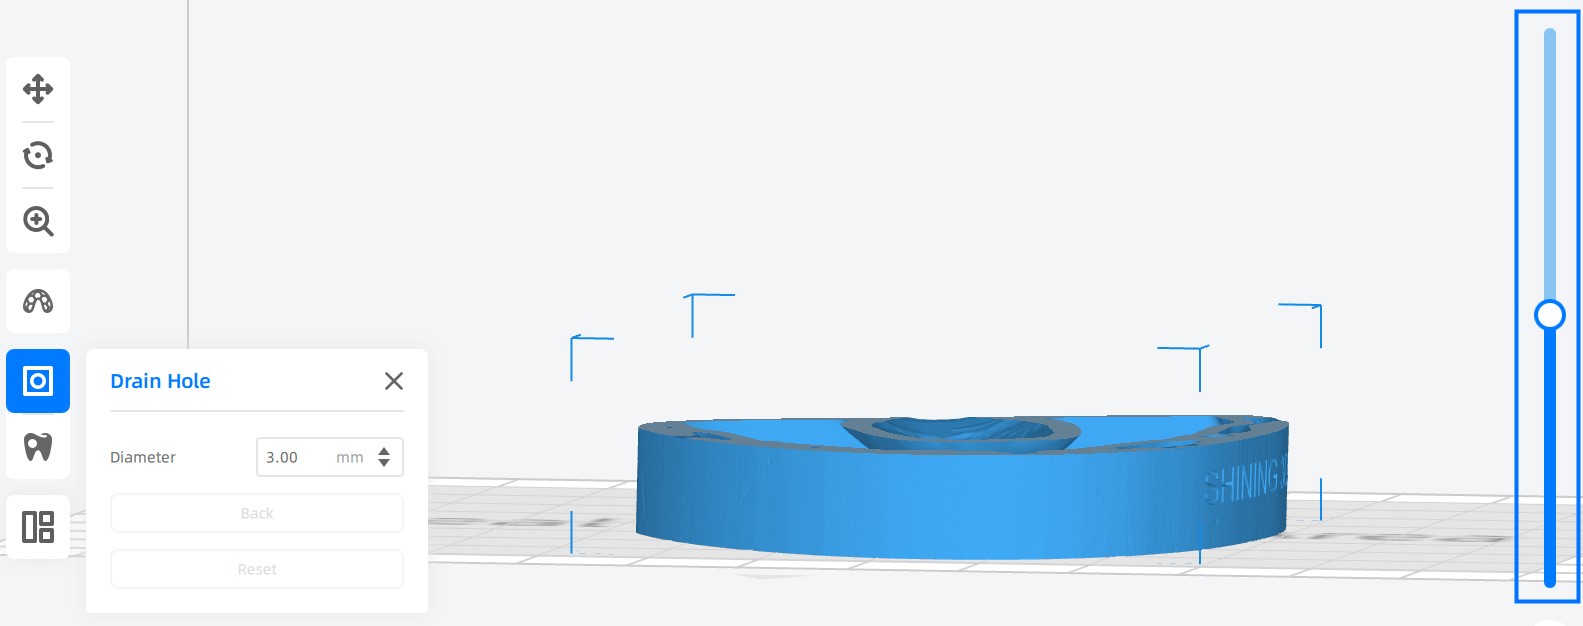
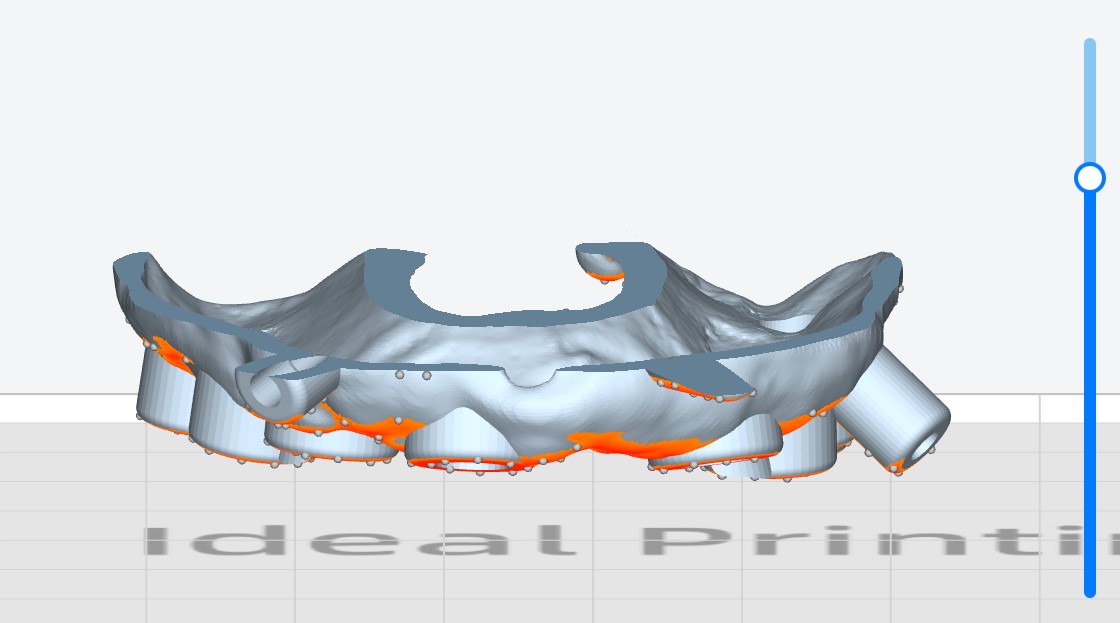
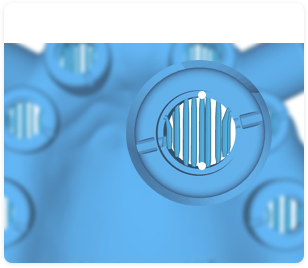
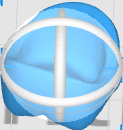
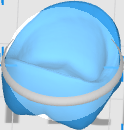
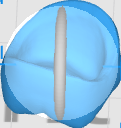
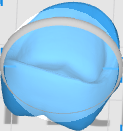
Check Model by Layers
To ensure printability, inspecting the model layer by layer before slicing with the slicer tool is needed.
 |
 |
|---|---|
Here are 3 ways of checking layers:
-
Simply drag the slider all the way from the bottom to the top to modify printing process and to see inside the model.
-
Click the slider, input the number or the height of the layer you wish to inspect and press the ENTER key for viewing a particular layer.
-
Click the slider and then use +/- buttons or up/down keys on the keyboard to control the move of slider precisely.
Graphic Tool Tip
Move the cursor over a setting on interface, a tool-tip will pop up, showing the description of this setting.
 |
 |
 |
|---|---|---|
 |
 |
 |
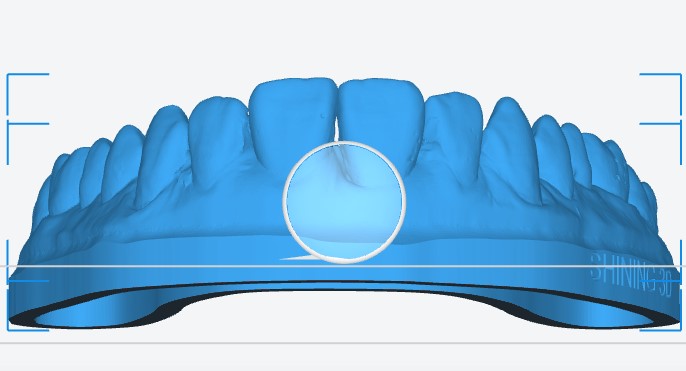
Viewing Angle
It is necessary to switch the viewing angle from time to time to observe and edit data in a all-round and stereoscopic way.
-
Switch Between Preset Views: Click one of icons under the model list for switching perspectives.


Default View Front View Back View 


Left View Right View Top View Bottom View -
Adjust View Manually:
Rotate Pan Zoom Press and hold the right button and drag Press and hold the mouse wheel and drag Rotate the mouse wheel upward / downward
Select Models
Use the following methods to choose at least 1 models as application object in previous is required for most of manual functions.
-
Select One Model: Click the model directly or click it on the printer list.
-
Select Multiple Models: Use Ctrl key to select multiple models.
-
Select All the Models: Right click on a blank working space, when choose Select All, or use the keyboard shortcuts Ctrl + A.
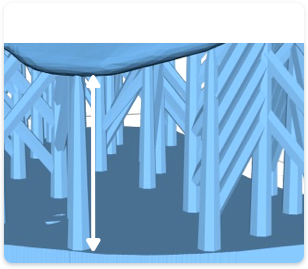
Bottom Plain Button in Move Mode
When manually arranging models, there is an function in Move mode that needs to be applied firstly: Bottom Plain.
After clicking Bottom Plain, to point out the selected surface, the cursor turns into an arrow being vertical to the currently select surface.
Click a flat surface to put the model directly on the printing platform.
 |
 |
|---|---|
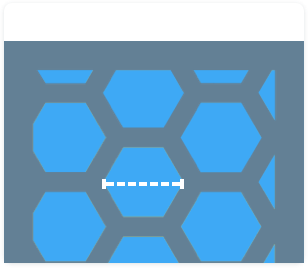
Move Indicator and Rotation Indicator
-
Move Horizontally: Move the cursor onto the center of model to activate the move indicator
 , then hold the left mouse button and drag.
 -
Rotate in Coordinate Direction: Click the model to activate the rotation indicator line and rotate it by moving the mouse in X / Y / Z direction.
 |
 |
 |
 |
|---|---|---|---|
Redo and Undo Functions in Manual Support Mode
When manually adding supports, you can use the keyboard shortcut Ctrl+Z to undo the operation.
Right-click Menu
| Right Click on the Model | |
|---|---|
| Hide: hide the model. | (Layout Page) Stick to Platform:put the selected model directly on the printing platform. |
| Copy: copy the model. | (Layout Page) Reset: withdraw all the operations in Layout page. |
| Delete: delete the model. | (Support page) Auto Support: generate auto support for the model. |
| Open Folder: check the storage path of the model. | (Support page) Clear Support: clear all supports on the model. |
| Details: check the name, storage path and size of the model. |
| Right Click on a Blank Work Space | |
|---|---|
| Select All: select all models. | (Open File page)Load The Previous File: import the previous file. |
Remote Printing
On the slicing completing popup, you can choose to print slicing directly by clicking Print button when meeting following requirements:
-
The computer and printer are under the same network.
-
The printer is right at Ready state.