Installation and Update
Installation
After checking the system requirements, follow the guide to install AccuWare:
-
Insert the flash drive that came with the printer into the PC.
-
Copy "AccuWare_X.X.X.X_release_install.exe" installation file to the PC and run it.
-
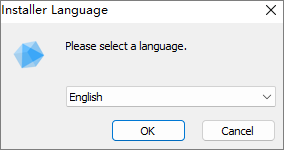
Select the needed language for AccuWare.
-
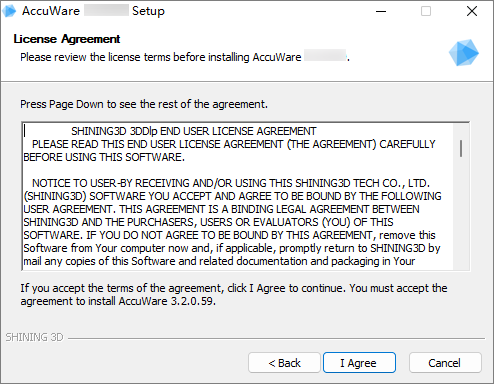
Agree to users terms.
-
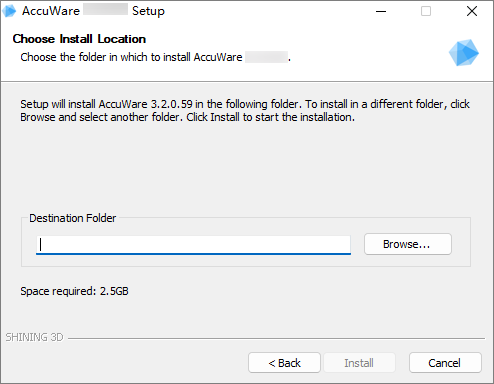
Check Destination Folder, then click Install.
If you need to change the path, click Browse.. and select another folder.
-
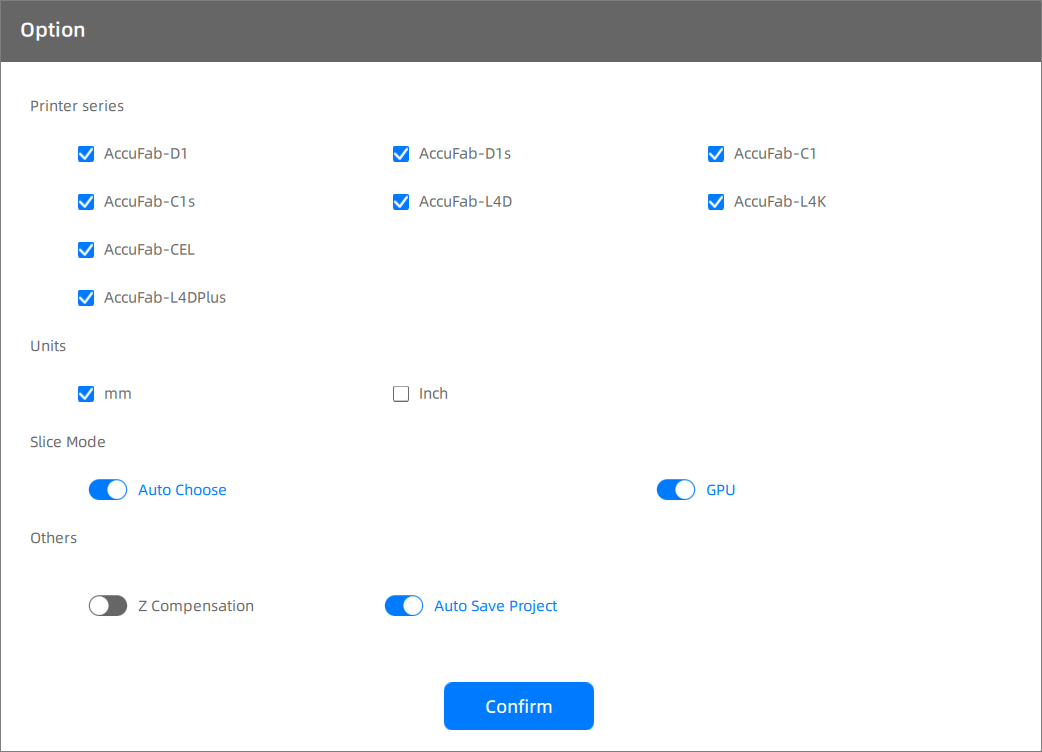
After the end of installation, select the type of printer and units according to reality in the popup. Then click Confirm and run the software.
The Slice Mode option matters to slicing speed. You should keep all of 2 modes being checked as they were in original.
Update
Update brings the newest profile to printers and resin reference.
Online Update
Ensure that the computer running with AccuWare has been connected to internet. Then you can select Update and follow the wizard to load the latest version when seeing the following popup:
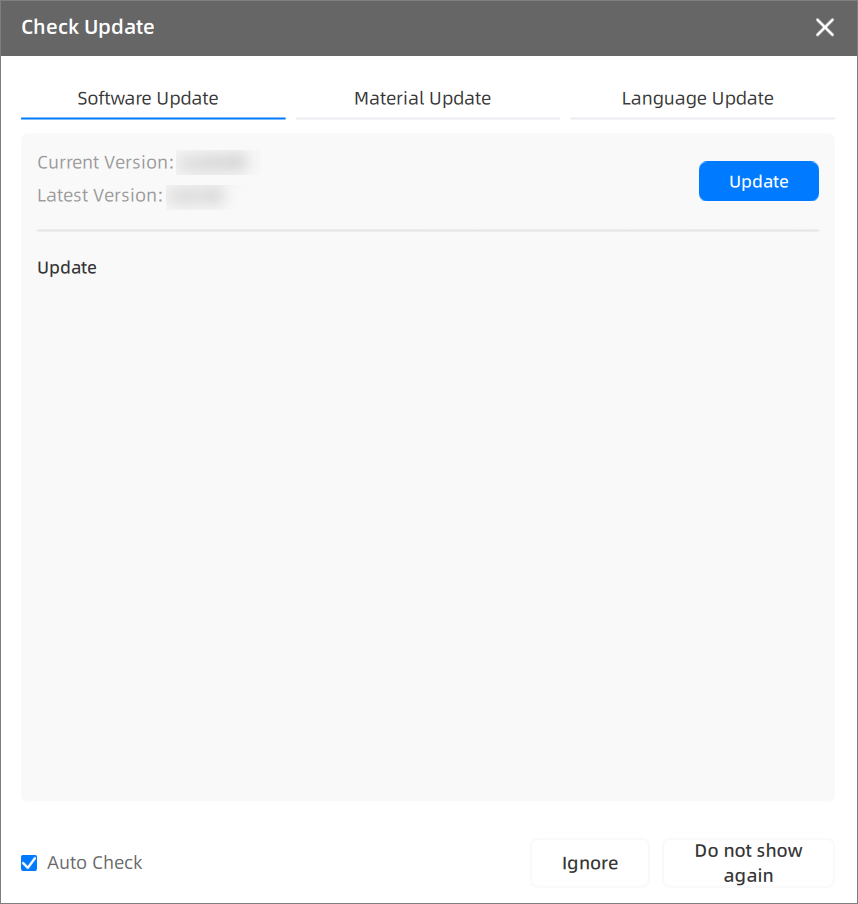
Here explains 3 methods to the bottom of popup:
-
Auto Check: Remind updating when a new version being published by adding red dots to buttons. This function is enabled by default.
-
Ignore: Dismiss the update prompt for one time.
-
Do not show again: Dismiss the update prompt for long.
You can also check the update initiatively by clicking  Settings > Check Update.
Offline Update
If the network is unavailable, use a networked computer to download the latest version installation package from Software Download Page, then transfer it into the computer running with AccuWare with an USB flash drive and follow the installation guide above to complete the update.