Orthodontic Models One-click Printing
As a treatment cycle often requires 30-60 sets of orthodontic model, there has being a heavy demand for these models. To process one-click printing on them:
-
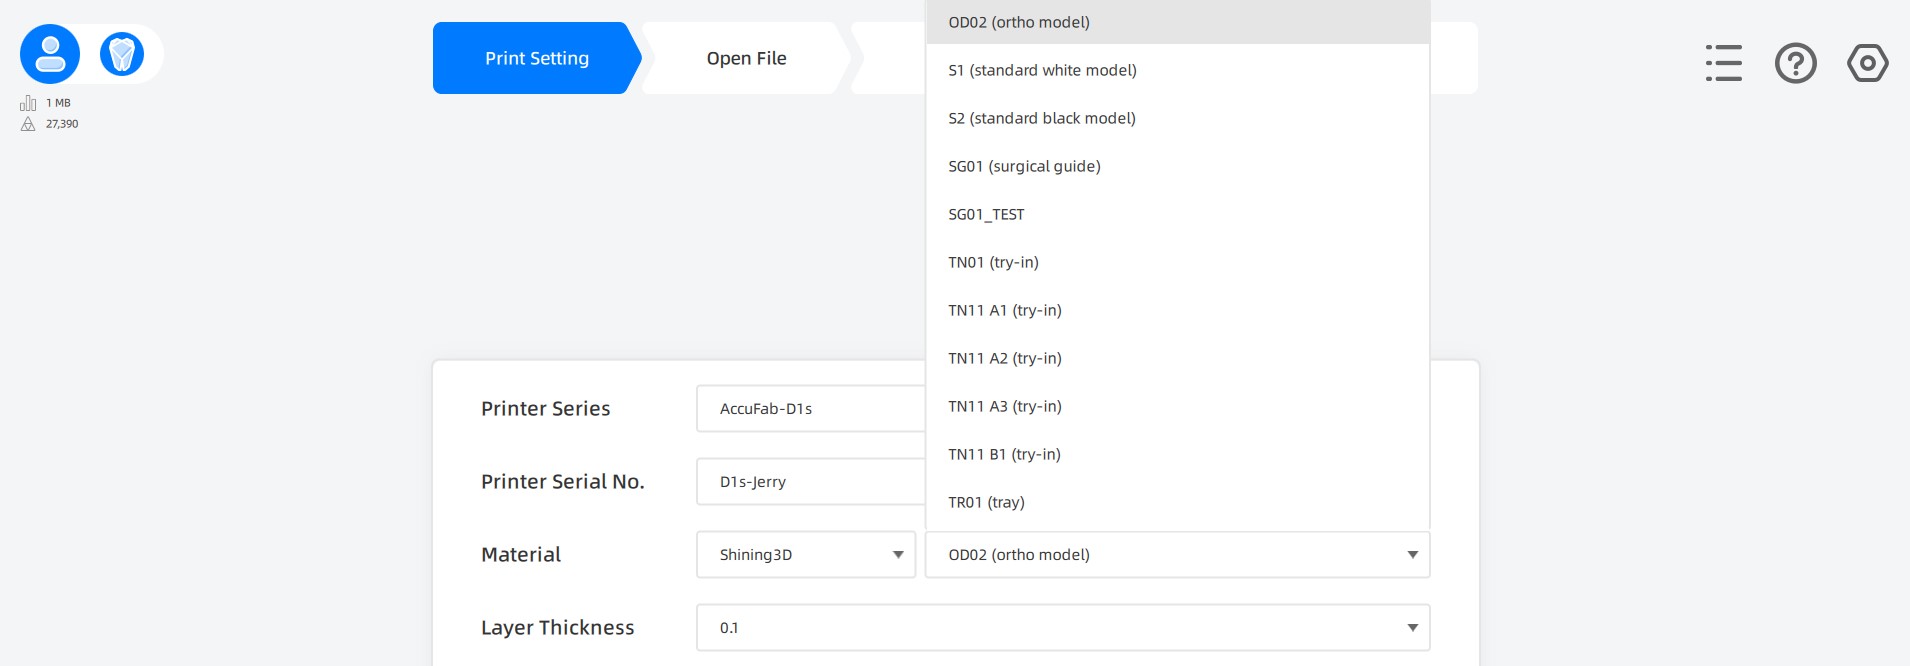
Select a printer and set the Material as OD 02 on the interface of Print Setting.
Then click Next in the bottom right corner to enter the next step.
Caution
OD 02 resin is the optimal for orthodontic dental models as it can be both consistent and exquisite.
When conducting one-click printing on orthodontic models, software takes having selecting OD 02 material as premise. In that case, choosing other kinds of material can result in the drop of printing accuracy.
-
After importing orthodontic models, click
 Orthodontic Model at the right of Open File interface.
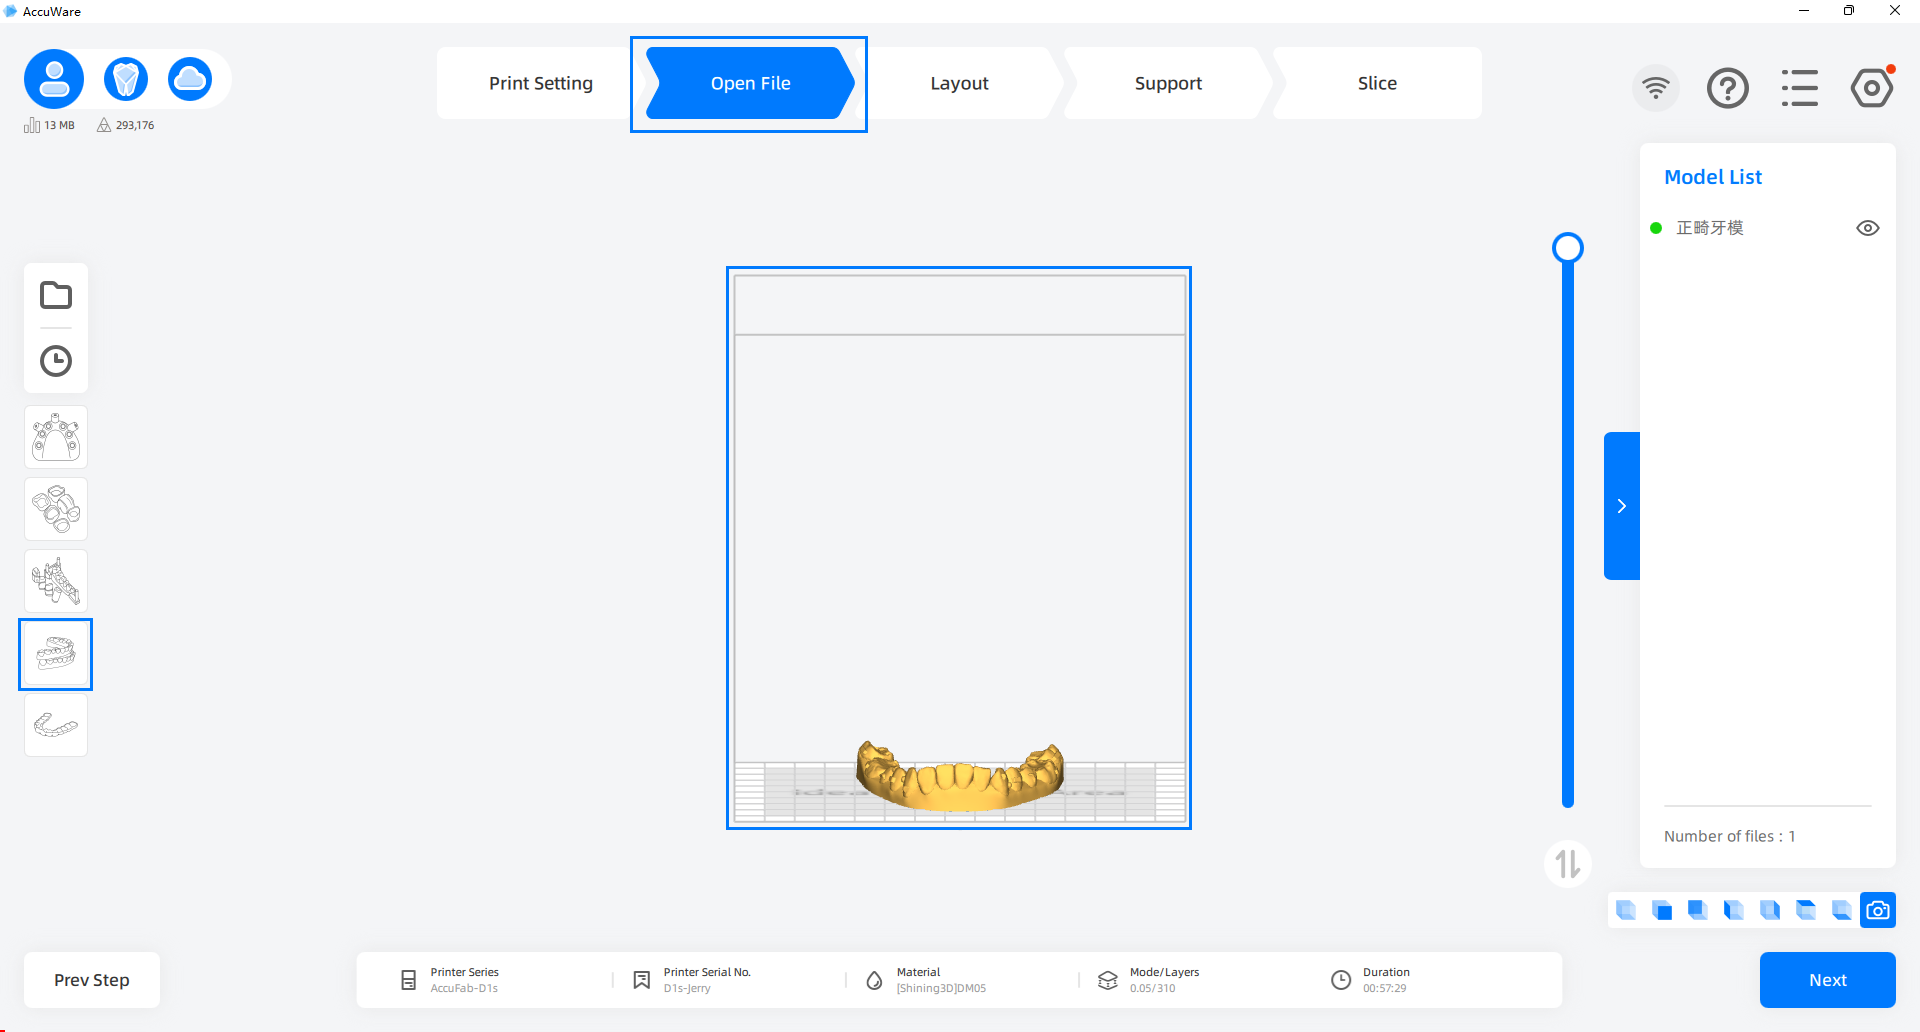
-
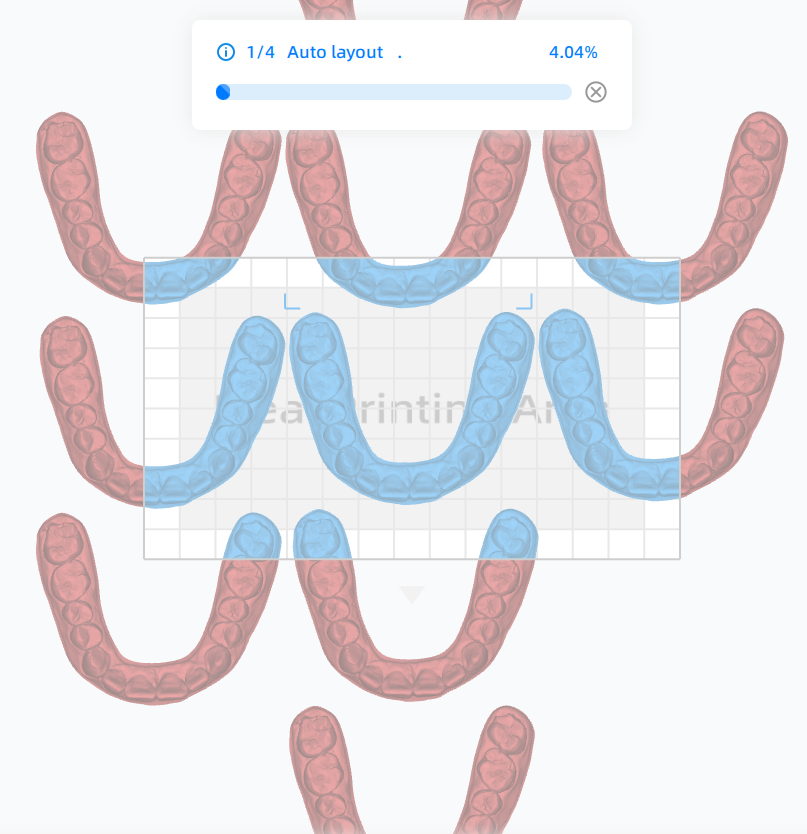
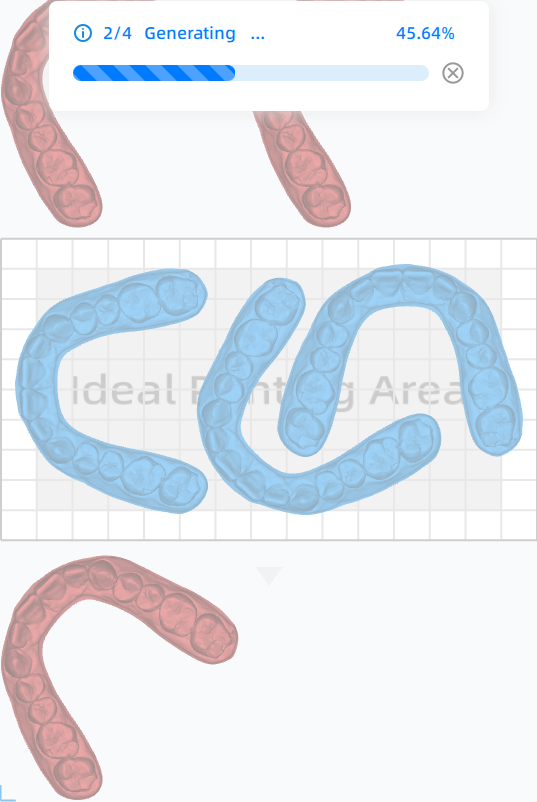
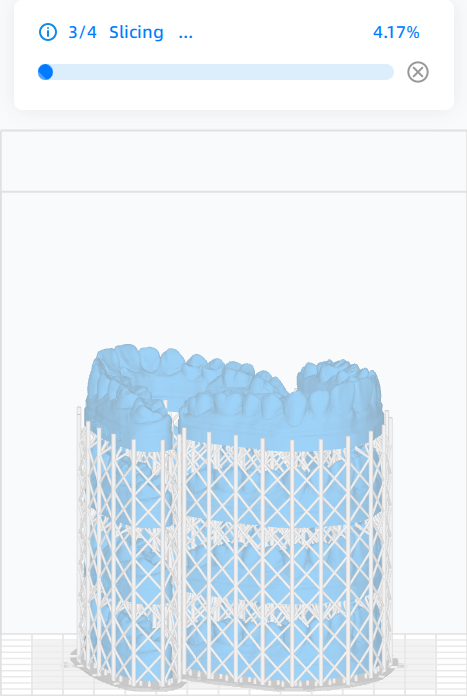
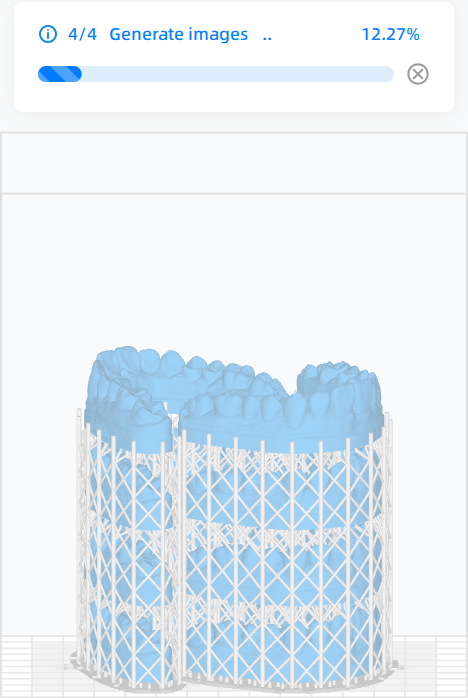
The software will then slice your models using pre-set settings and generate slice images.
Note
For meeting the demand of batch production, models exceeding the edge of printing platform will be piled up within the valid printing region.
-
When finished slicing, click Print to immediately start the print on your connected printer, click Send to add the file to your printer's queue.
Note
If there are no such buttons mentioned above, you should click Save to save the sliced file and move it into the printer with a USB flash drive for printing.