Add Honeycomb structures
Add honeycomb structures to the model by one click to enhance the strength of the printed model and save print materials.
In the ② Data Processing interface, click ![]() Shell An Honeycomb to add a honeycomb structure to the model.
Shell An Honeycomb to add a honeycomb structure to the model.
Note
To discharge resin in honeycombs, when adding honeycomb structures where there are internal or enclosed hollows appearing on the model, auto drain hole function will be applied at the same time.
Follow the steps below to add honeycomb structures:
-
Enter the Data Processing page, select model and click
 .
. Click Flatten By Face, then click a flat surface to put the model directly on the printing platform.
-
Choose model, then click
in upper-right corner of the page.
-
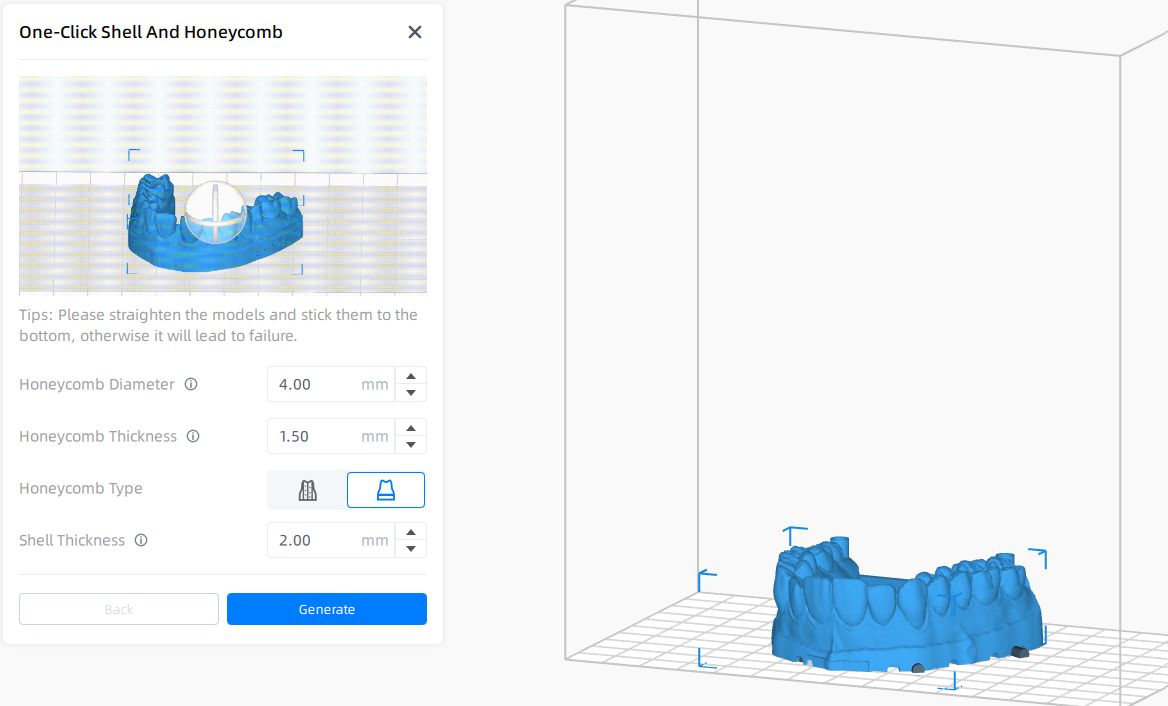
Adjust the parameters according to the requirements.
Caution
As the preset parameters default to the ideal way for dental model honeycombs settings, there is no need to adjust parameters in general.
If it is needed to adjust parameters, guarantee that the model is thick enough before printing for the thin shell being so fragile and may cause print to fail.
-
Select the honeycomb type according to the requirements.
: This type honeycomb structure almost running through the whole model. It expends material on generating as many as possible honeycomb structures, which makes the model more stable.
: This type honeycomb structure only works to the bottom of model. It costs less material consumption while meets the requirement to firmness.
-
After checking the effect, click Generate to generate honeycombs.
If you changed your mind, click Back to revert to the original state.
Col
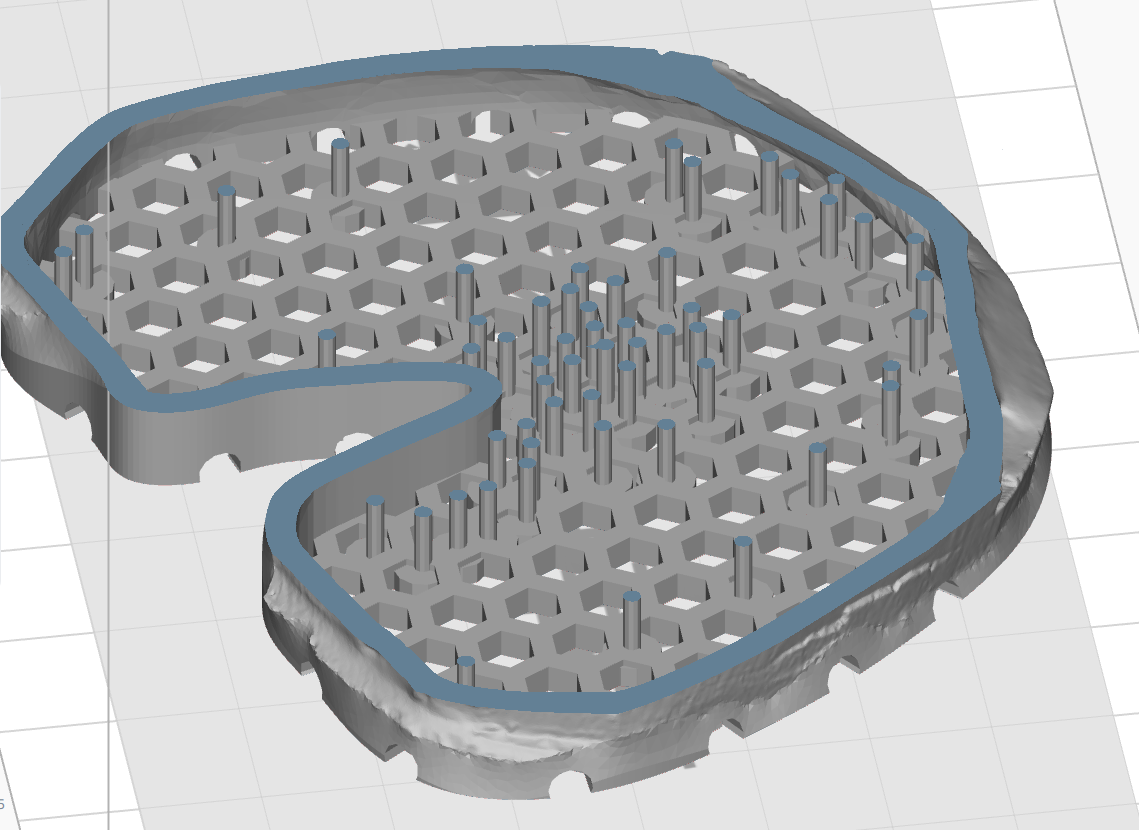
Bottom Shell with Honeycomb Structure and Internal Support
Col
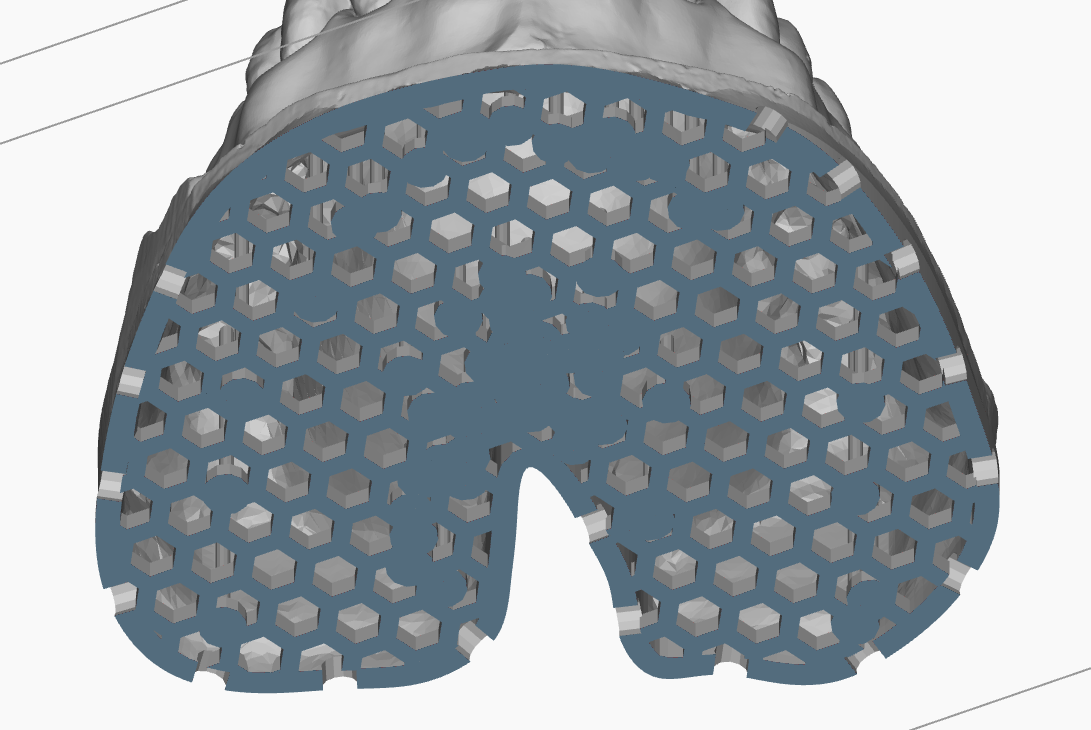 Effect on the Bottom
Col
Col
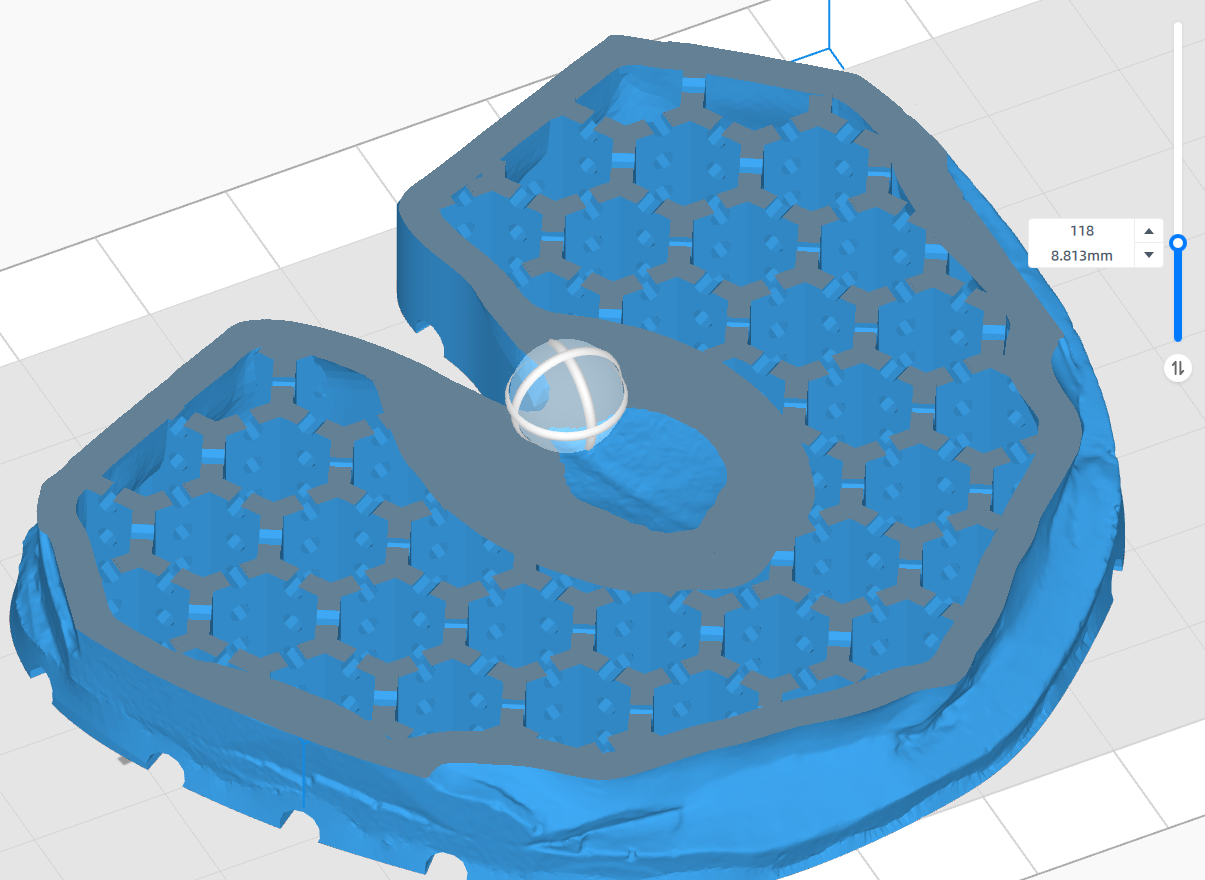
Internal Through Design
Col
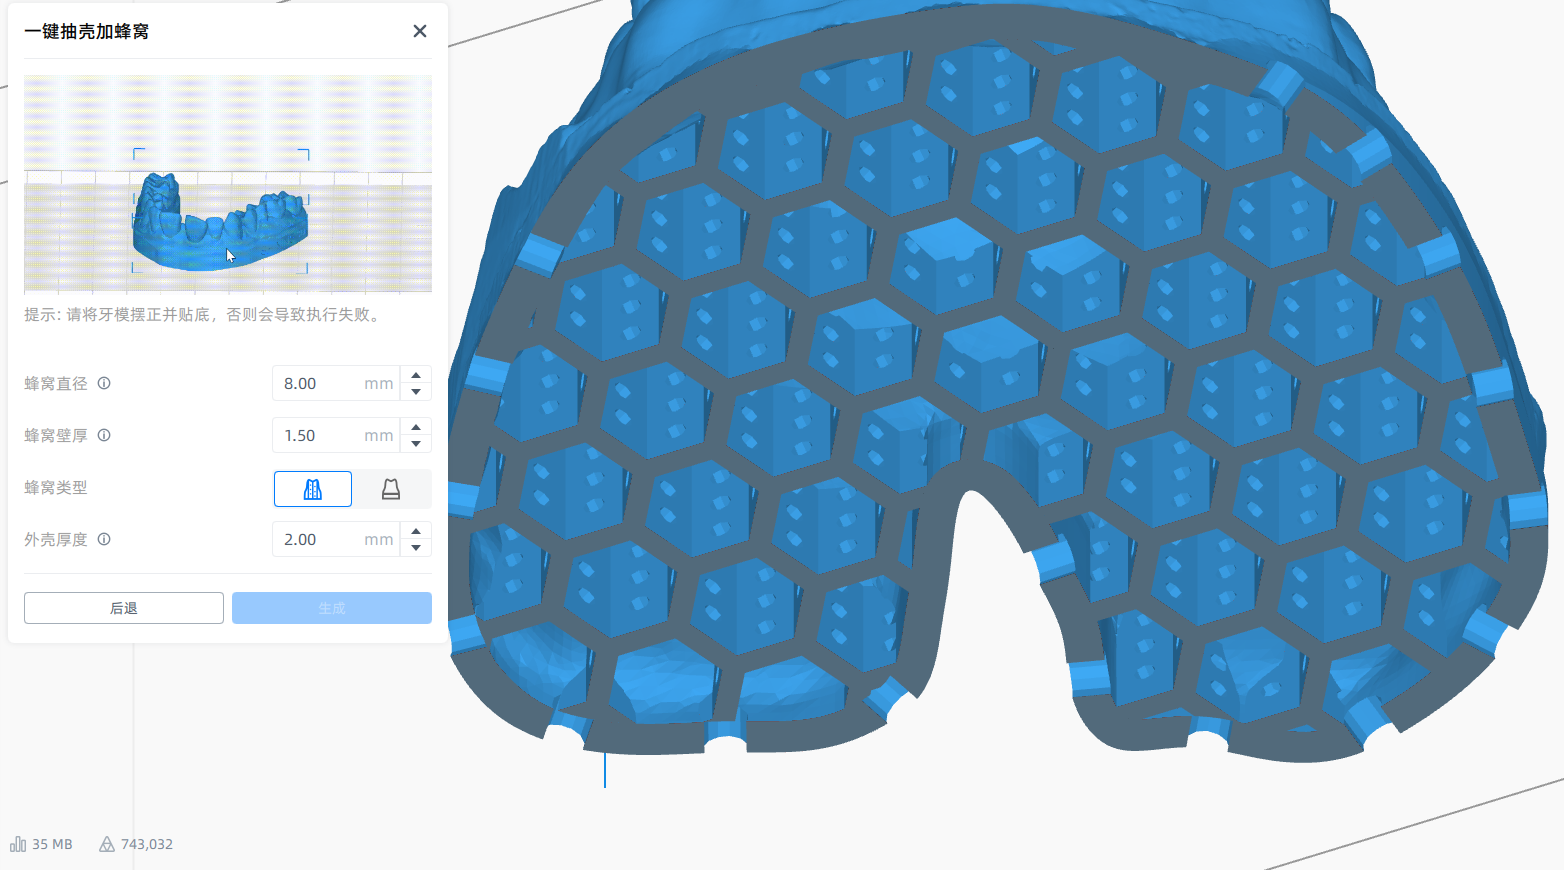 Bottom Shell with Honeycomb and Internal Through Design
Col