Data Processing Overview
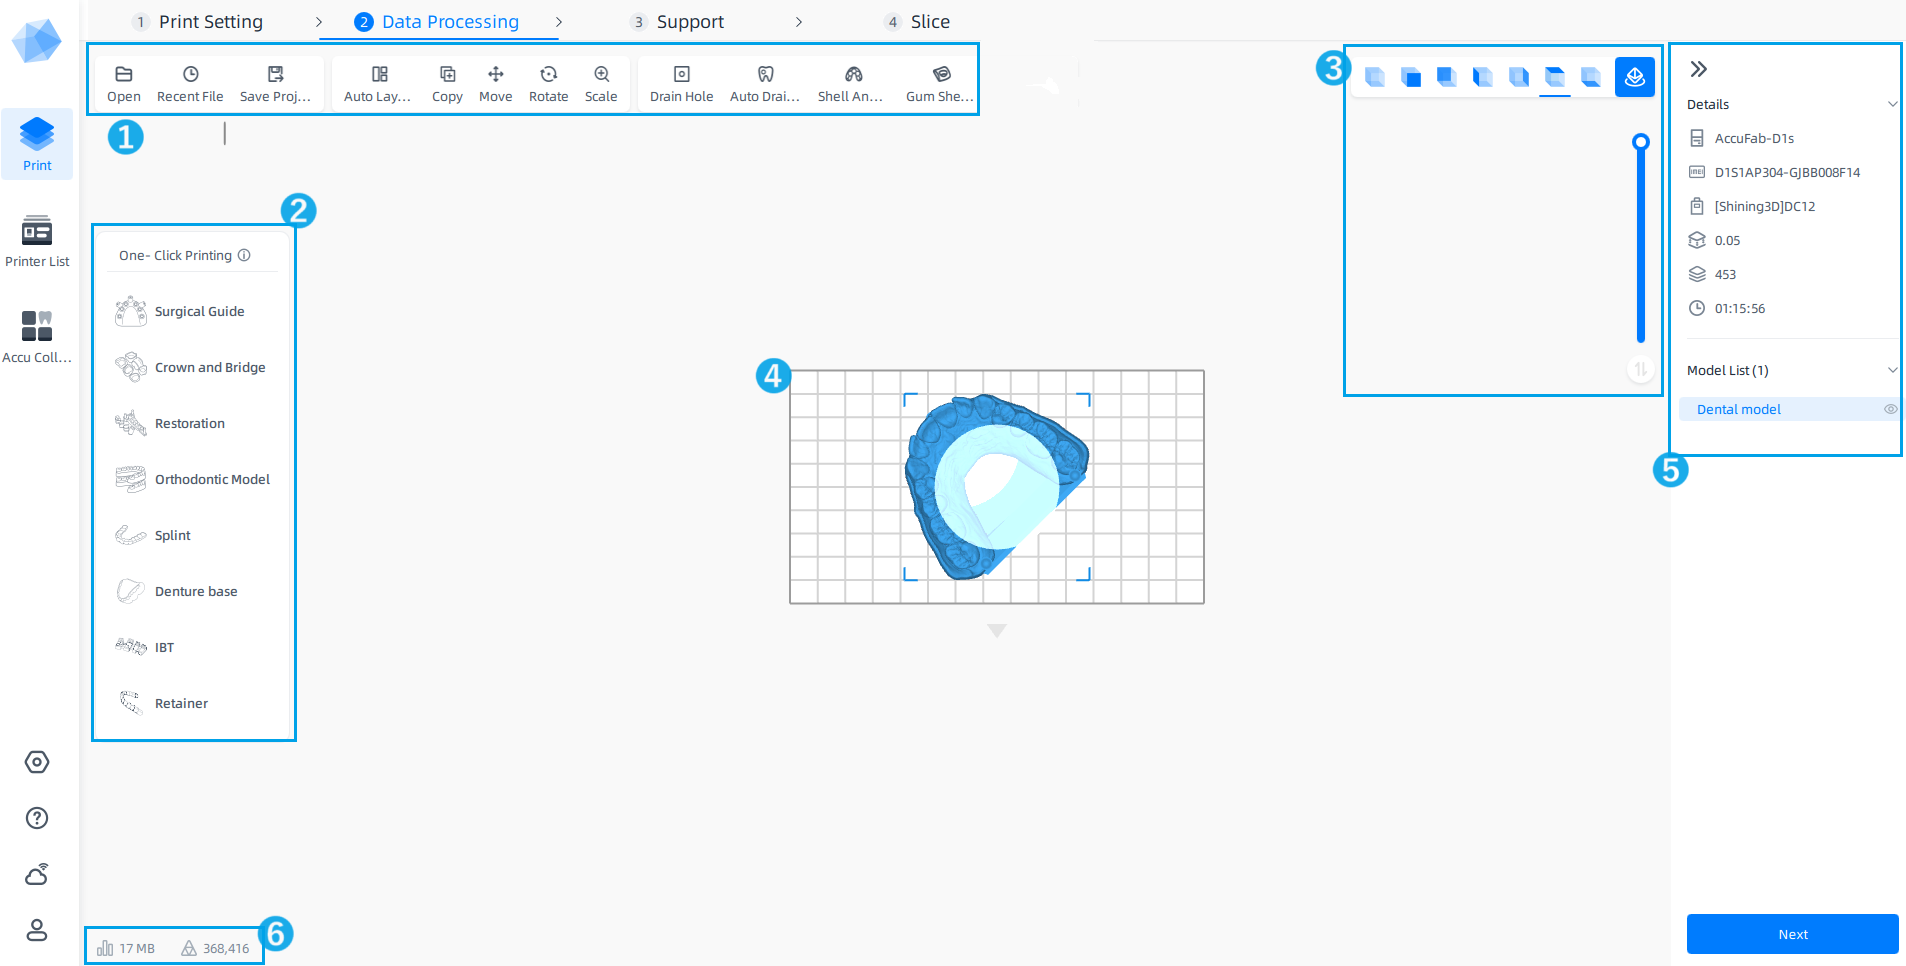
After completing the print settings, you can import the model file and edit the model in the ② Data Processing interface.
Caution
After adjusting the model's placement and layout, it will have an impact on the positioning of supports and the printing duration.
| Function | |
|---|---|
| File Management |
|
| Model Operation |
|
| Model Design |
|
Note
- When importing a model that requires repair, a dialog will pop up for selecting whether to repair. To prevent printing failures, it is recommended to perform model repairs prior to the printing process.
- Before performing any operations or making edits to the model, please select a model first.
- Before using the automatic drain hole, shell extraction with honeycomb functions, please straighten the models and stick them to the bottom, otherwise it will lead to failure.
Please select matched data type. It can automatically orient, lay out and support models by recognizing model features for fast printing.
Import the model file and click on the same data type in the One-Click Printing toolbar as the model file for printing.
Standard Models One-Click Printing
Multi-Platform Mode One-Click Printing
Note
- The One-Click Printing process supports quitting at any time.
- To enable the Multi-Platform Project, please go to
 Settings > Print Setting > Mode Choose and switch to the mode.
Viewing Angle
It is necessary to switch the viewing angle from time to time to observe and edit data in an all-round and stereoscopic way. Click ![]() in upper-right corner to switch to the corresponding view.
in upper-right corner to switch to the corresponding view.
| Default View | Front View | Back View | Left View | Right View | Top View | Bottom View |
|---|---|---|---|---|---|---|
| |
|
|
|
|
|
|
Switch View
Note
To ensure successful printing, when editing the model, you can click on ![]() Switch View to preview the model layer-by-layer.
Switch View to preview the model layer-by-layer.
● Display the printing process in sequence: Drag the slider from bottom to top to view the model and support slices in the order they will be printed.
● Inspecting specific slice layers: Click on the slider, enter the desired layer number, and press enter. Or you can use the ![]() and
and ![]() buttons, or the Up and Down keys on the keyboard.
buttons, or the Up and Down keys on the keyboard.
You can switch the viewing angle from time to time to observe and edit data in an all-round and stereoscopic way.
-
Move Horizontally: After selecting the model, switch to the top view and move the cursor over the model. The cursor will be
 , then press the left mouse and hold to drag.
 -
Rotate in Coordinate Direction: After selecting the model, switch to the default view and move the cursor over the model. The cursor will be
 . Press the left mouse and hold to rotate the model along the X / Y / Z axes.
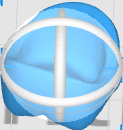
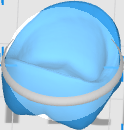
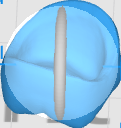
Adjust the viewing angle
- Rotate:Right-click and drag.
- Pan:Press and hold the mouse wheel and drag.
- Zoom:Scroll the mouse wheel to zoom in or zoom out.
Right-click Menu
| Right Click on the Model | |
|---|---|
| Hide: hide the model. | (Layout Page) Stick to Platform:put the selected model directly on the printing platform. |
| Copy: copy the model. | (Layout Page) Reset: withdraw all the operations in Layout page. |
| Delete: delete the model. | (Support page) Auto Support: generate auto support for the model. |
| Open Folder: check the storage path of the model. | (Support page) Clear Support: clear all supports on the model. |
| Details: check the name, storage path and size of the model. |
| Right Click on a Blank Work Space | |
|---|---|
| Select All: select all models. | Load The Previous File: load the previous file. |
| Load Previous Project: load the previous project group. | Save Project: save the current project file to a local PC. |
| Details | Printability | Model List |
|---|---|---|
It is recommended to adjust the model based on the description of the problem, as it may affect the printing results. |
![]() : The size of the imported model file.
: The size of the imported model file.
![]() : The number of triangles in the imported model file.
: The number of triangles in the imported model file.