Remote Printing
Caution
- You should first check if there are any models remaining on the printing platform, or the printing screen may be broken due to the bumping of remaining model.
- As the printer refuses to print once the inconsistency between material types selected on the printer touchscreen and set in AccuWare being detected, you should check if the resin having been added correctly before printing.
Note
If the Print button is unavailable, check if the printer is on Ready state and if it is connected to the network same as the computer running AccuWare.
Print the Model on the Build Platform
Caution
It is recommended to select the same printer during slicing and printing to avoid the need for re-adding supports and slicing when changing printers.
Follow the steps to print just with your computer:
-
Ensure the selected printer is connected to the same network as AccuWare.
-
Ensure the selected printer is on the Ready state.
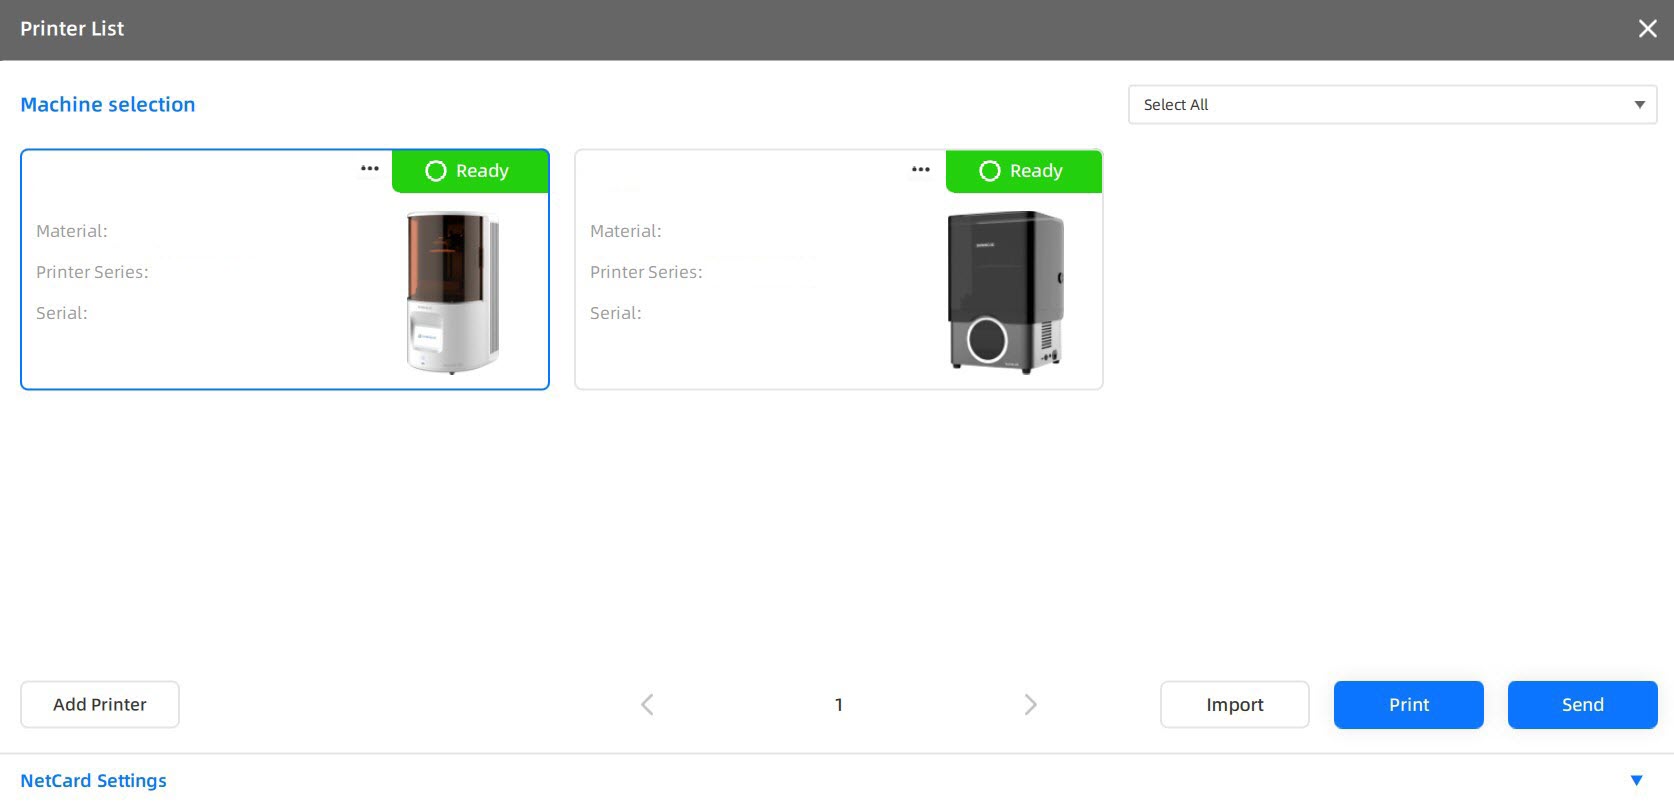
You may check the real-time state of printers using following methods:
-
Check the Printer Serial No. drop down list on Print Setting page.

-
Click
and check printers in Printer List.

-
-
Click Print on the slicing completing interface.
Then the model on the printing platform will be sent to selected printer for automatic analyze and print.
Note
- If the "Print platform is not installed", "Resin tank is not installed" or "Model has not been removed" message prompts, you can still send the file to the printer but the printing process can not be proceeded.
- If the "The resin tank has reached the maximum number of printing layers" message prompts, please follow the instructions.
Print a Local Slicing Model
Follow the steps to print a local slicing file:
-
Click
in the right upper corner to open Printer List.

-
Select a printer in Ready state, click Print.

-
Double click a file in the file explorer, then the selected printer will start to print it.
The printer's touchscreen shows Printing state on Home page as soon as the print starts.