Orthodontic simulation
After creating the program, the user can enter the main interface.
The user can generate the QR code of the simulated orthodontic report, preview the orthodontic effect via animation, and compare the programs with the original states. In addition, the user can adjust the setup manually and add brackets as well.
Generate report
On the report, the patient can check the 3D models before and after the orthodontic simulation, and preview the process via a video.
-
Click Report on the top right corner of the main interface.
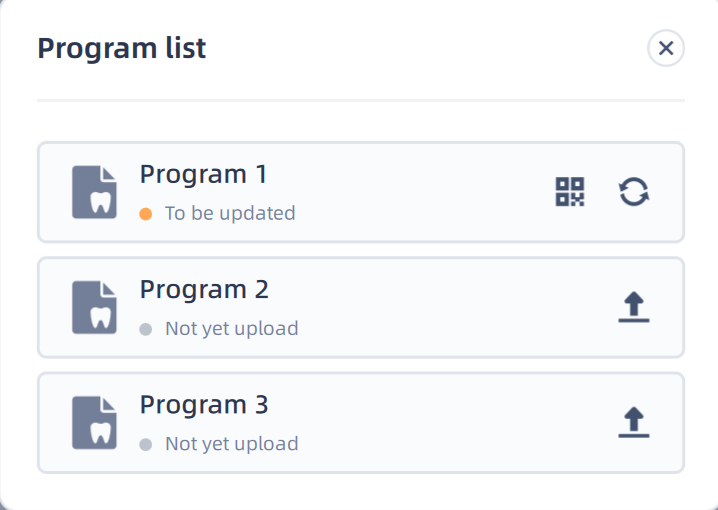
-
Click
to upload the programs and generate the orthodontic report.Saving the QR code or copying the link for future use are supported.
- Click
to check the QR code again.
- After changing the program, click
to update the report.
Animation
Animation is supported for previewing the orthodontic process and final effect. CLick to play the animation.
Click to loop the animation.
Note
Preview the animation of one program is supported. If comparing 2 or more programs, click and then a tip will pop up to select a program.
Compare the programs
Comparing programs and the original state is supported.
Selecting the programs (the original state can also be selected) on the top of the main interface to start comparison.
Up to 3 new programs and the original state can be compared at the same time.
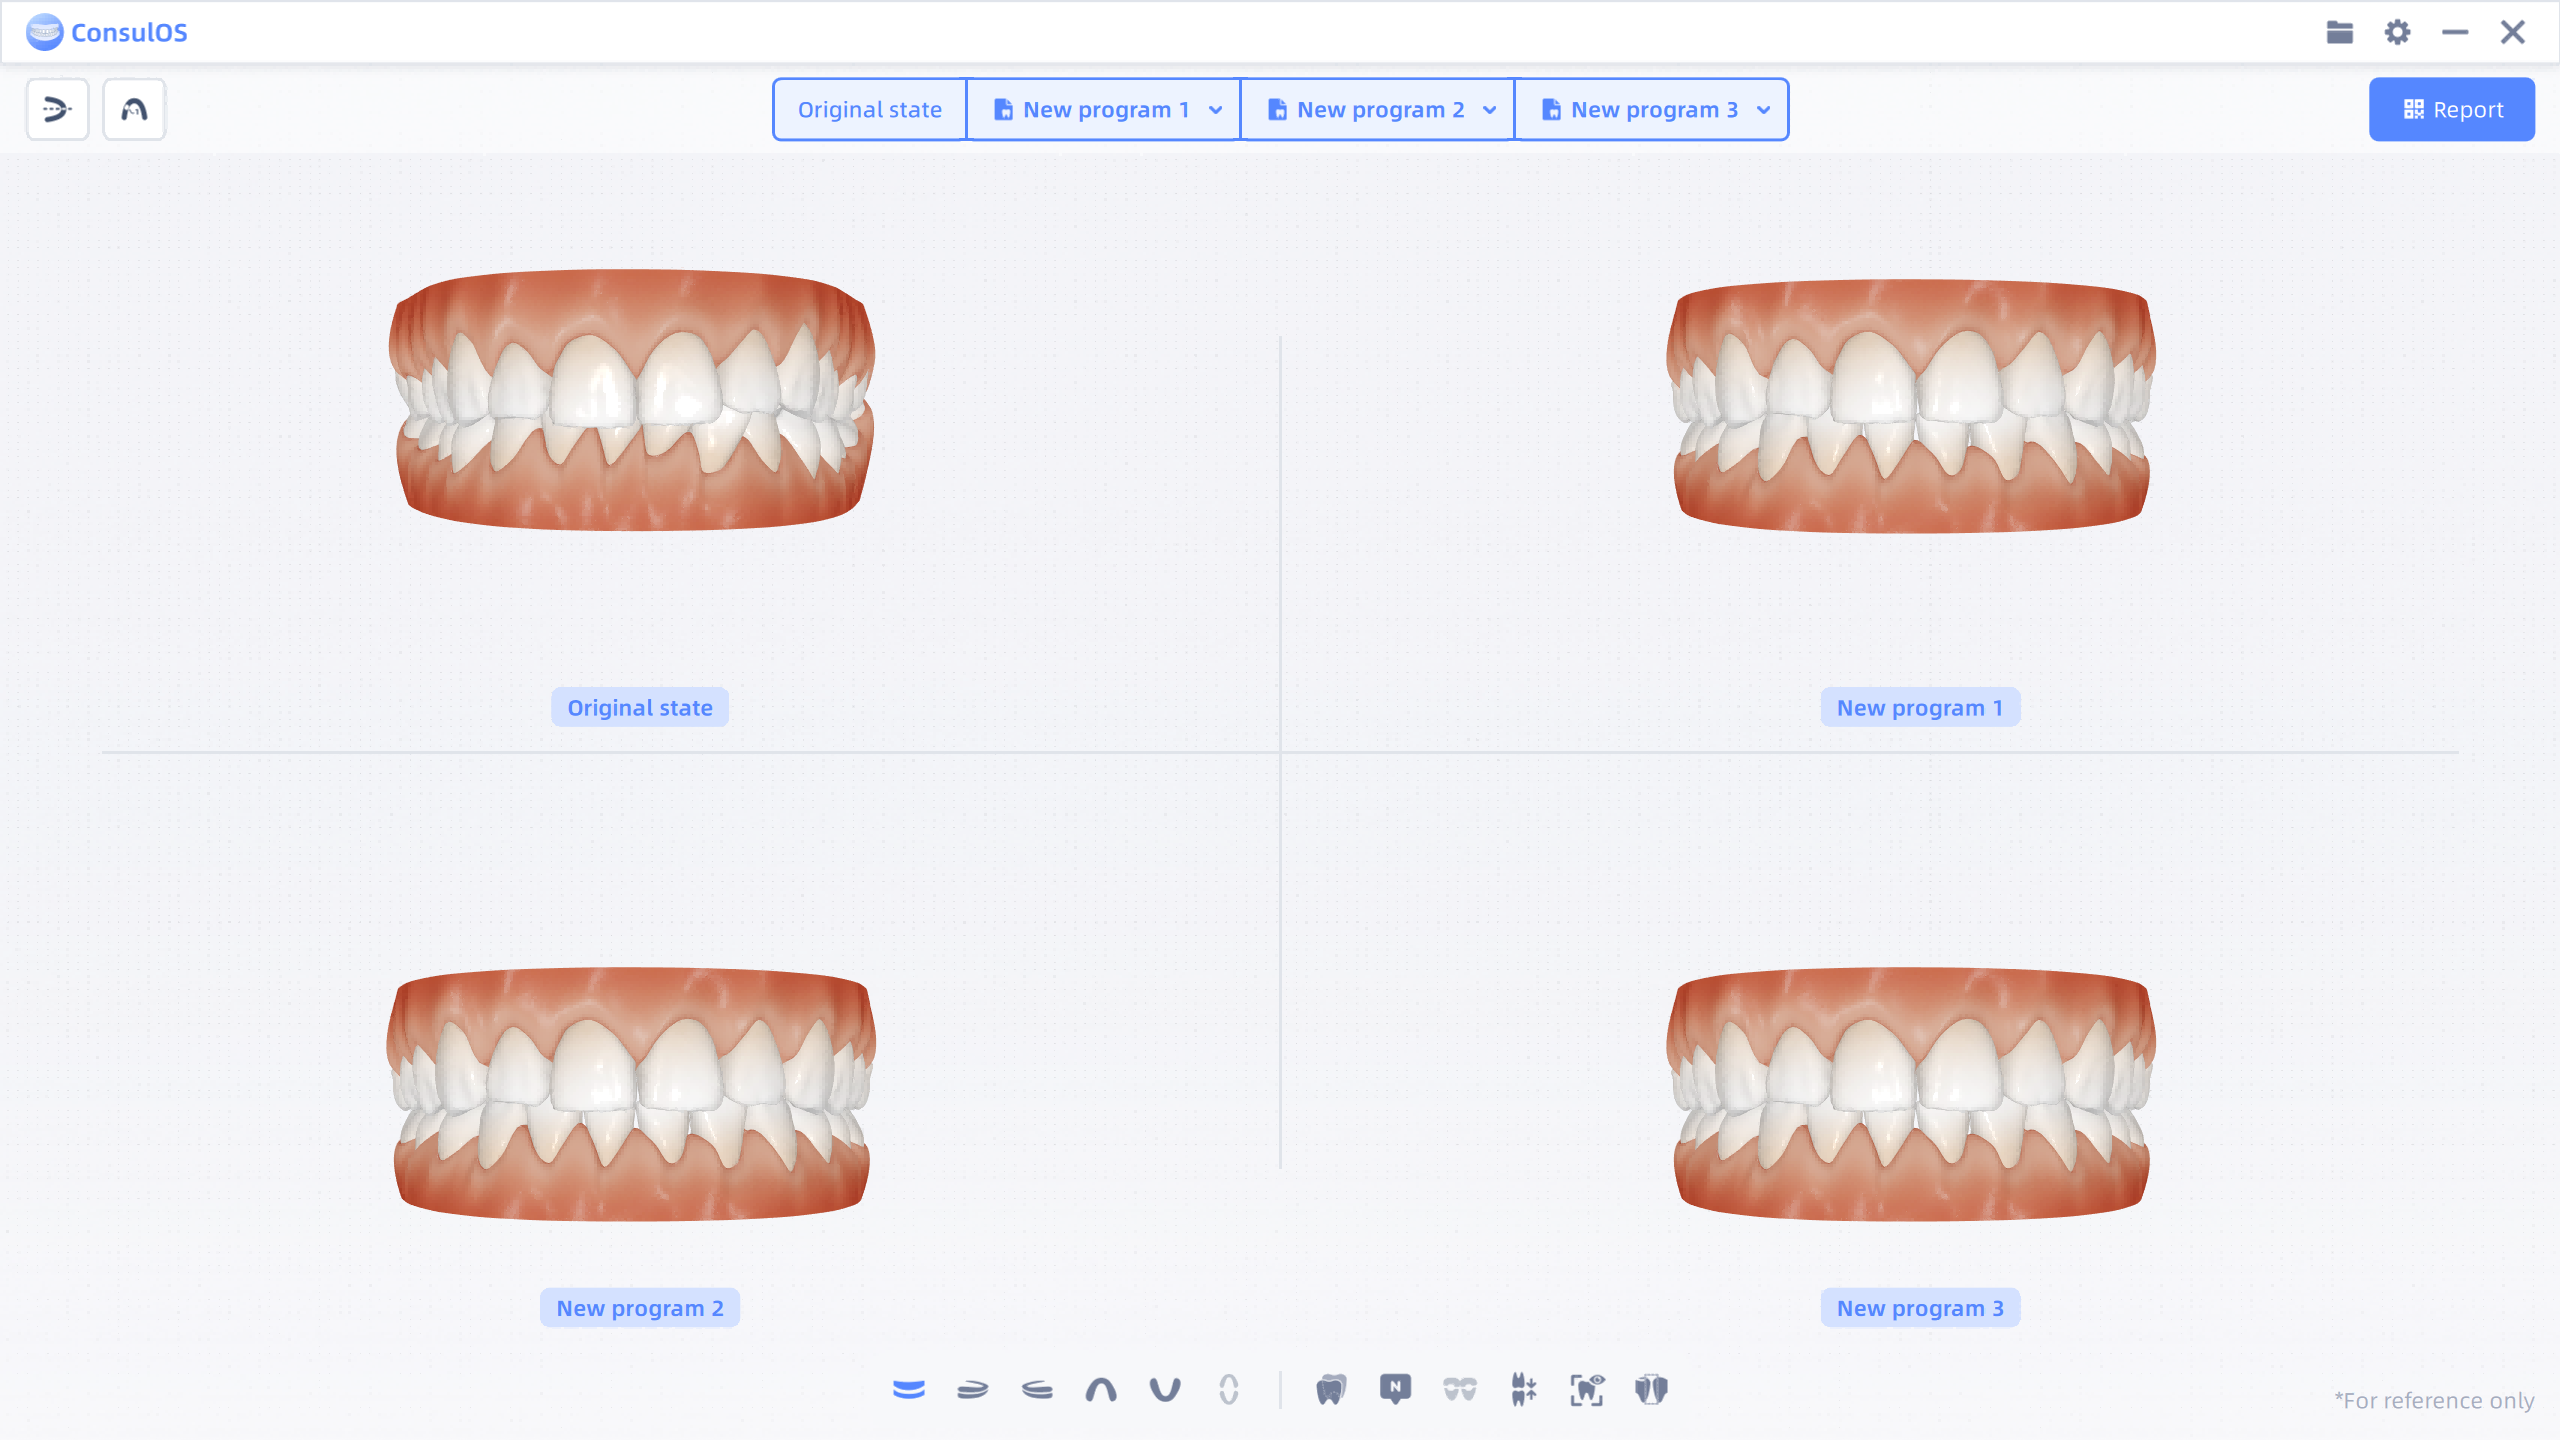
Switch models
If the user has both imported a facial model and a teeth model, switching between the teeth model and the facial model is supported. On the right side of the main interface, click or
to switch between the facial model and the teeth model.
Col
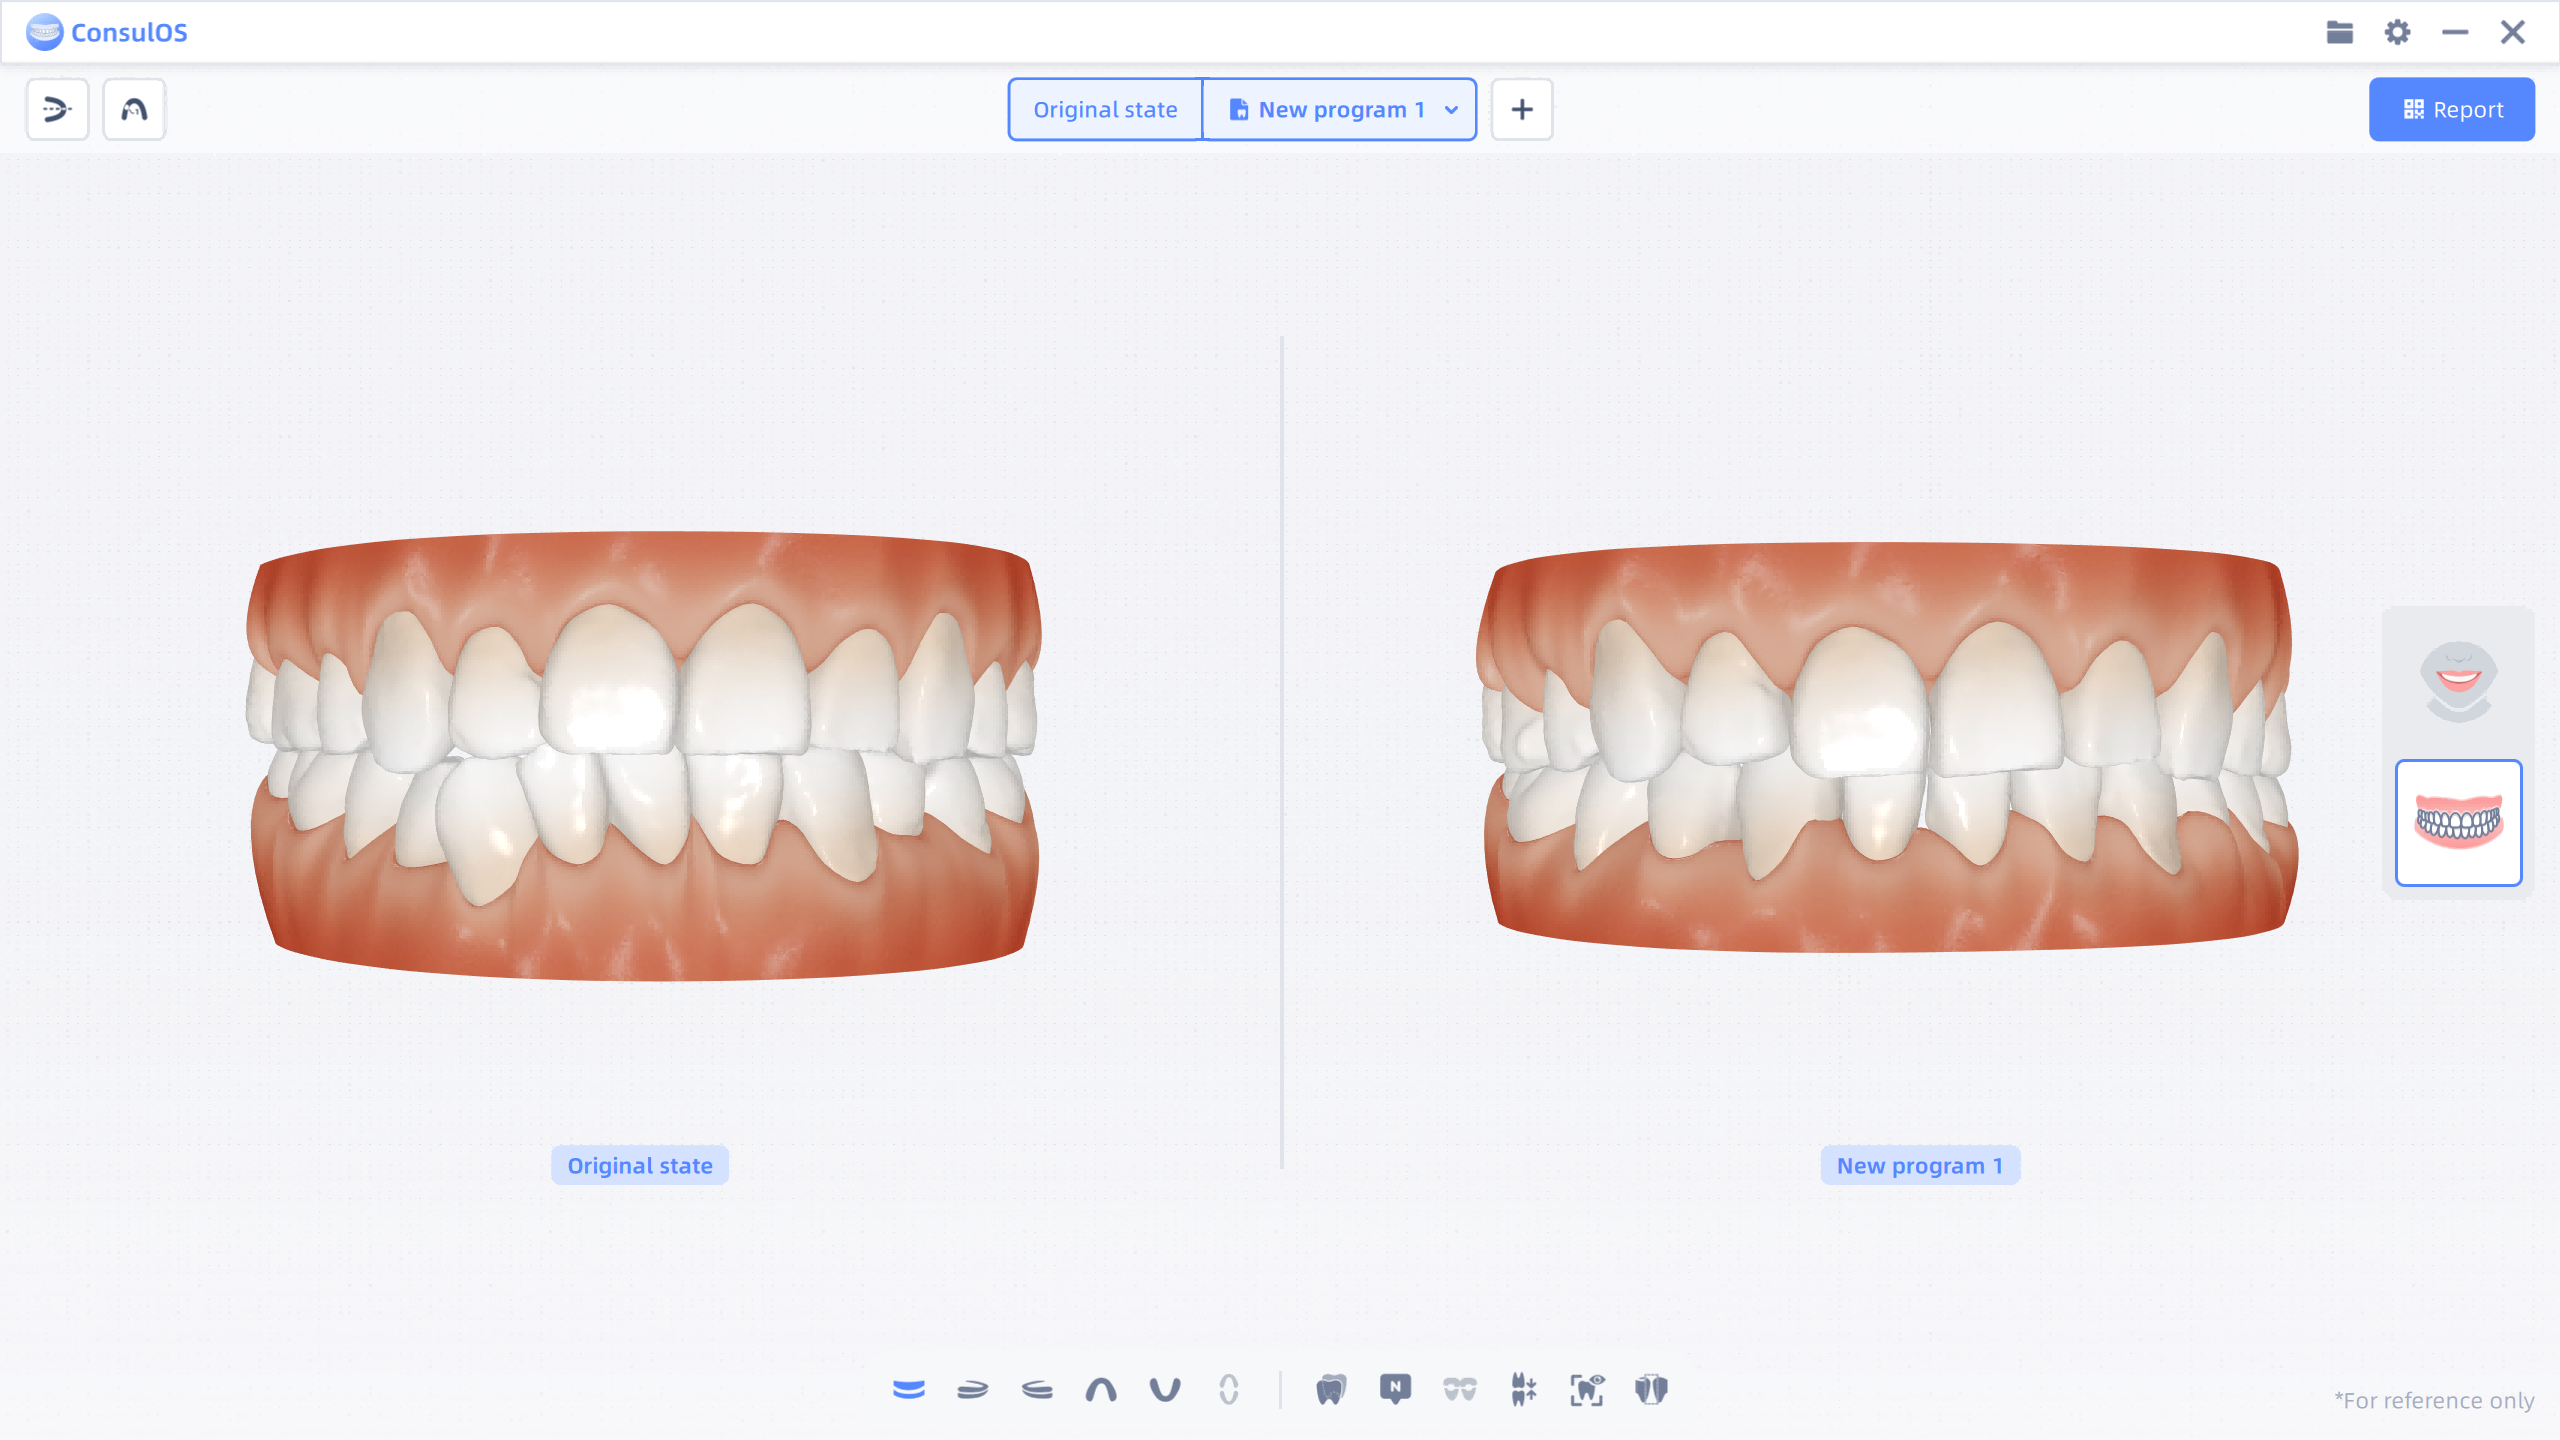
Teeth model
Col
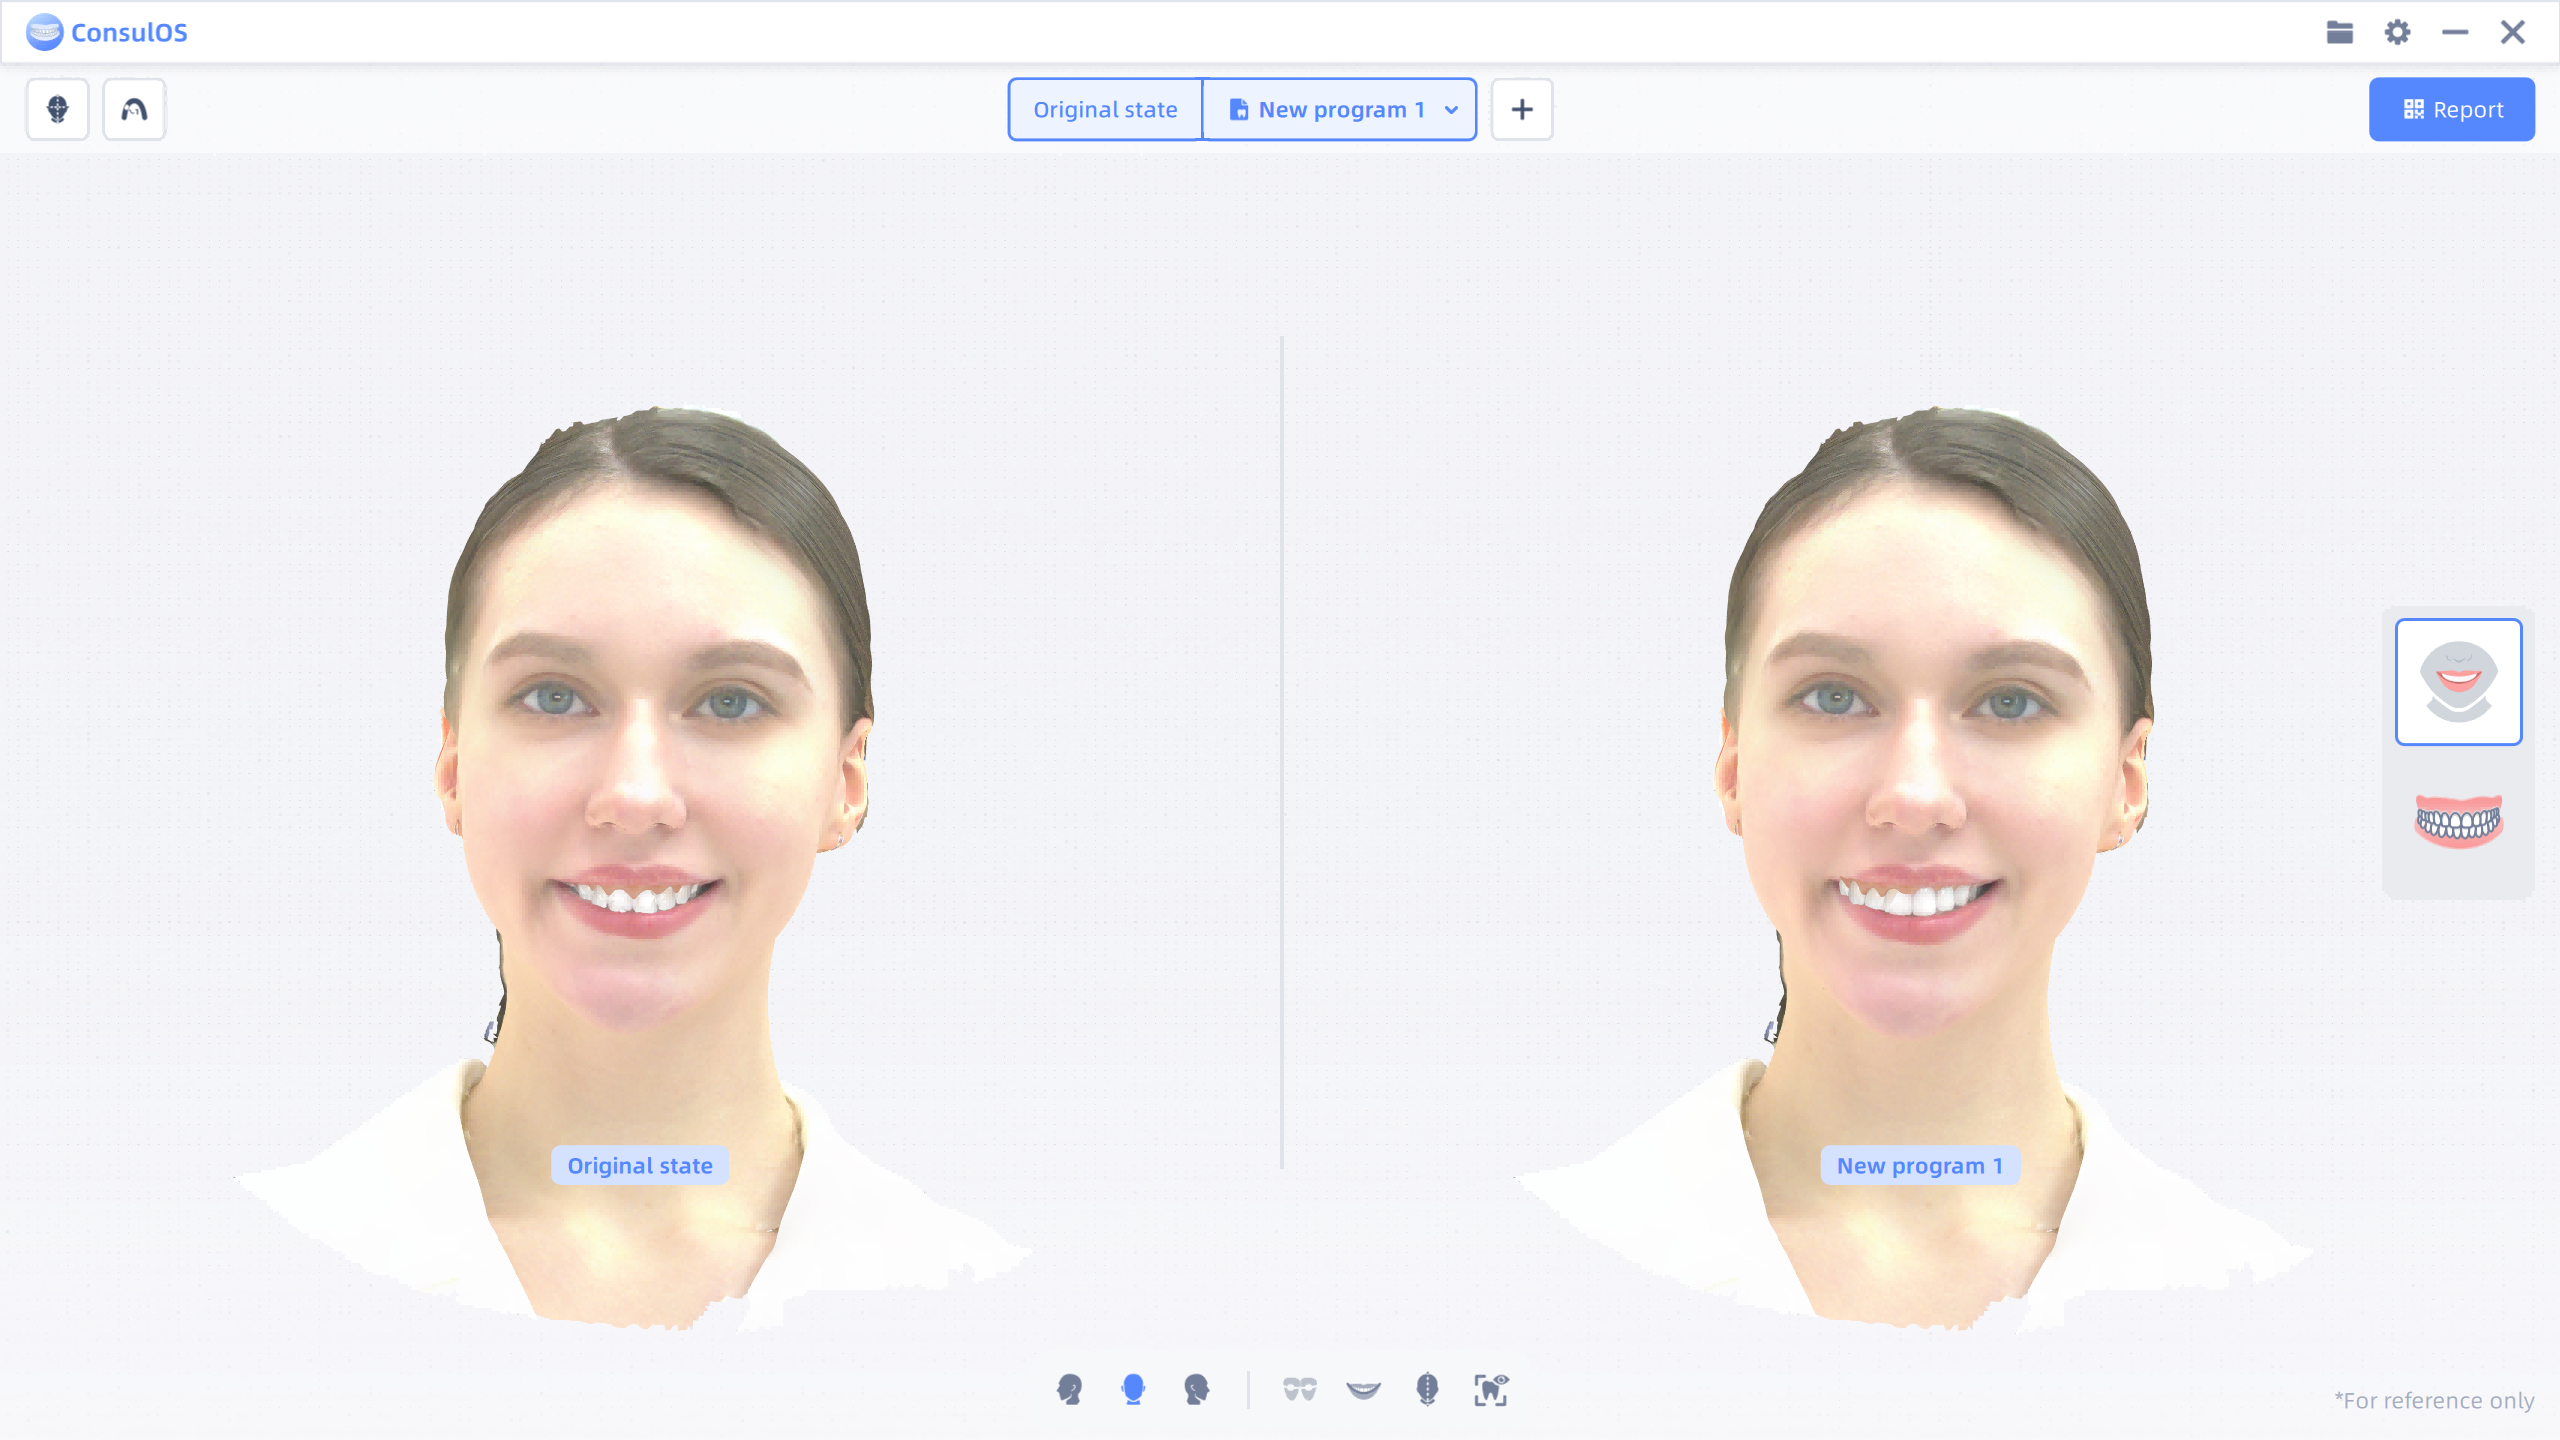
Facial model
Other Functions
On the main interface, there are a few functions to better preview the models.
General functions
| Name | Description | Effect |
|---|---|---|
Overlay |
Not enabled by default. Click to overlay the model of the original state on the simulated model. The original model will be displayed in blue. | 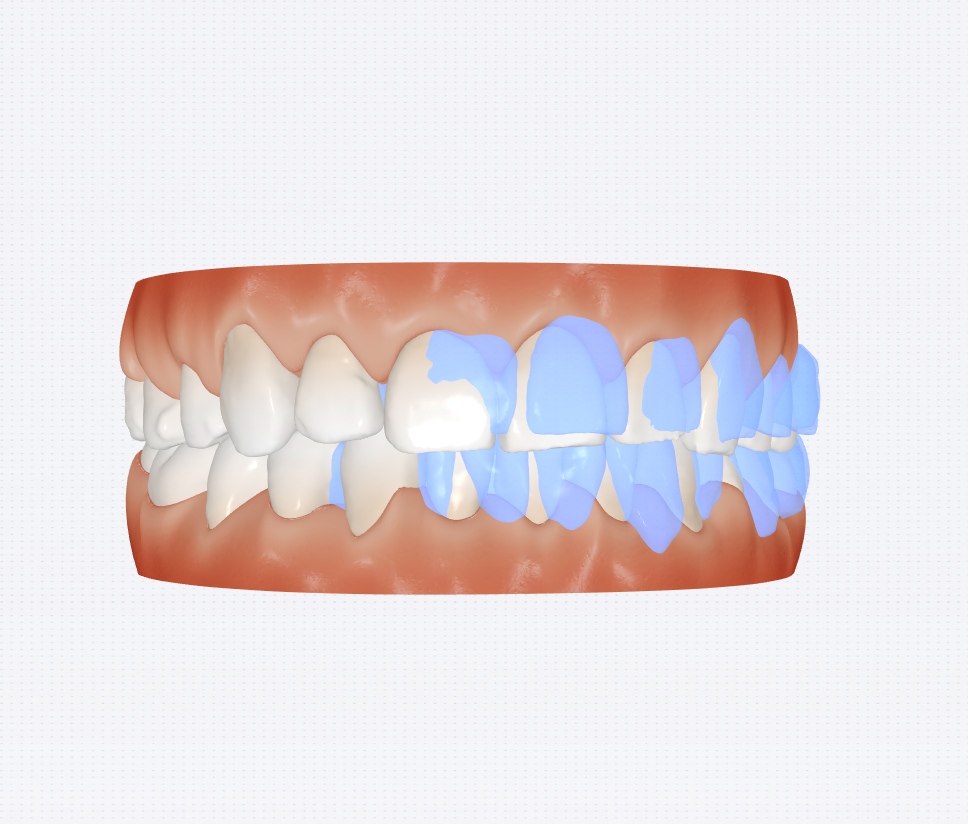 |
Tooth position |
Not enabled by default. Click to show tooth number on the model. | 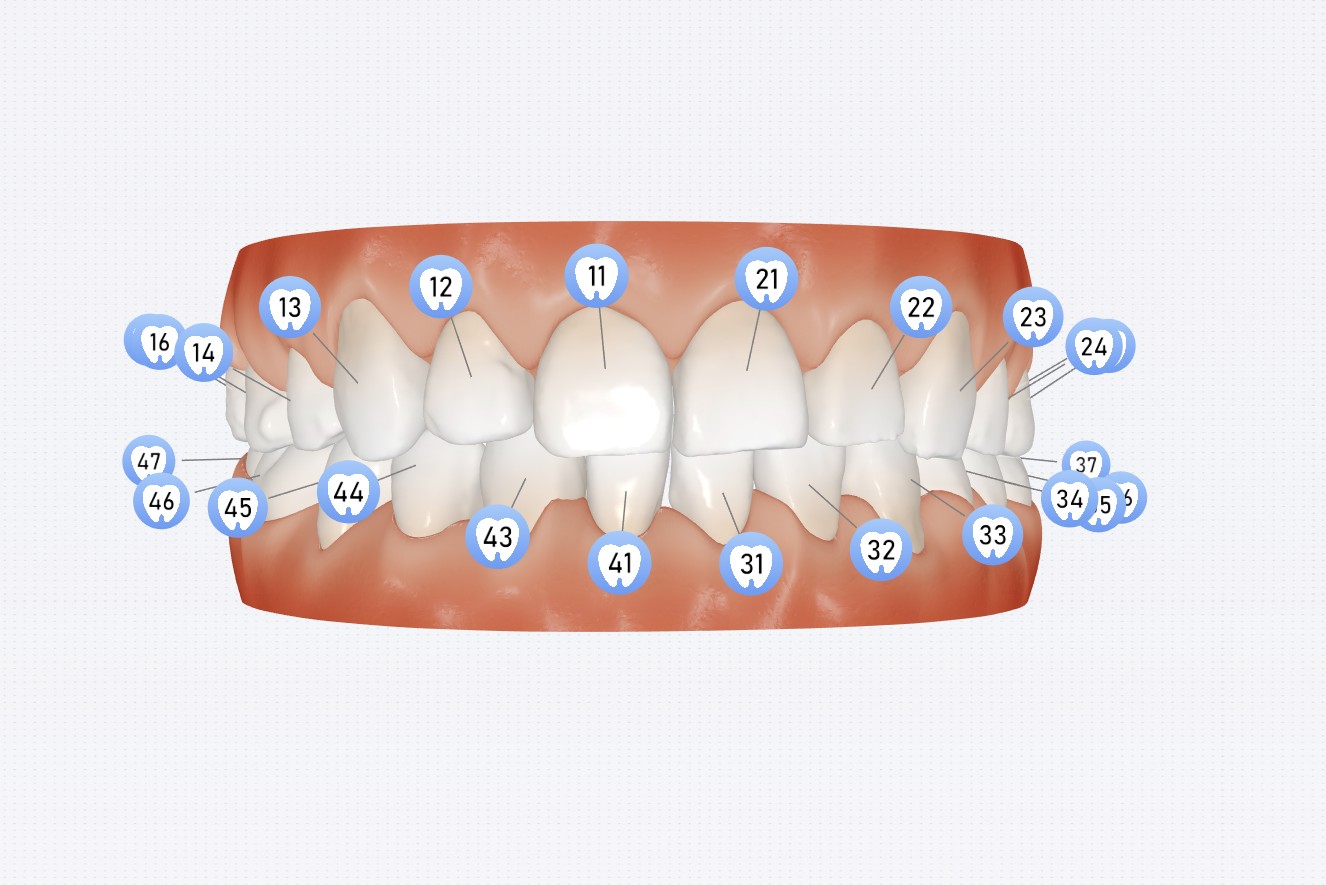 |
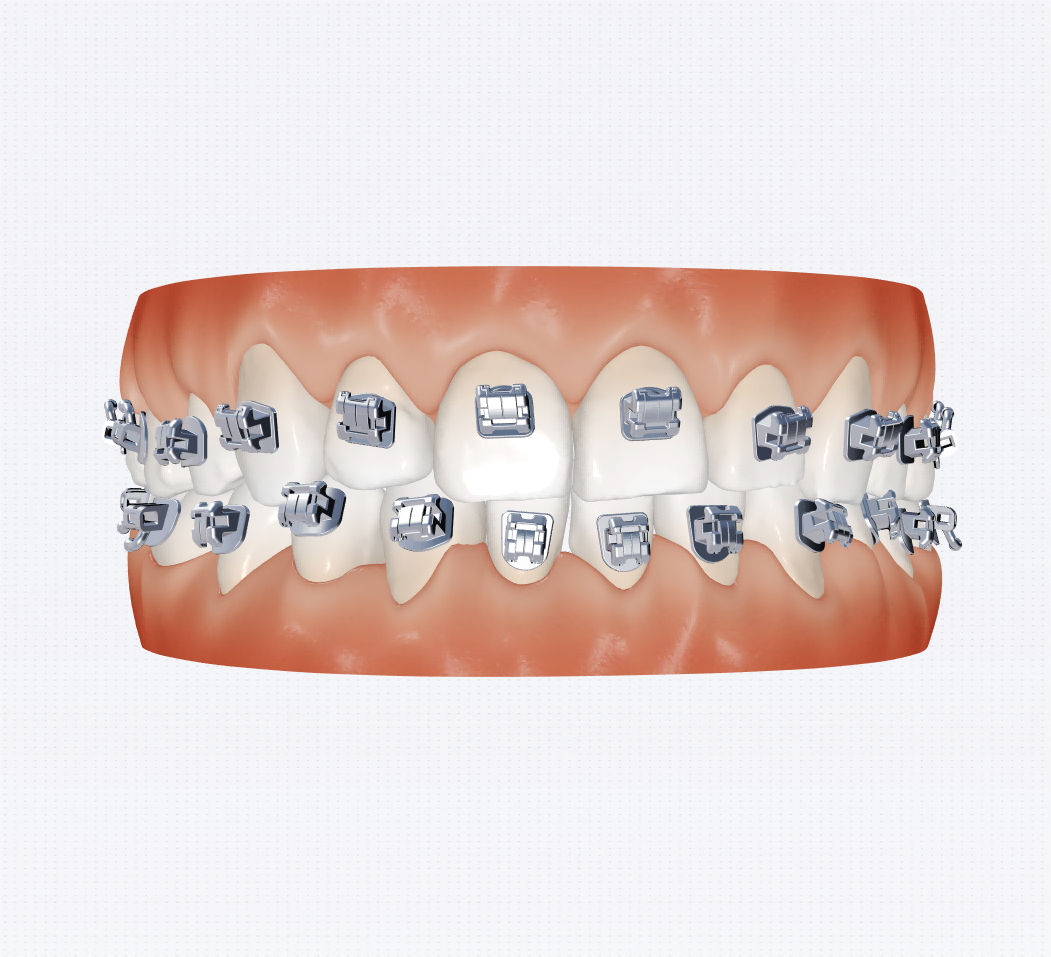
Brackets |
After adding brackets, click to show brackets on the model. Please add bracket in advance. More details can be found in Add brackets. |
 |
Occlude |
Not enabled by default. Click to check the occlusion status with the color bars. | 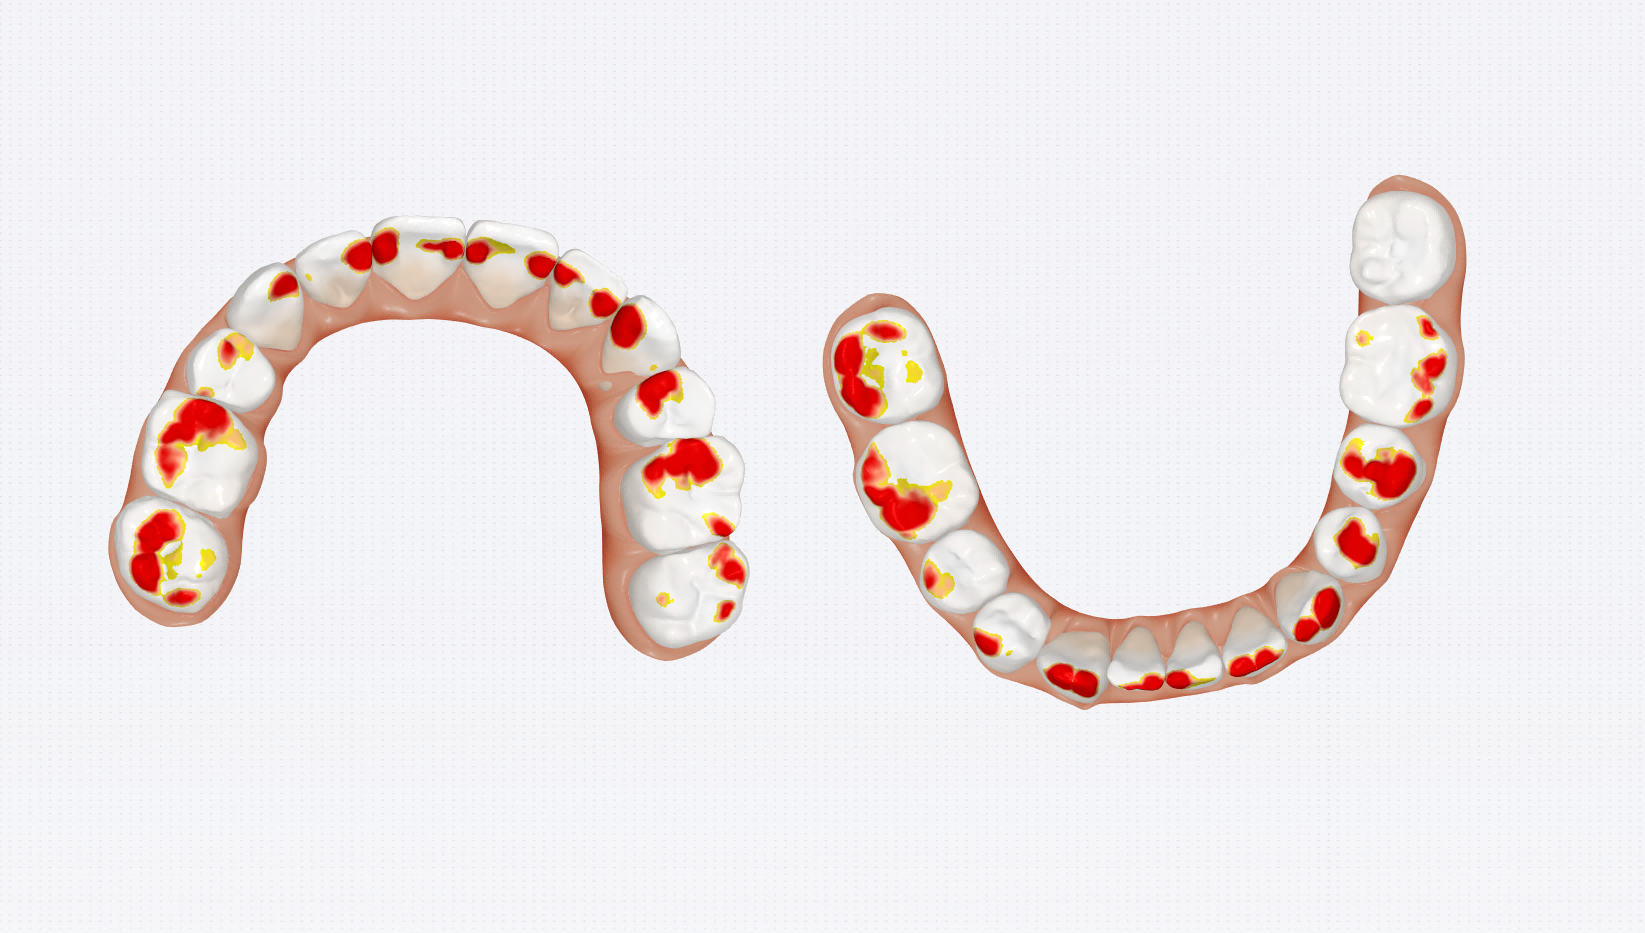 |
Texture enhancement |
Click to change the effect of the simulated model to the effect of the scanned model. The simulated model effect is enabled by default. | 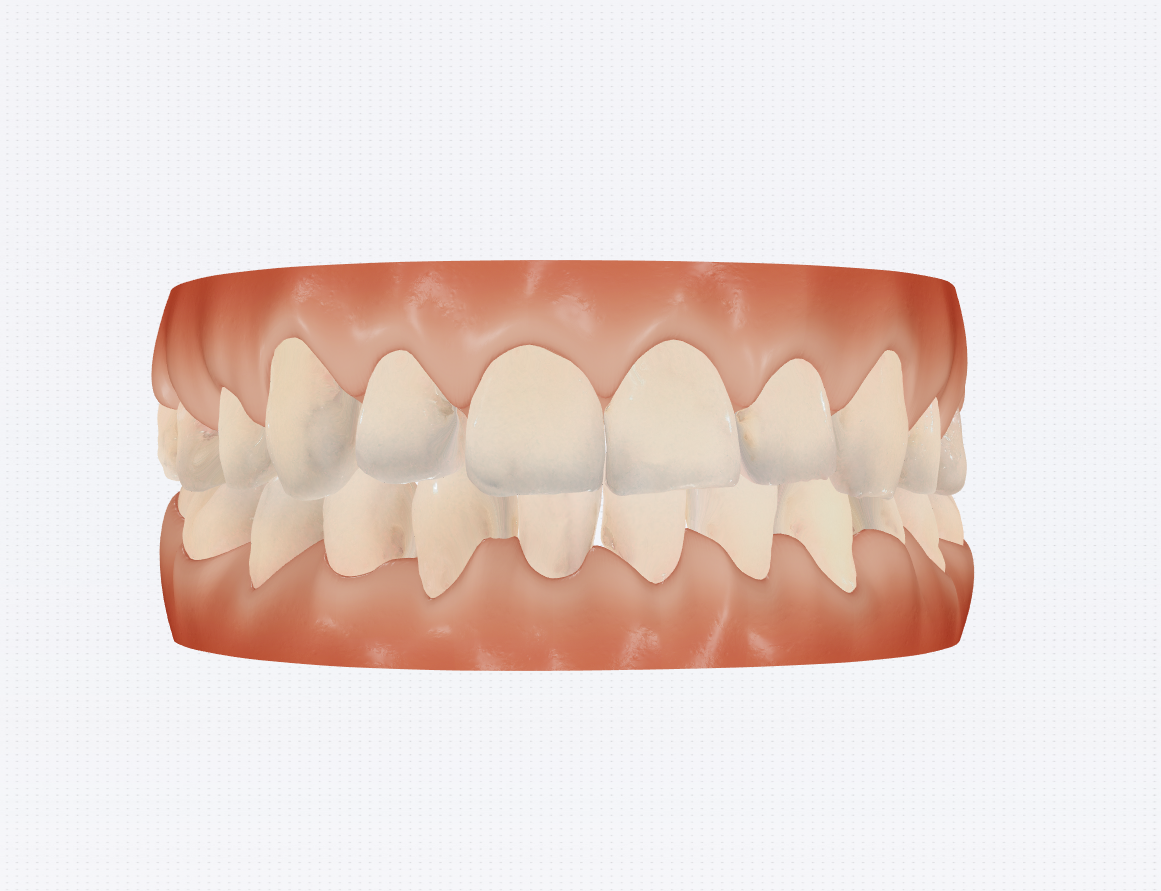 |
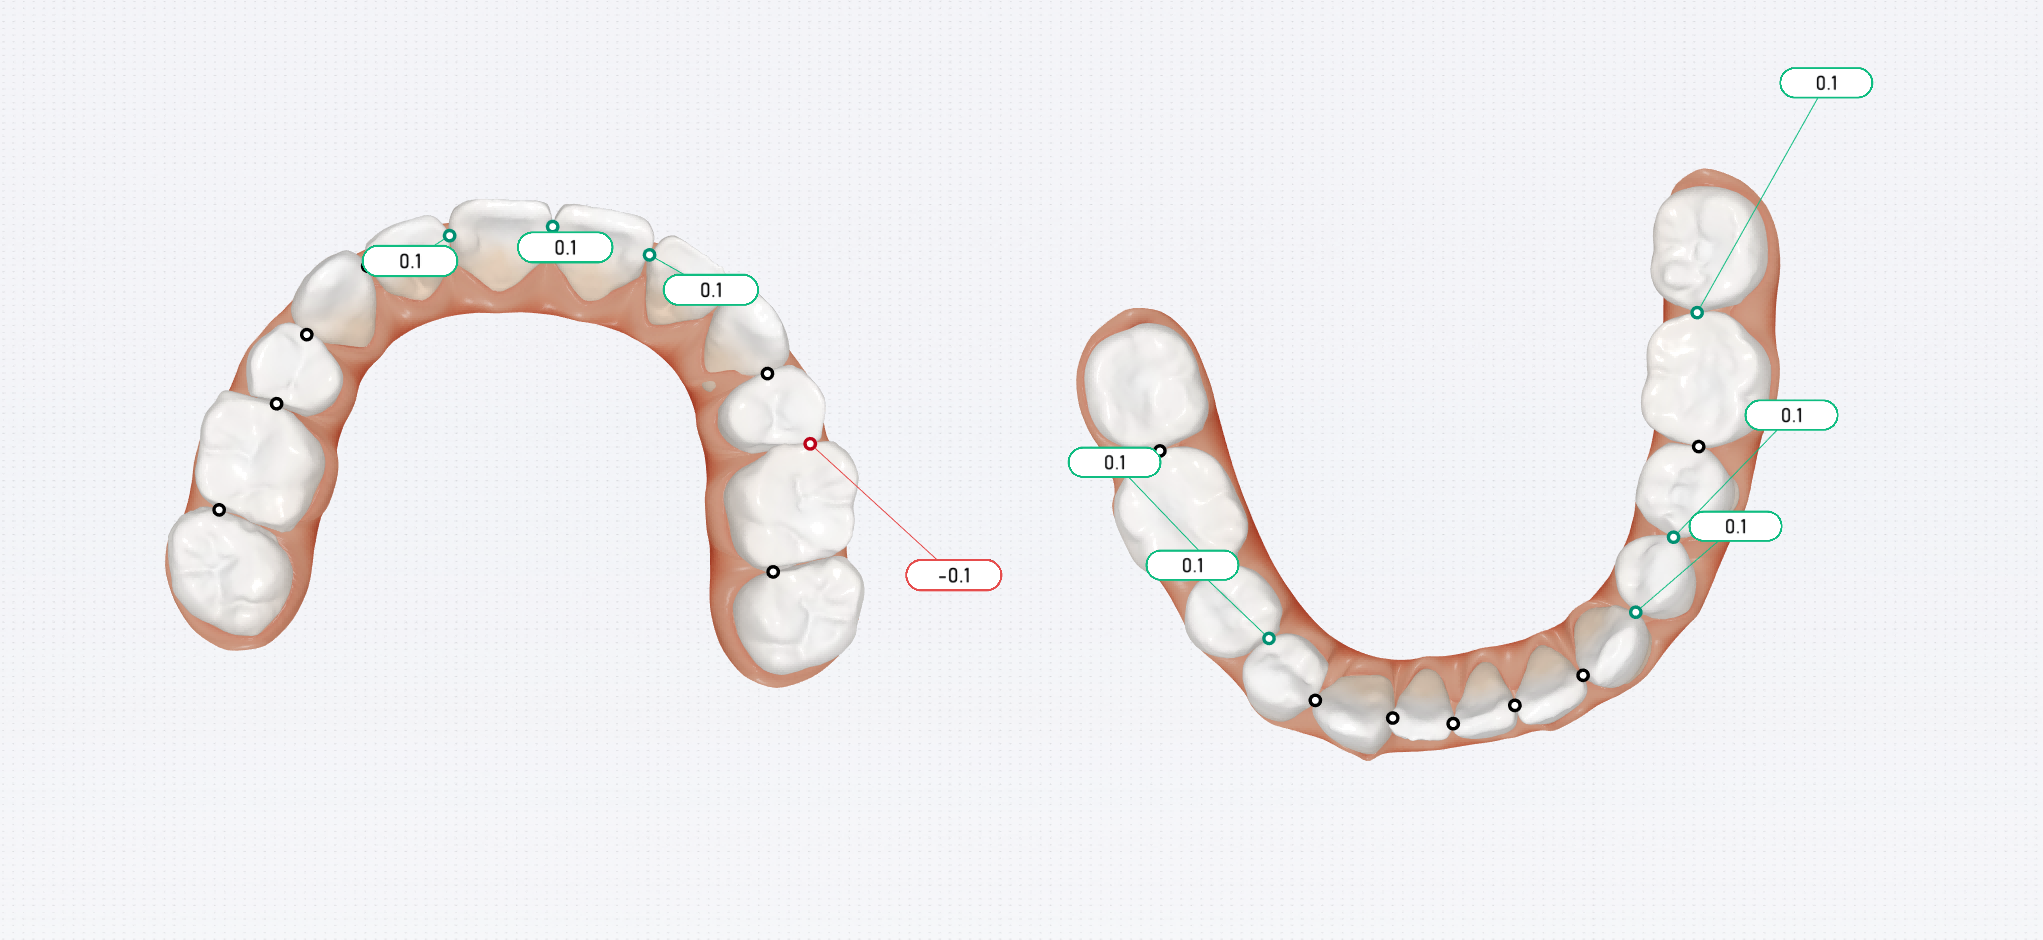
Interproximal contact |
To check the interval between the adjacent teeth. Not enabled by default. To adjust the interval, please start Manual setup. |
 |
| Jaws views | To change different views. |
Facial model only
When importing a facial model, ConsulOS will combine the teeth model with the facial model.
| Name | Description |
|---|---|
Smile line |
Click to show the smile line on the facial model. |
Midline |
Click to show the midline on the facial model. |
| Face views | To change different views, including left view, front view and right view. |