Data edit
After importing the model, the software will automatically create molar pad or the retainer.
In the main interface, users can edit the path insertion, edge line and parameters.
Note
The operations of editing molar pad and retainer are similar. This manual takes editing molar pad as an example.
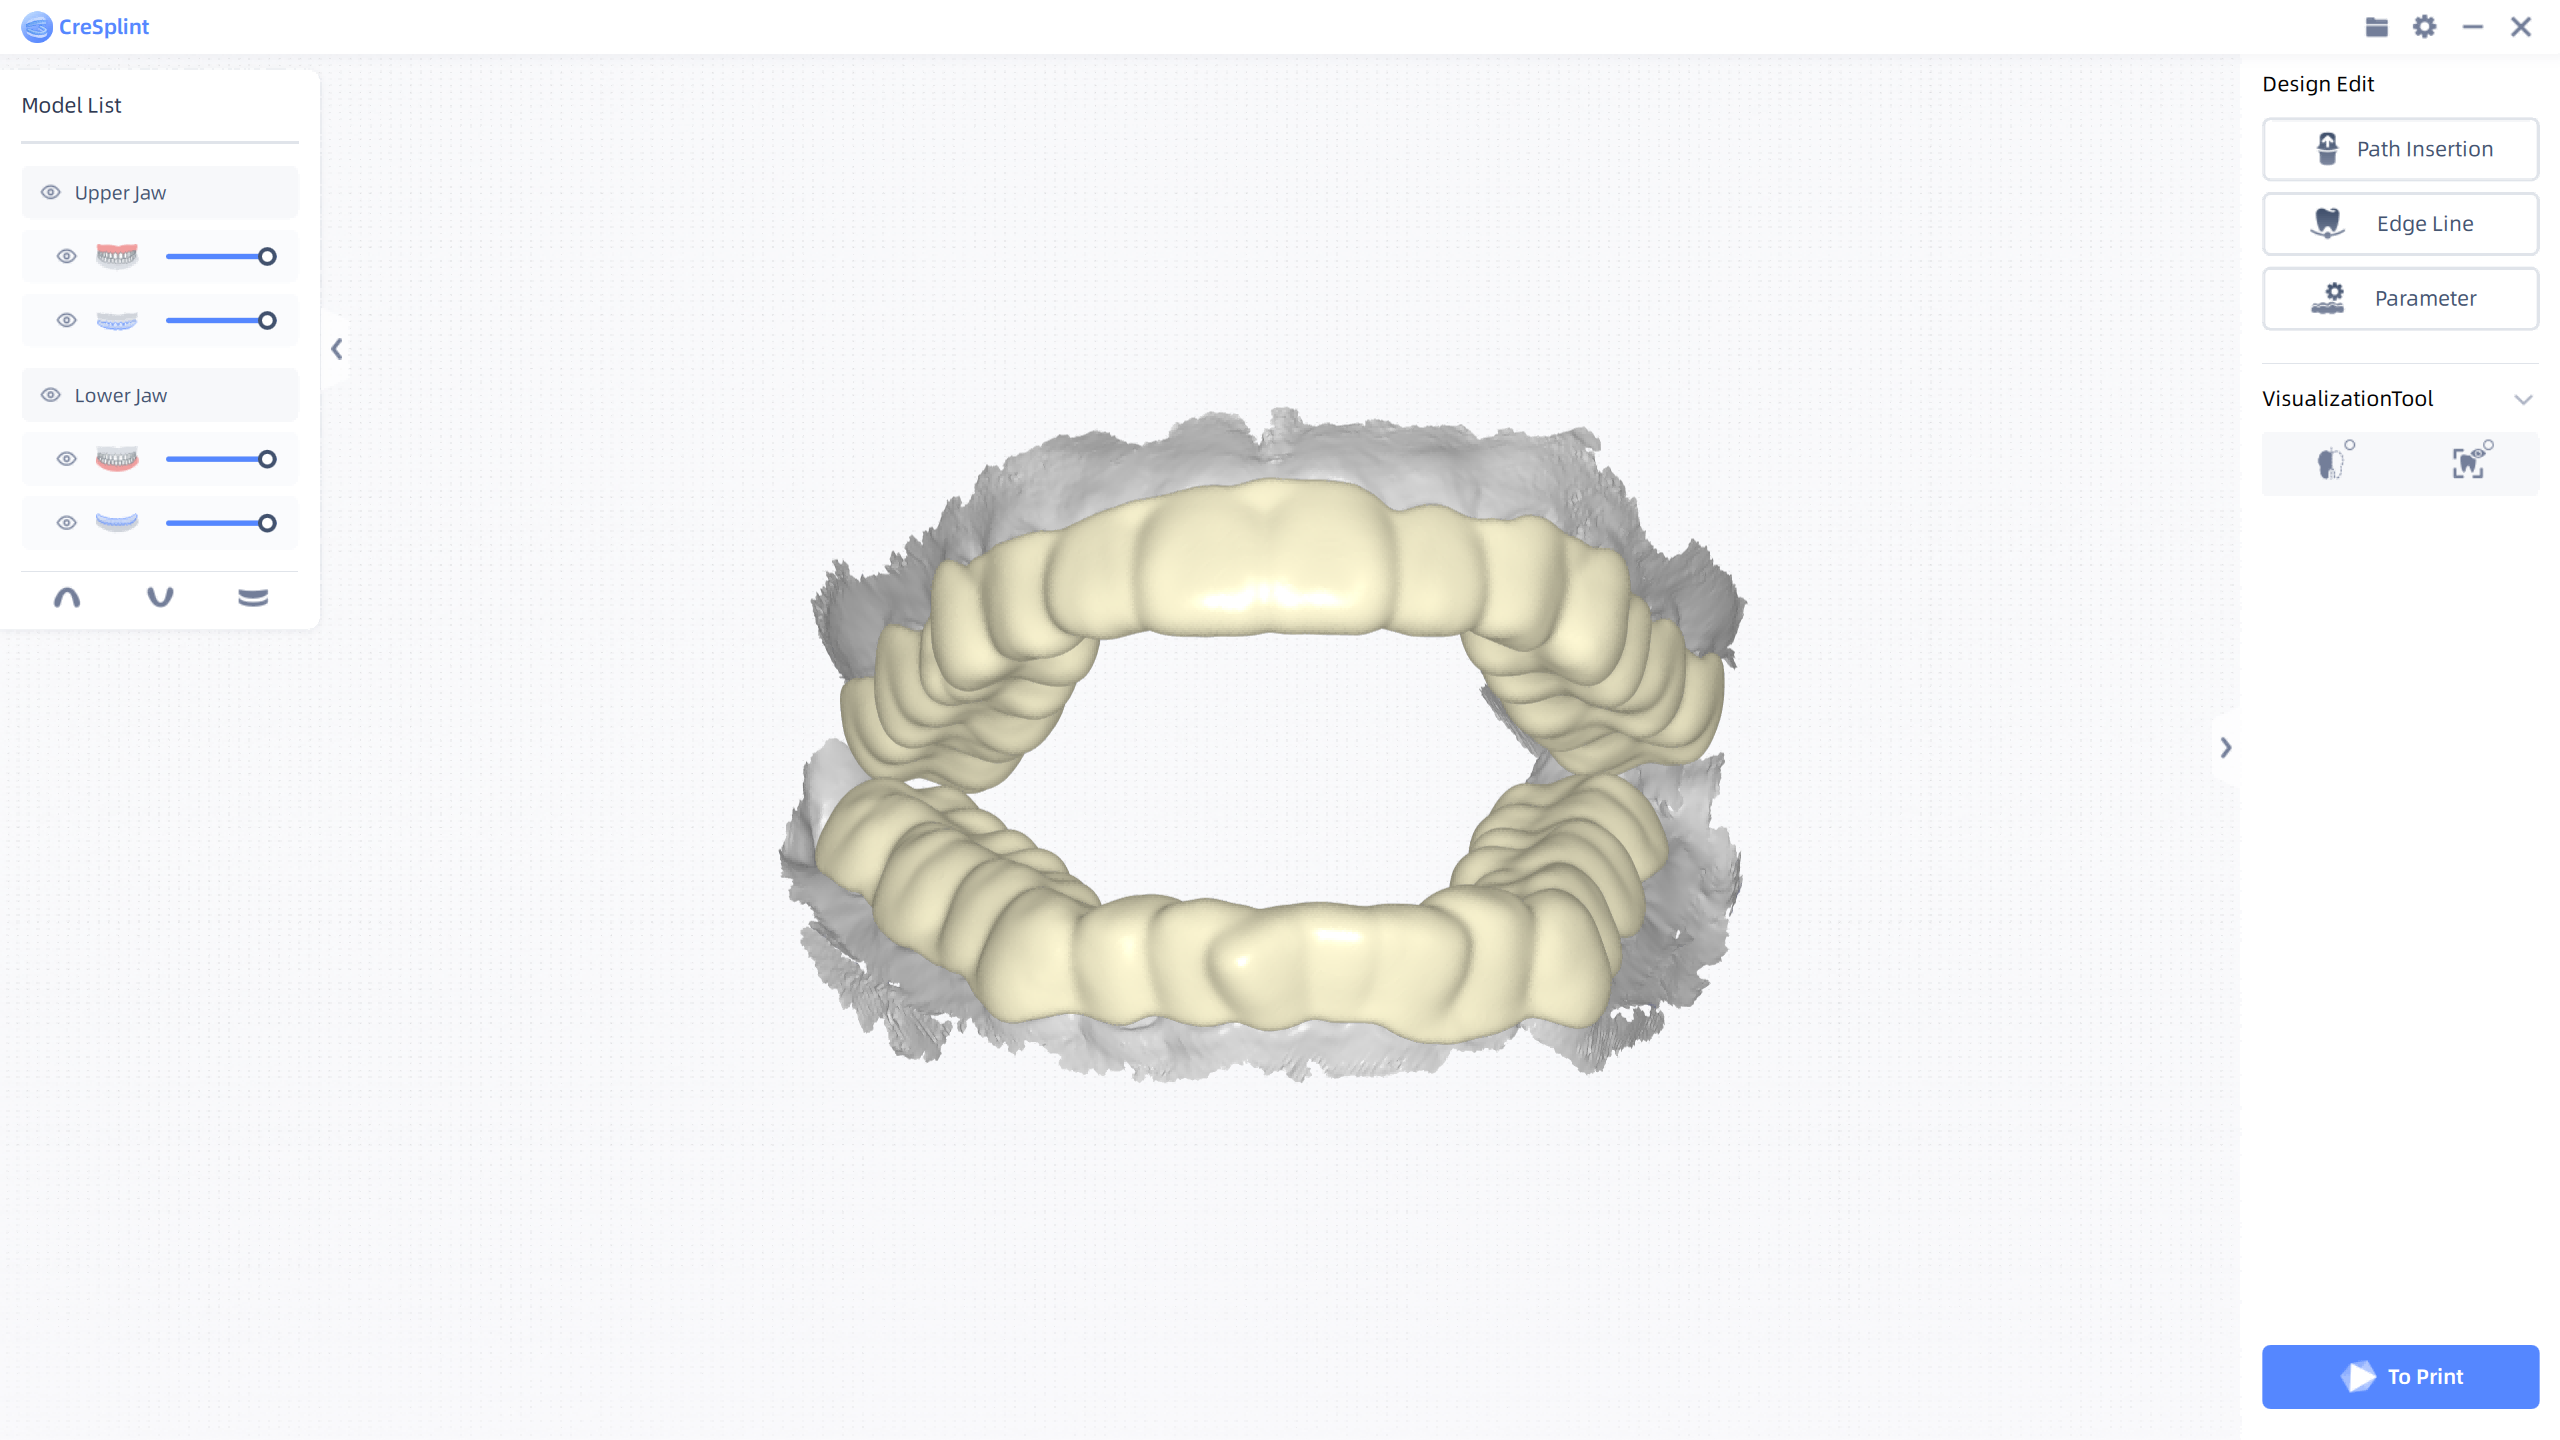
Model list
By moving the sliders on the left upper corner of the interface, the user can respectively change the opacity of the models and the pads.
Click to hide the model or the molar pad/retainer.
Click /
/
to check the model from different perspectives.
Path insertion
The path insertion refers to the direction in which the molar pad or the retainer is positioned. Different path insertions have different undercut ranges, affecting the shape of the molar pad or the retainer.
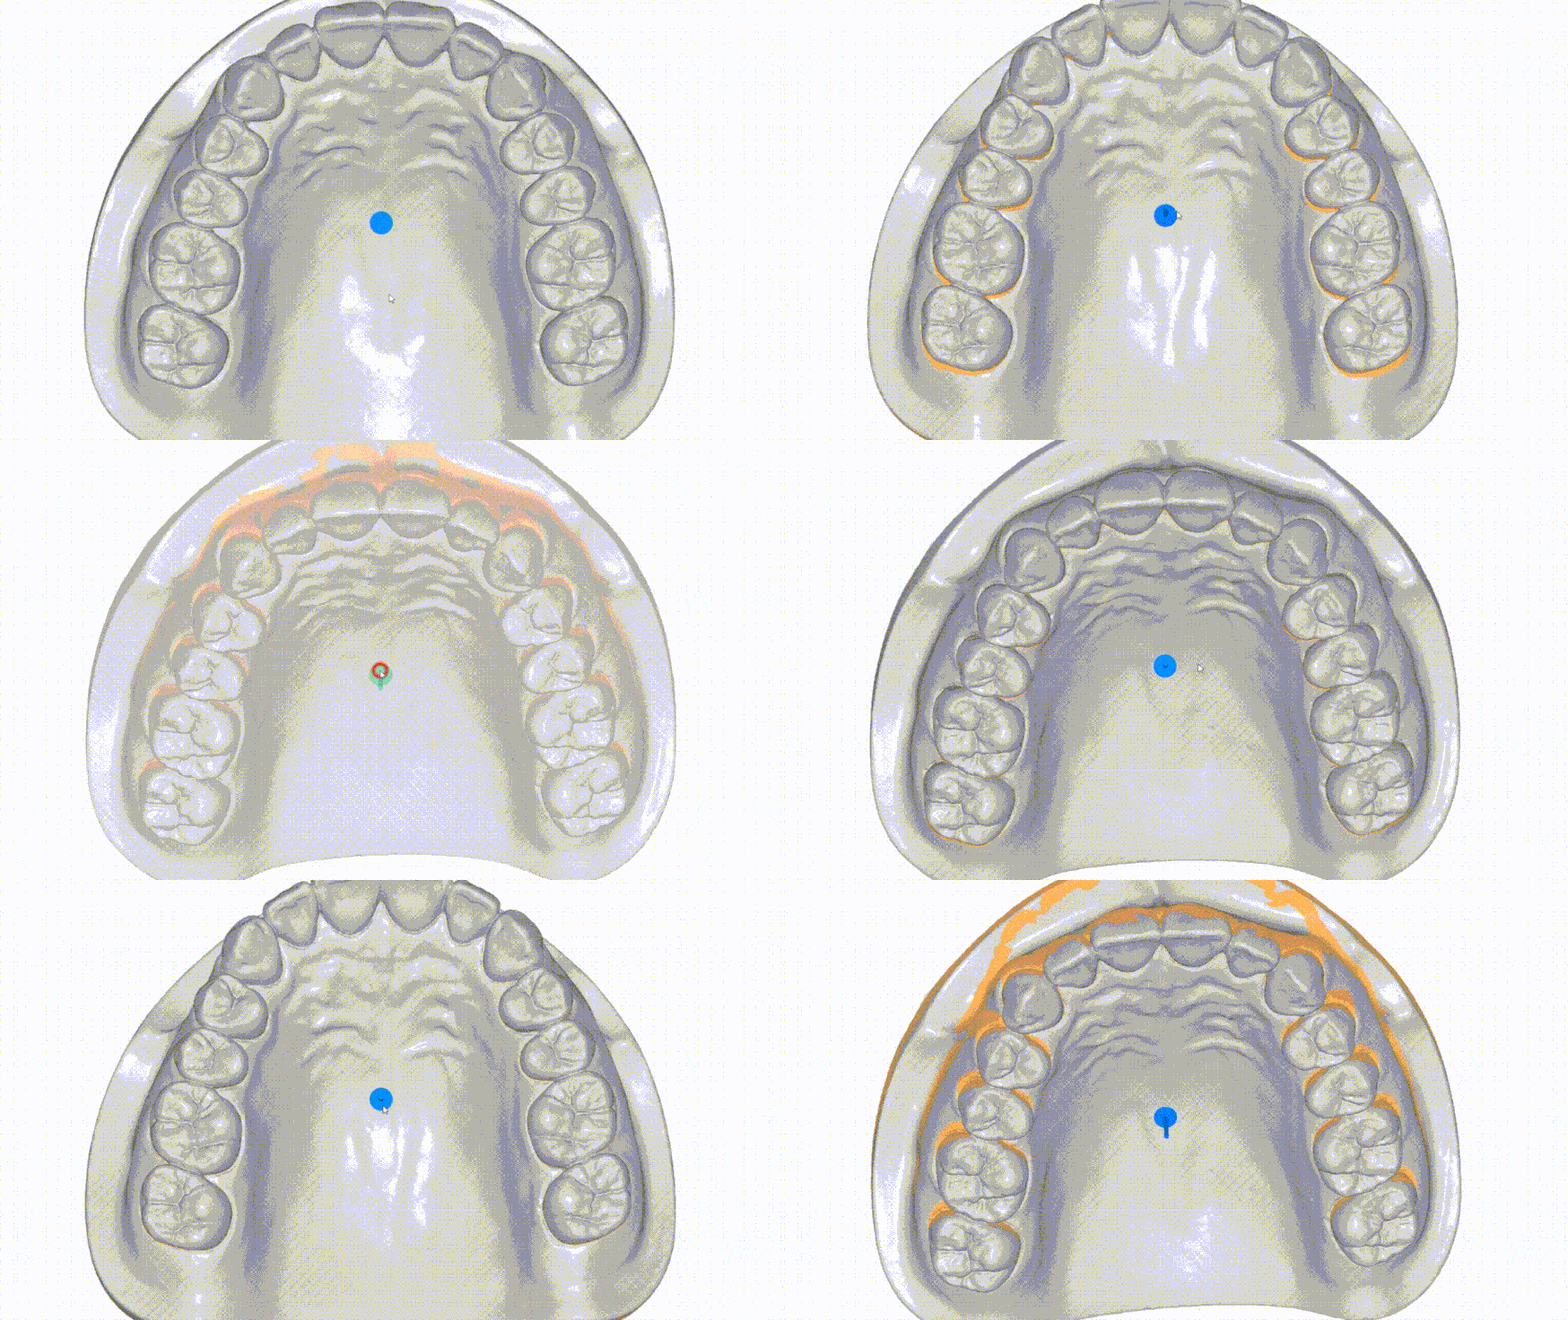
Steps
1 Click to enter the window to edit the path insertion.
2 Click the blue arrow pointing to the upper/lower jaw and the software will automatically adjust the path insertion.
3 Click to confirm the path insertion after changing.
Note
- Click
to exit editing path insertion. If there are already some changes, then a tip is popped up.
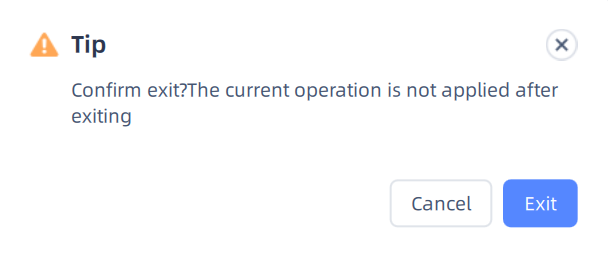
- Click Exit to cancel the changes.
Edge line
The edge line wraps the range of the molar pad or the retainer. Editing the edge line changes the range.
Click to enter the window to edit the edge line. The software will automatically generate edge line.
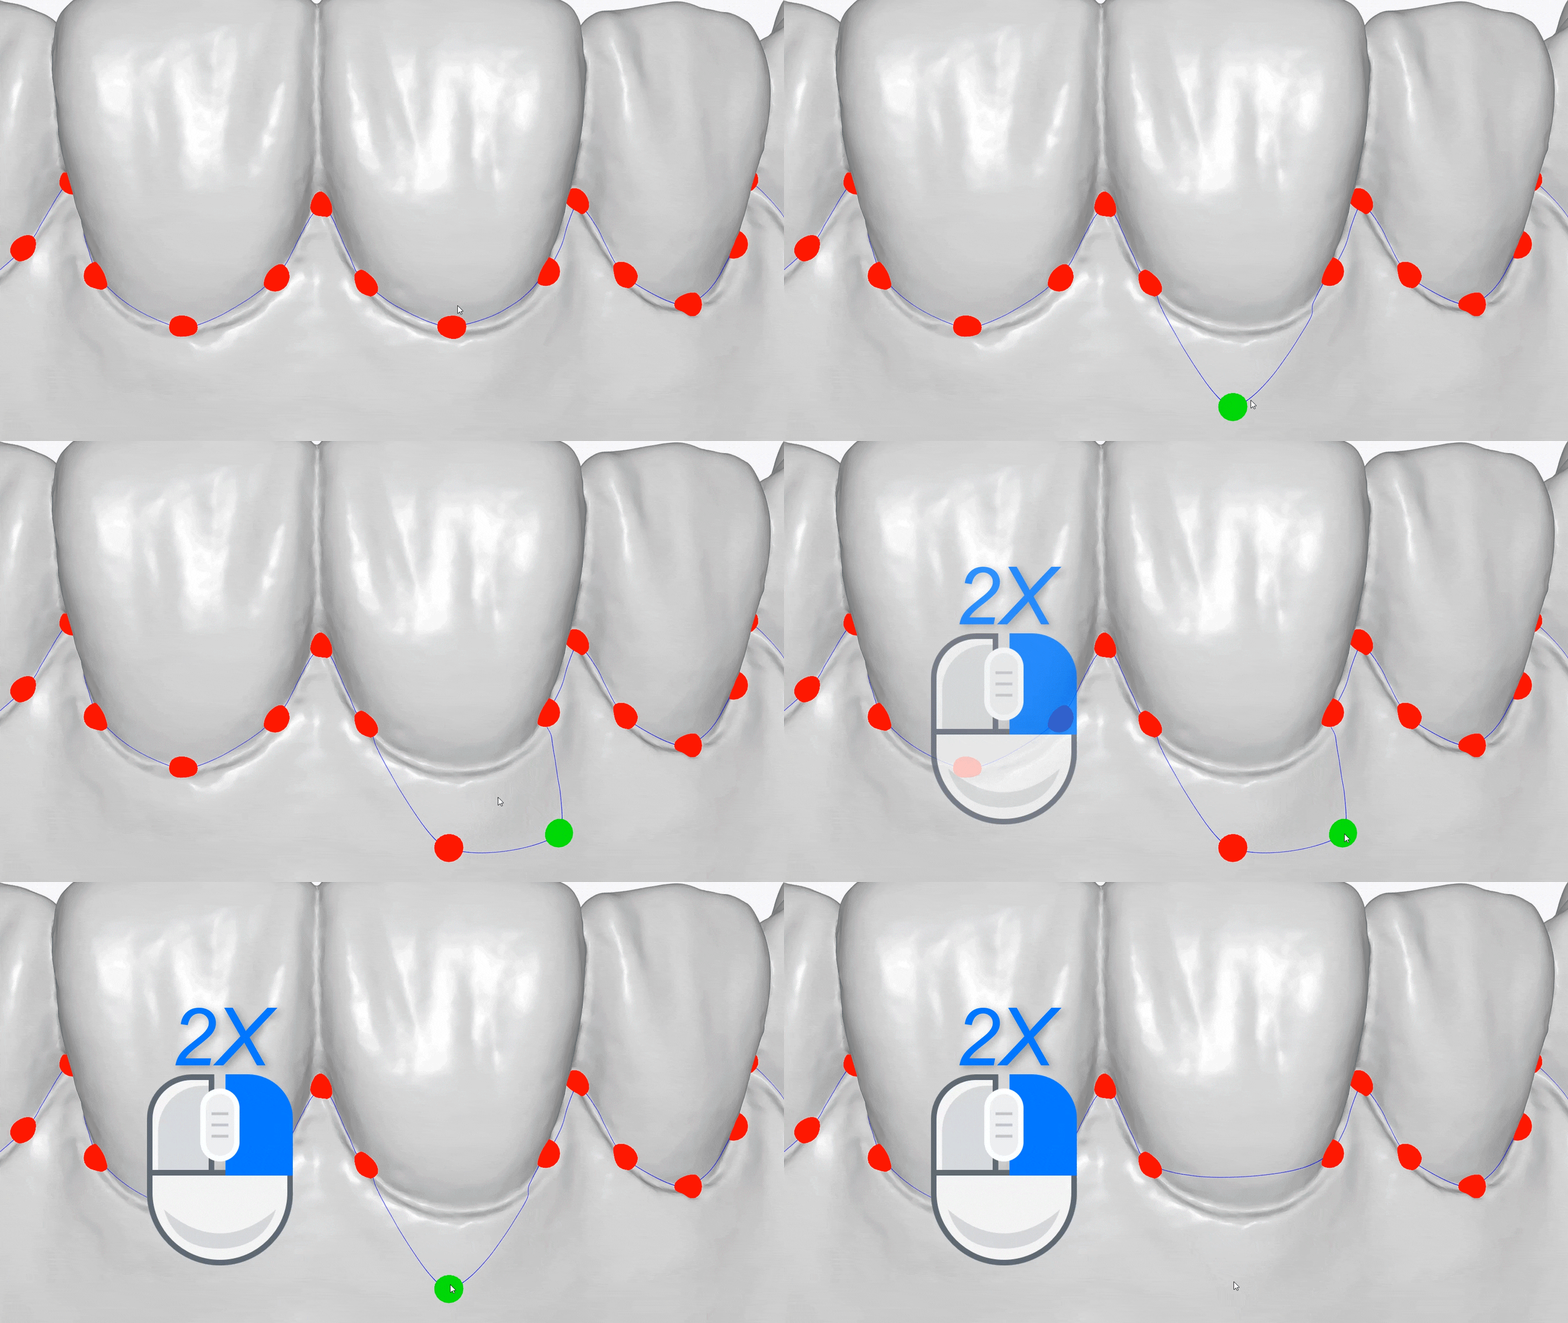
| Object | Operation |
|---|---|
| Edit edge line | Select a control point ad move the cursor to edit the edge line. |
| Delete a control point | Double-click right mouse button to delete the certain control point. |
| Add a control point | Press the line and move the cursor to add a new control point. |
| Restore the edge line | If it is a straight line, click |
| Confirm | Click |
| Cancel |
|
Note
- When Molar pad is selected, the edge line is a straight line by default. While when Retainer is selected, the edge line is a curve by default.
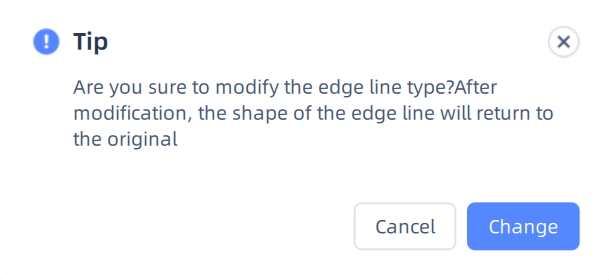
- When switching the edge line shape, a tip is popped up. Click Change to confirm.
Parameter
Click to enter the window of editing parameters.
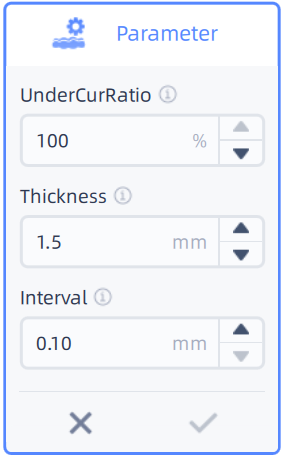
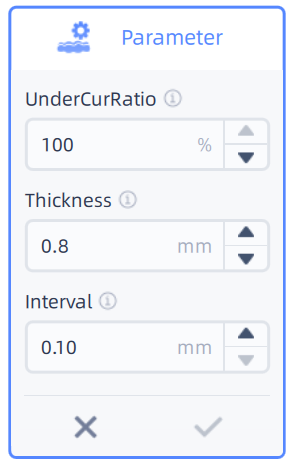
In this window, users can edit Undercut Ratio, Thickness and Interval between the molar pad/retainer and teeth.
- Undercut Ratio refers to the ratio of filling undercut in the current path insertion. 100% indicates that all undercut is filled. 0% indicates that no undercut is filled.
- Thickness refers to the thickness of the molar pad or the retainer.
- Interval refers to the interval between the molar pad/retainer and the teeth.
| Default parameters of molar pad | Default parameters of retainer |
|---|---|
 |
 |
Visualization tool
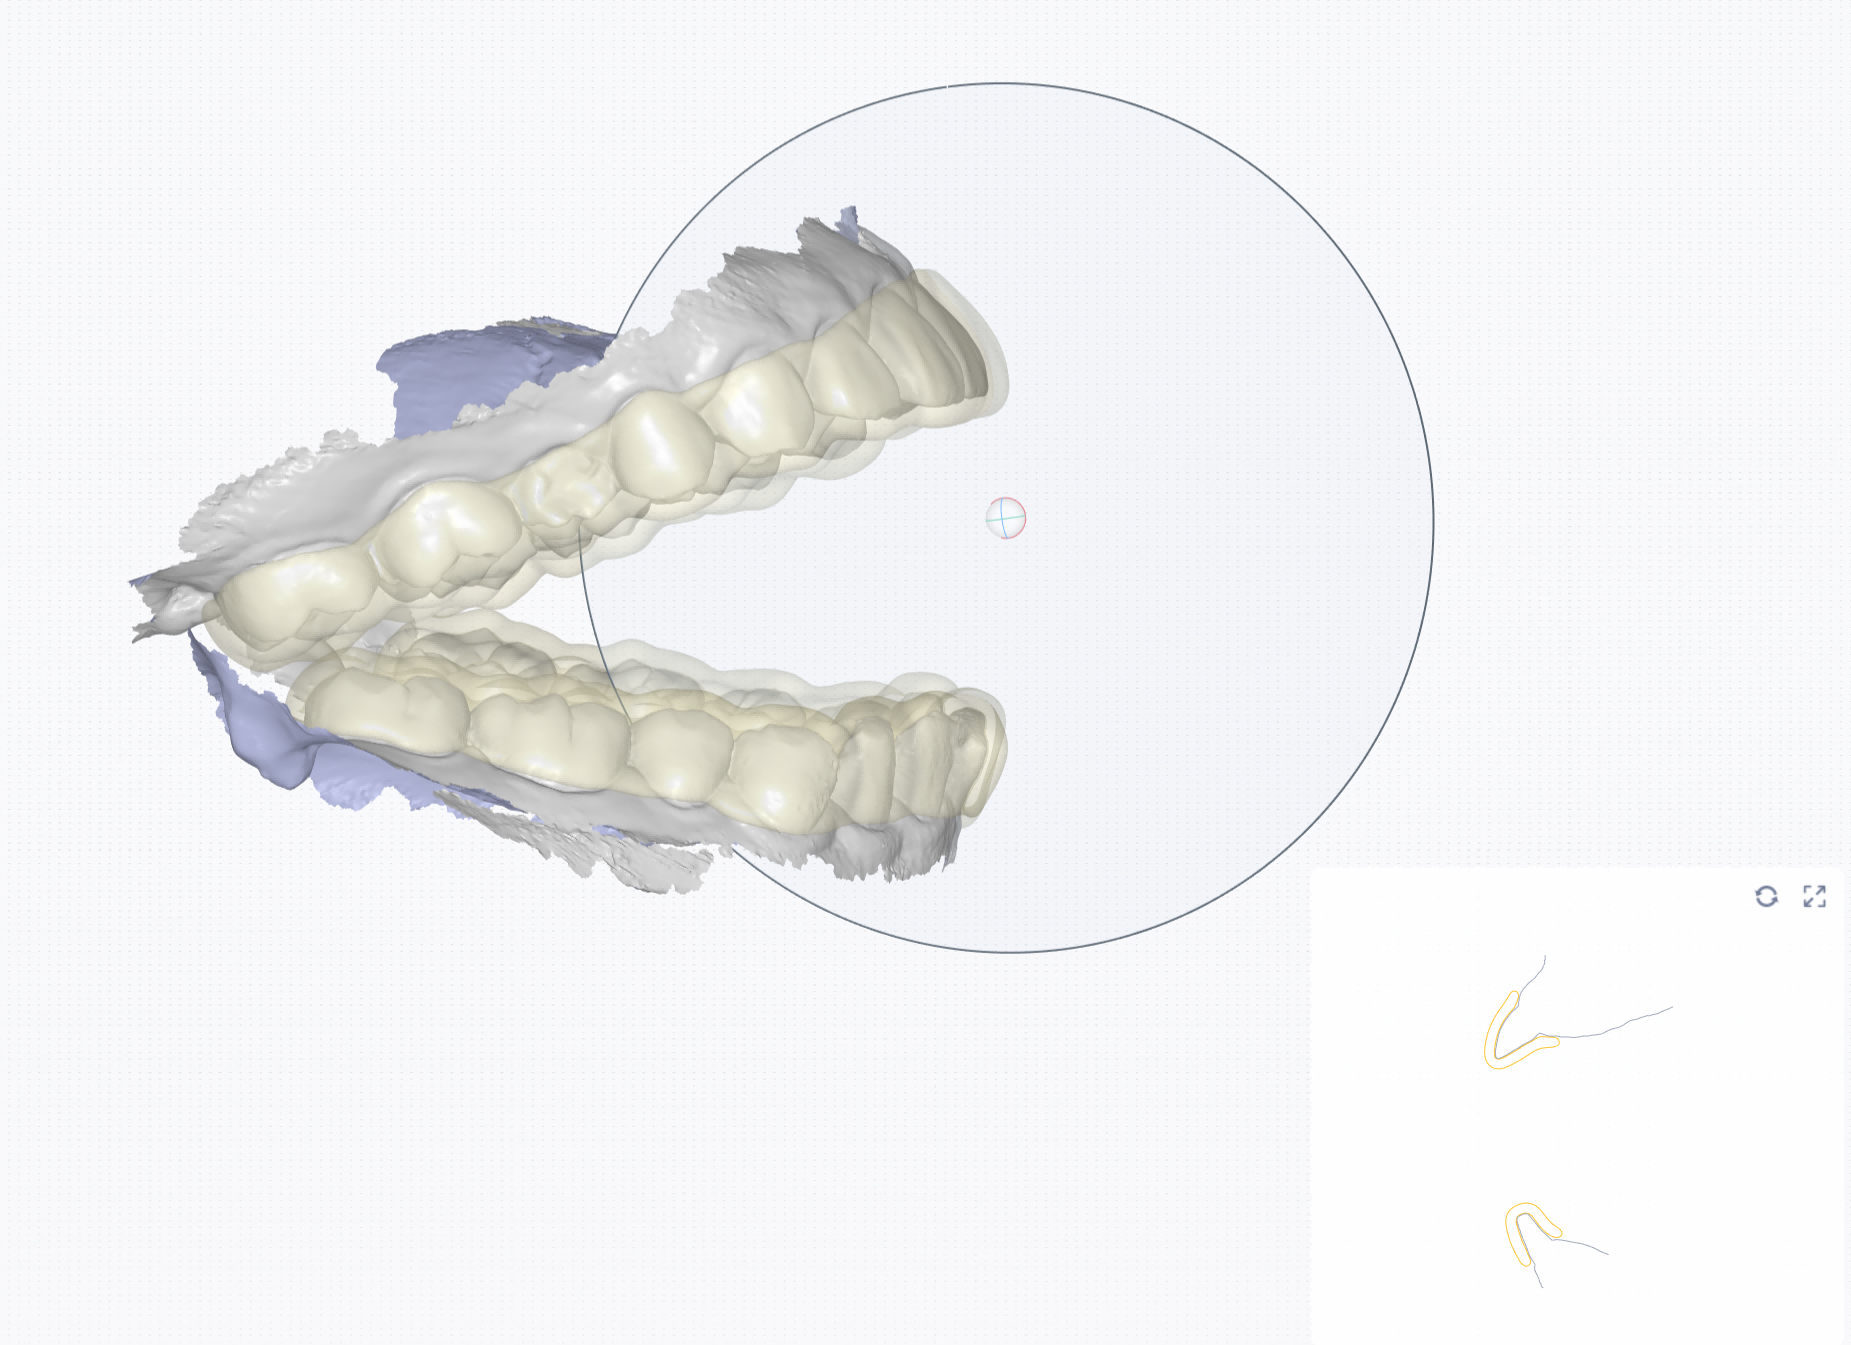
Click to enter the interface of sectional view. A screenshot plane will be automatically created on the model.
The 2D window in the lower right corner shows the corresponding intersecting parts between the plane and the model.
| Object | Description |
|---|---|
| Move the plane | Press the ball on the middle of the plane and move the cursor. |
| Rotate the plane | Press the other part except the ball of the plane and move the cursor. |
| Zoom in/out the 2D window | Click |
| Reset the position of the plane on the model | Click |
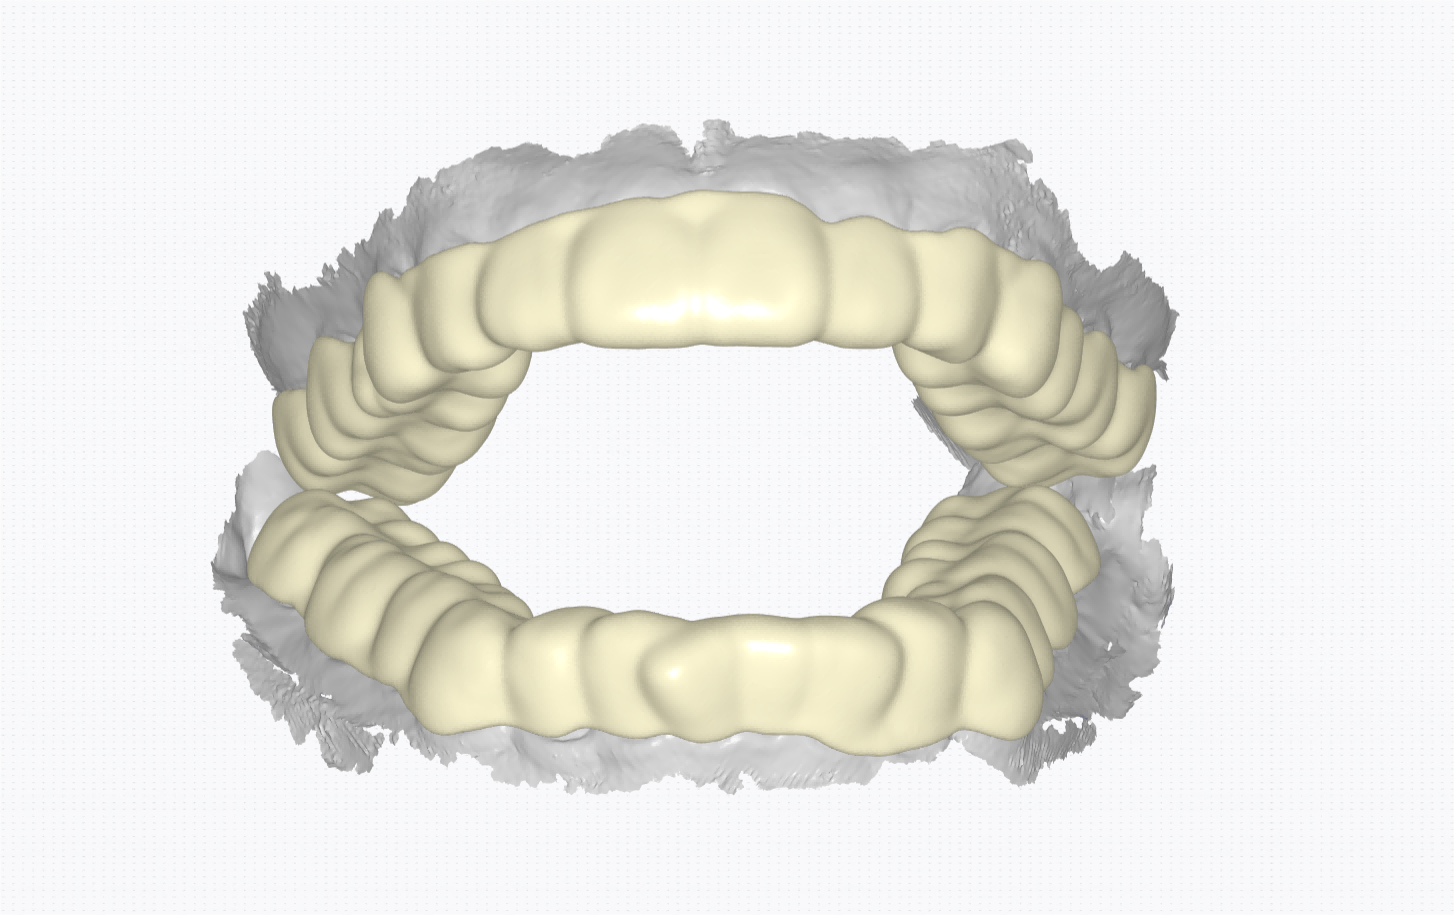
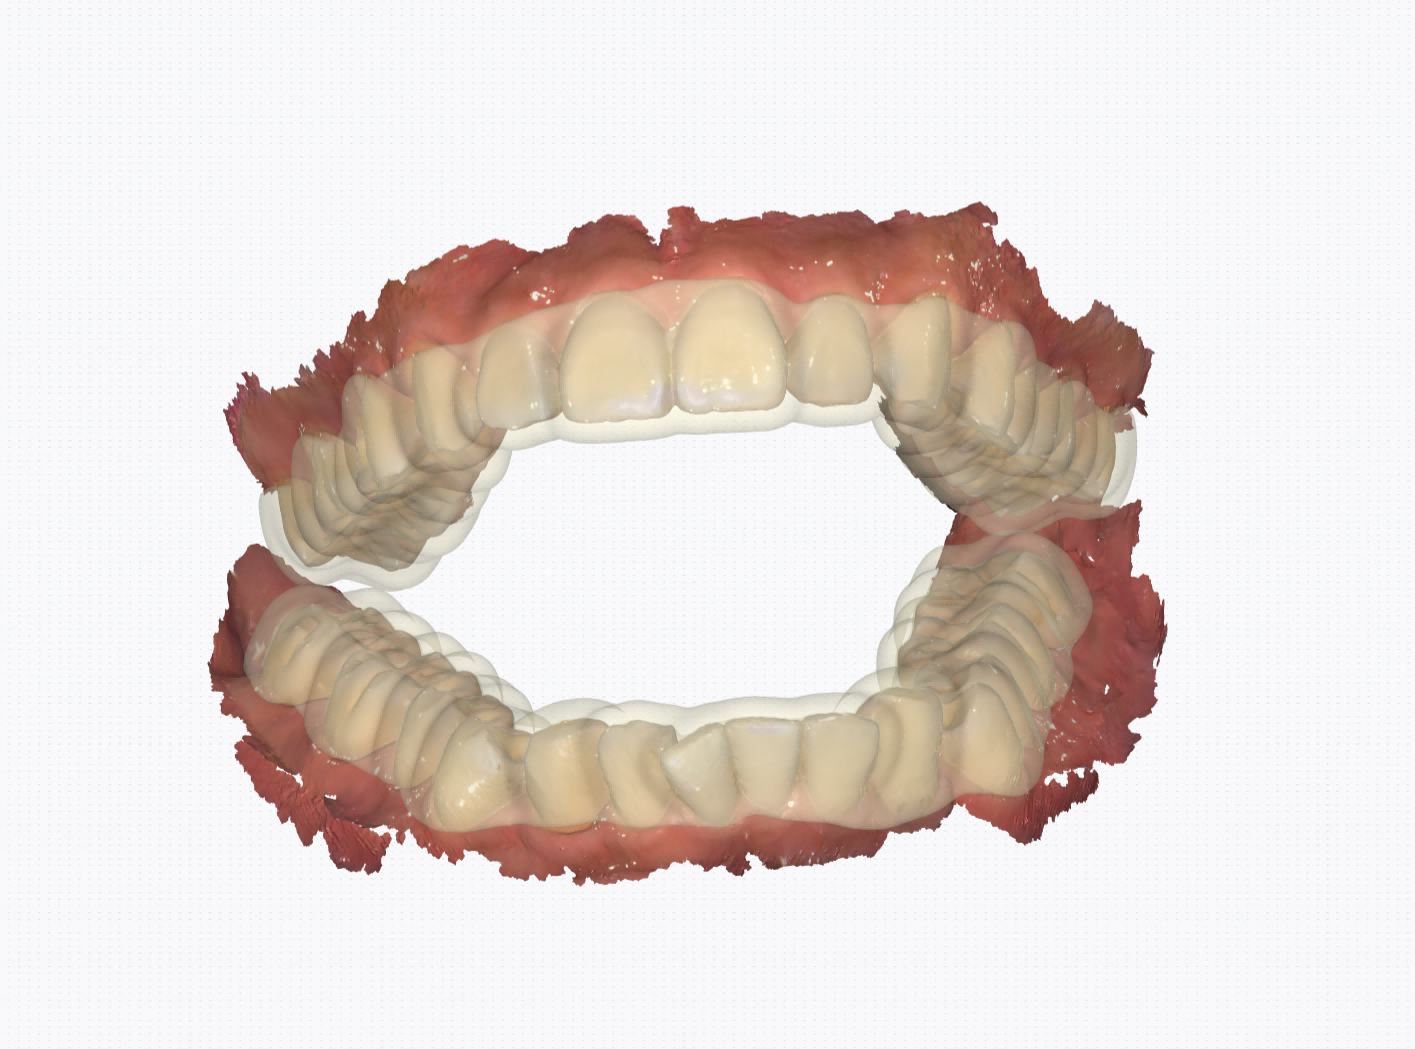
Click to display the colors.
| Before | After |
|---|---|
 |
 |