File operations
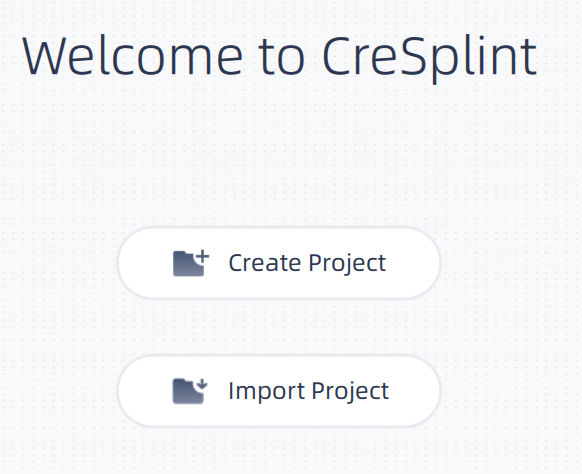
After entering CreSplint, users can create new projects or edit existing projects. Alternatively, users can click on the top right corner of the editing interface to open Operations.

Caution
If the user opens CreSplint from IntraoralScan, the steps of creating/importing a project will be skipped. The software will automatically create molar pad/retainer based on the current order.
-
Click Create Project or click
on the operations.

Caution
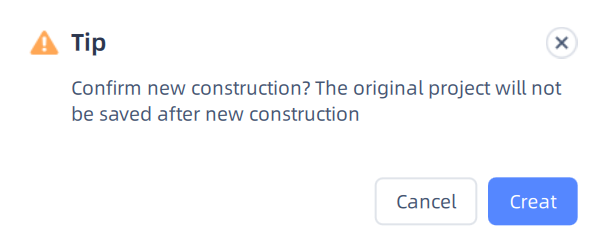
When clicking Create Project on the operations, a tip pops up if the current project has not been saved.

-
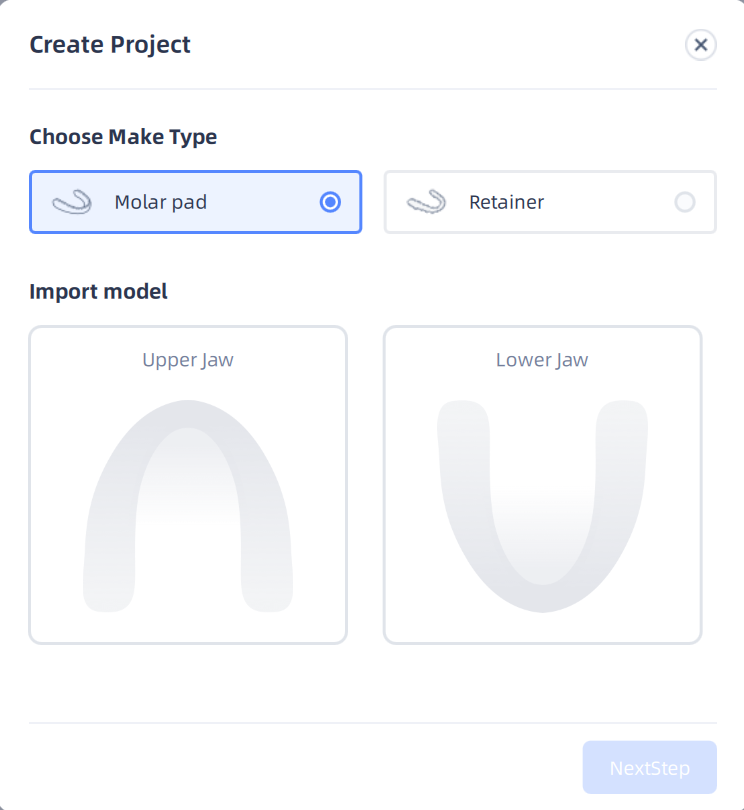
Choose Molar pad or Retainer.
-
Import models of upper jaw and lower jaw. BEB, OBJ, PLY, STL format are supported.
Caution
If the CreSplint is invoked from IntraoralScan, then only the BEB file can be imported.
-
Click Next Step.
Note
- After importing the files, users can zoom in, zoom out, rotate or move the previewed model.
- Click
to delete the imported model. Click
to restore the model to the default state.
Import project from the local path to edit the project.
Steps:
- Click Import Project or click
on the operations.
-
Select the project file.
Caution
- The imported project should be ended in the suffix '.SplintProject'.
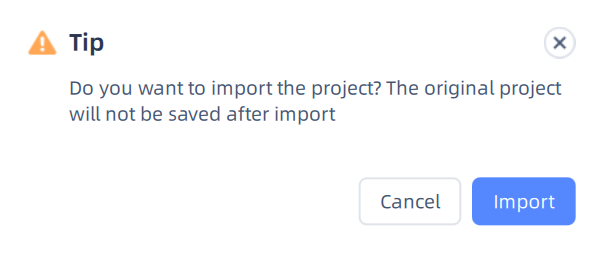
- When clicking Import Project on the operations, a tip pops up if the current project has not been saved.

-
After importing the project, users can edit the path insertion, margin line and the parameters.
Save project to the local disk for further use.
Steps:
- Click
on the operations.
- Select the local path.
- Click Save.
Note
The suffix of the saved project is ".SplintProject".
Export model to the local disk for further use.
Steps:
- Click
on the operations.
- Select the local path.
- Click Save.
Note
The suffix of the exported model is ".zip".