Add Scan
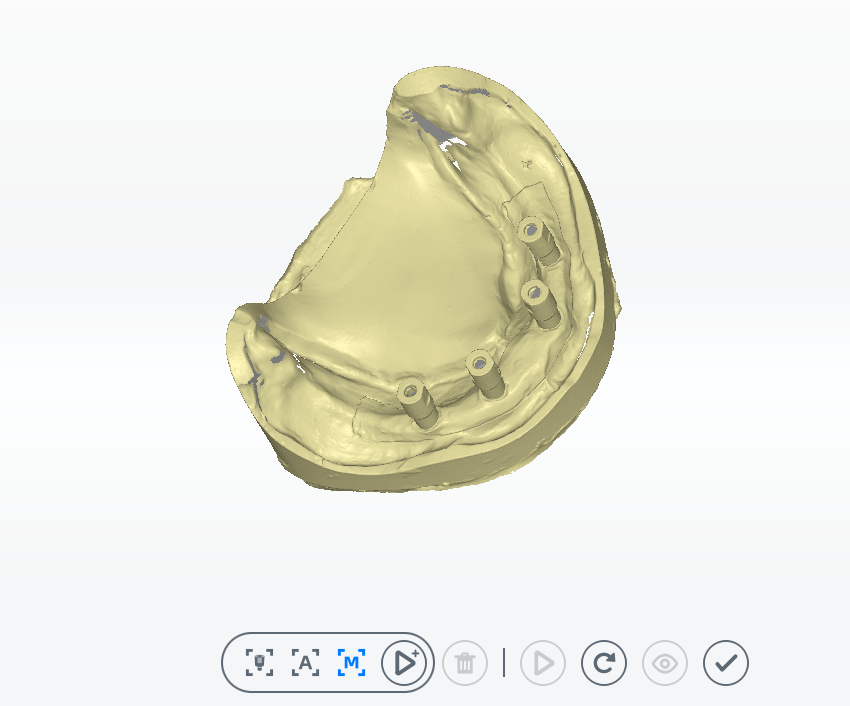
If the scanned data is incomplete, or there are holes after scanning, select the corresponding scanning method to acquire the missing data.
 Manual Add-scan
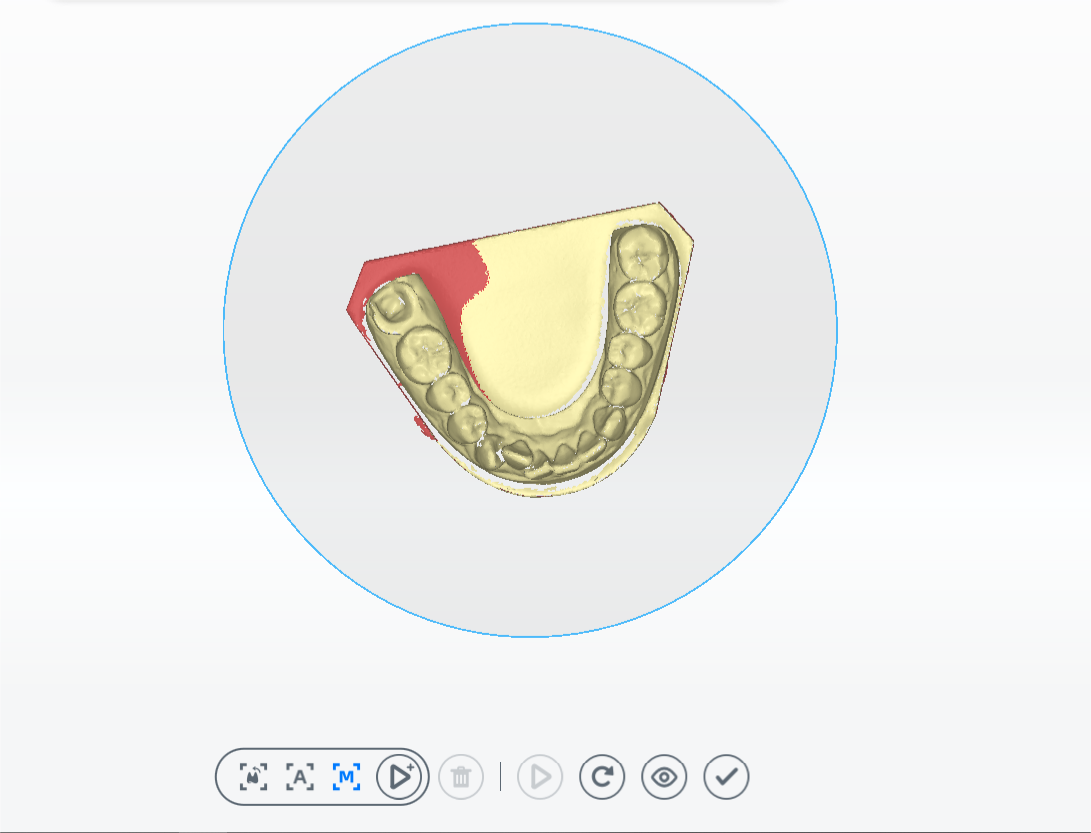
Rotate the model to scan on the desired angle.
Steps
1 Click .
2 Rotate the model to the scanning angle manually.
3 Click to scan.
Note
The newly scanned data is highlighted in green.
4 After scanning, move or rotate the cutting plane to cut the model.
5 Click to edit the model.
6 Click to preview the scanned model.
 Intelligent Add-scan
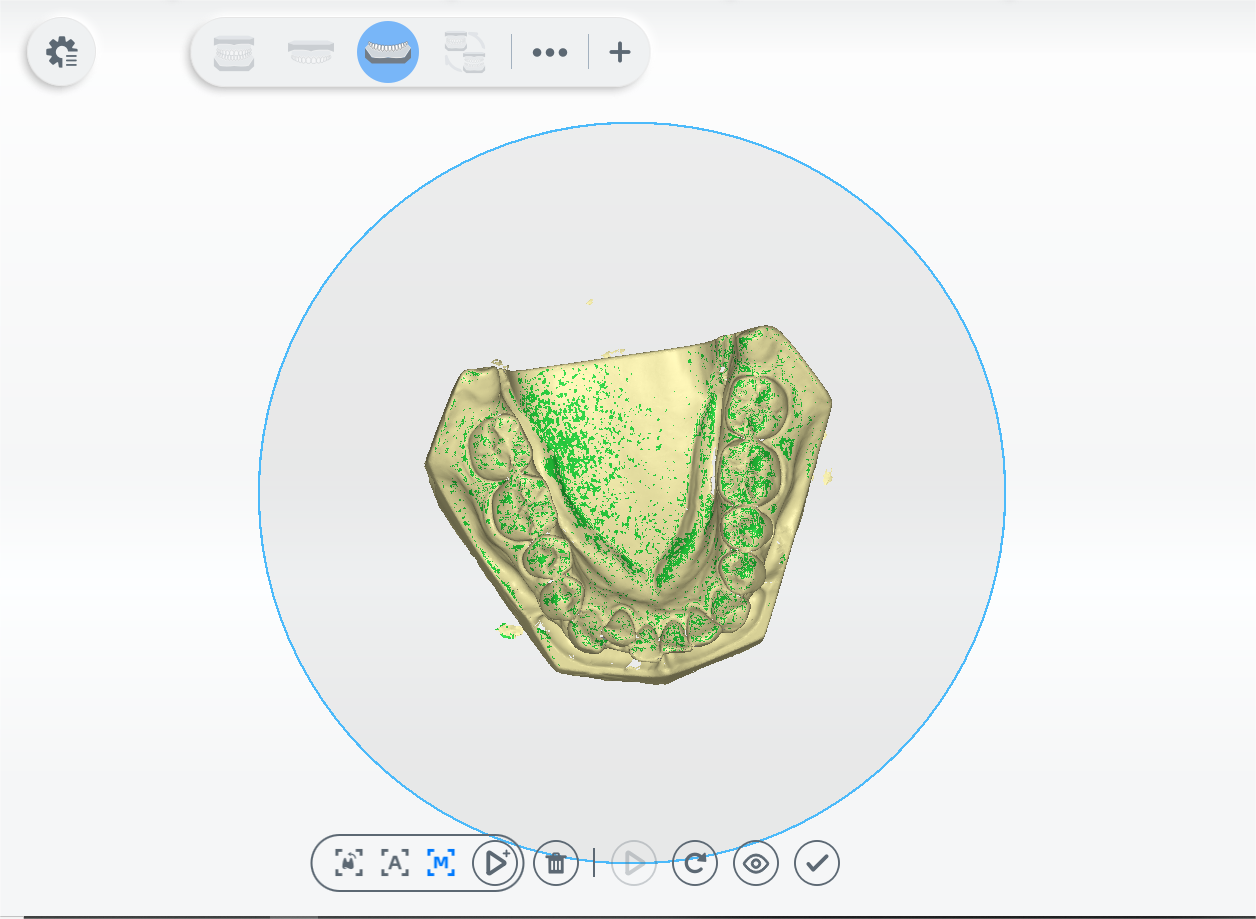
Scan the marked area automatically.
Steps
1 Click .
2 Press and hold the left mouse button (or click) on the model to mark the area to scan. The marked area is shown in red.
3 Click to scan.
4 Click to edit the model.
5 Click to preview the scanned model.
 Flip Scan
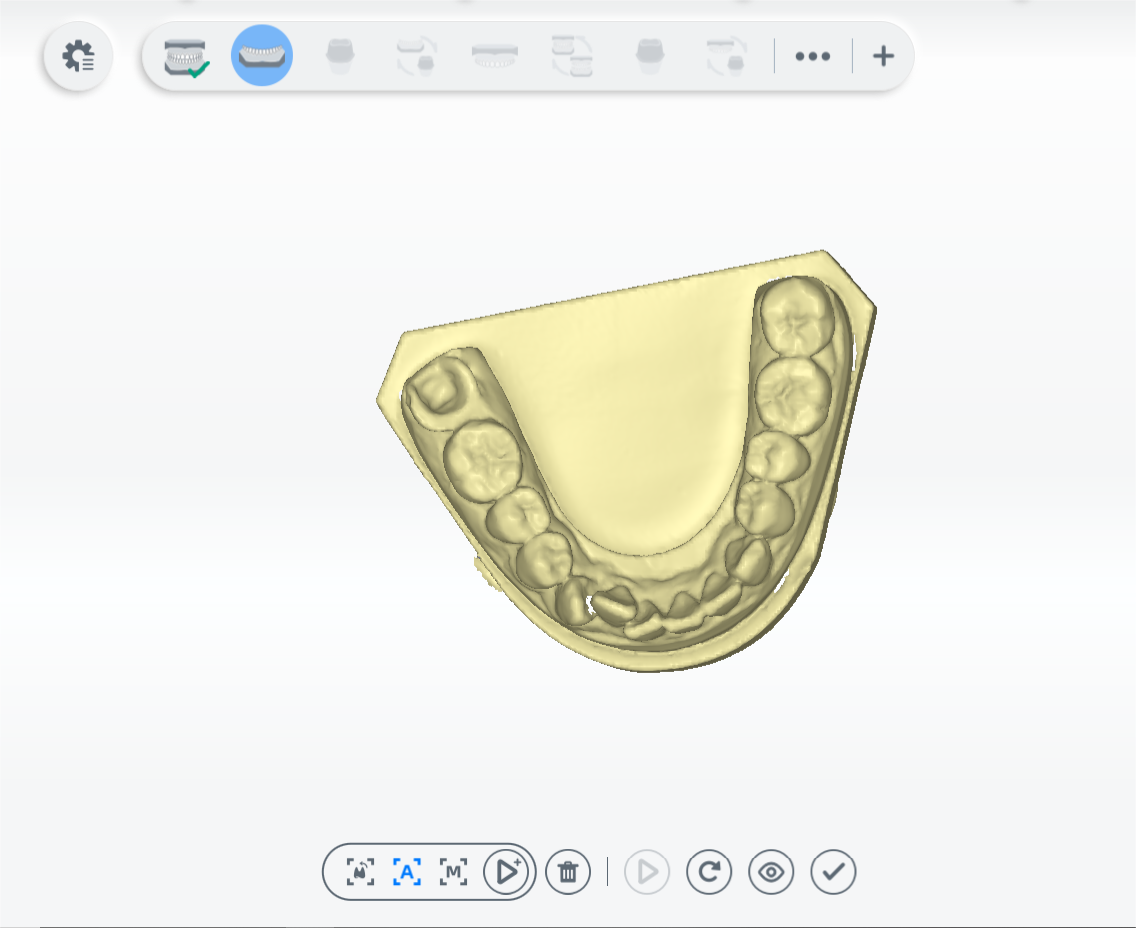
Flip scan is mainly used for wax-up bottom scan and full dental scan to acquire interior data of the model.
Steps
1 Follow the guidance on the interface to place the model.
2 Click .
3 Click to scan.
4 After scanning, check and
to view the last scanned data(shown in yellow) and newly scanned data(shown in green).
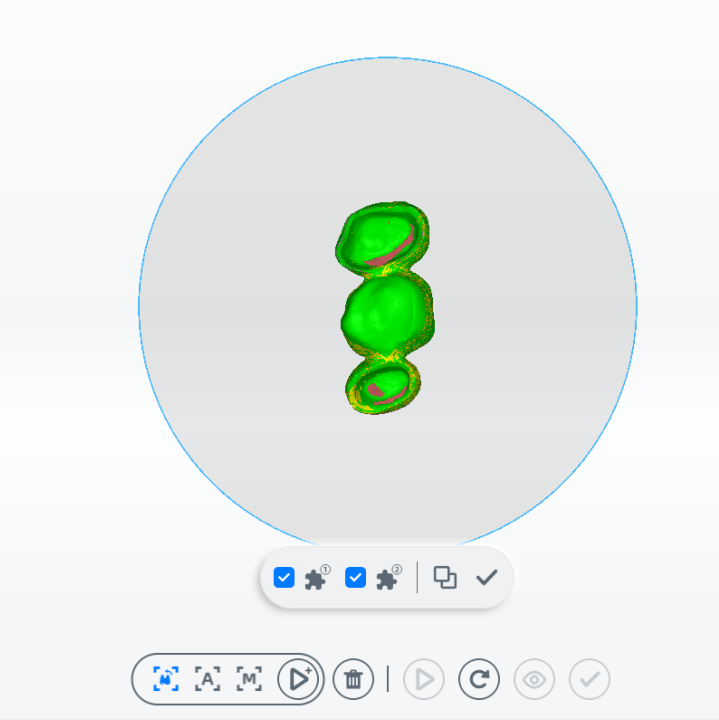
5 Click to align automatically or click
to align manually. For steps to align, see Alignment Operation.
 Multiple Add-scan
If the number of scanbodies is less than the number to be scanned in the order, obtain the data of all scanbodies by using Multiple Add-scan.
Steps
1 Click or press the space key to start scanning.
2 If there is no scanbody on other teeth, unscrew the scanbody and screw it on other teeth.
3 Click .
4 Click to scan.
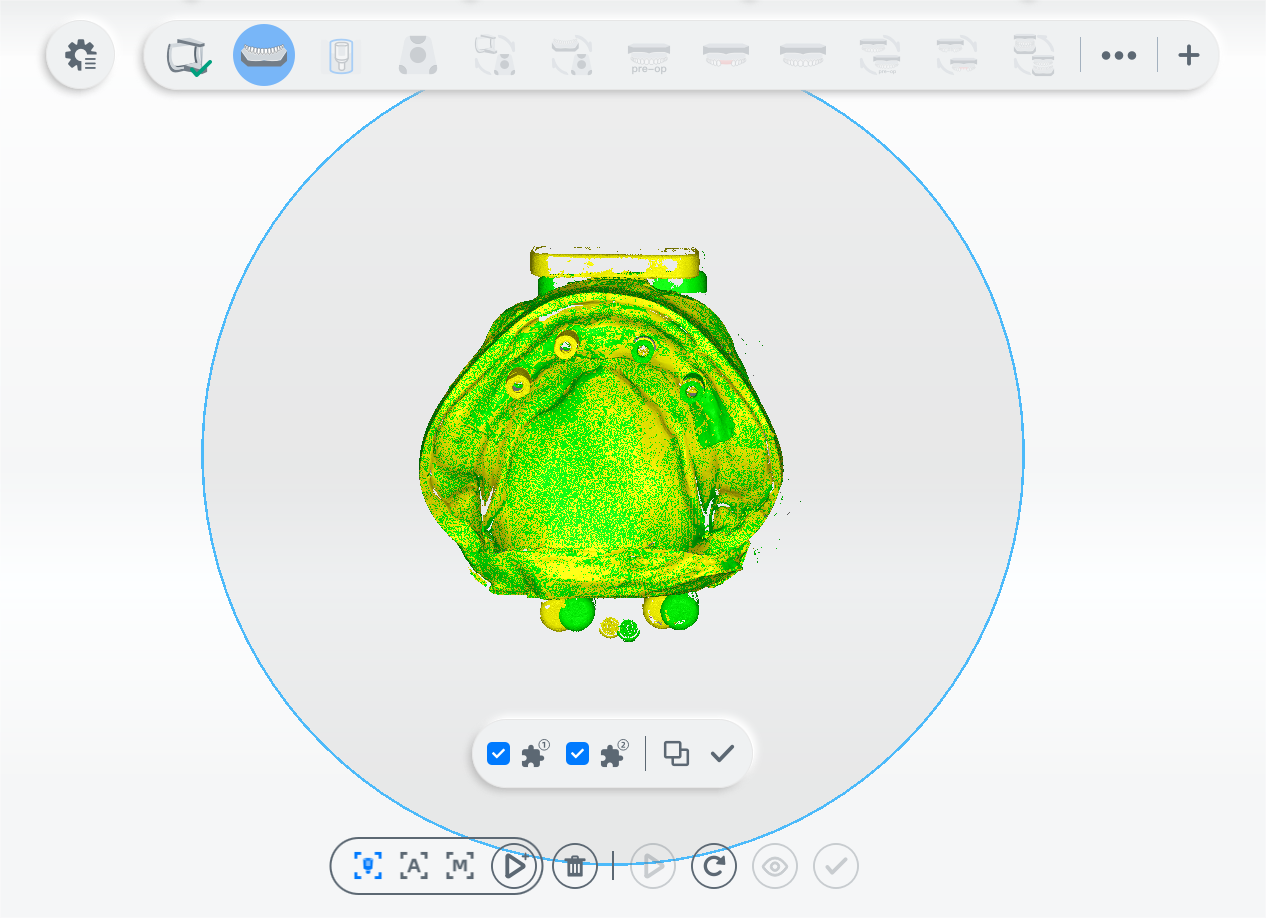
5 Click to align automatically. For steps to align, see Alignment Operation.
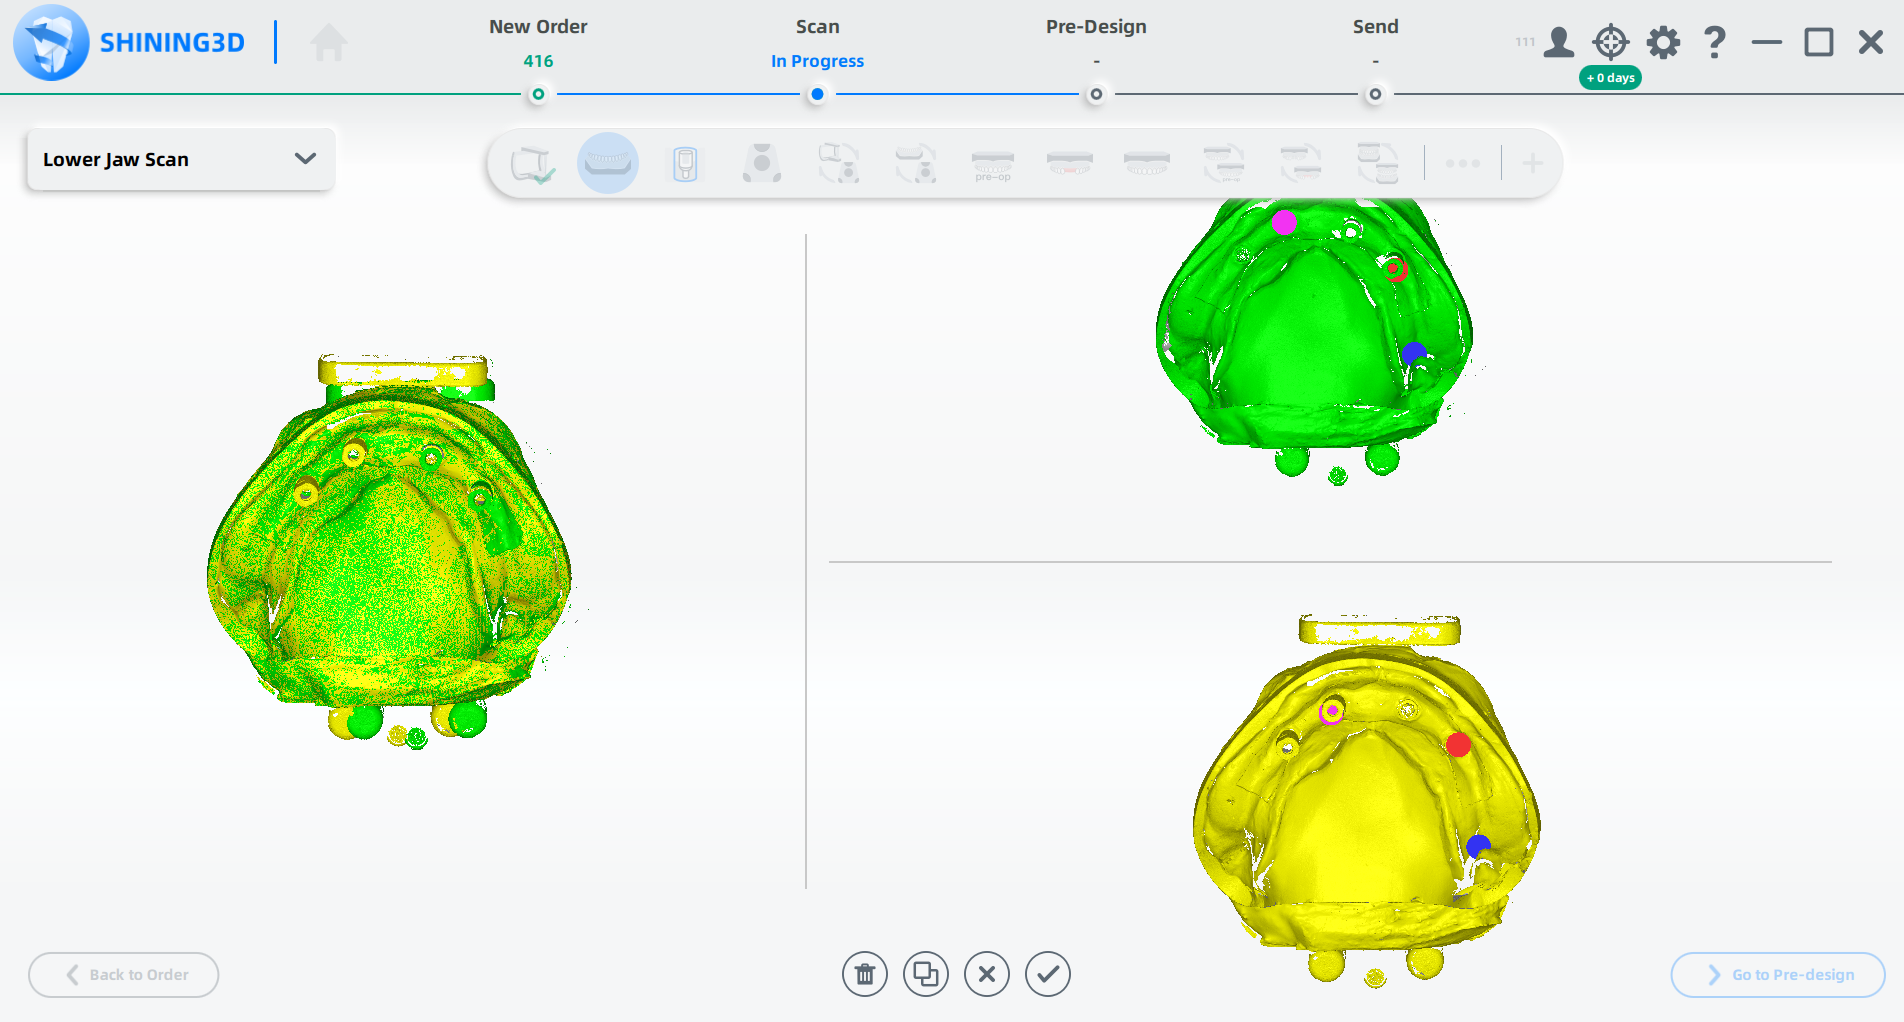
6 After scanning, click , to preview the scanned model.
