Modified Model
After marking teeth and drawing margin lines, you can set the undercut direction, fill the undercut and sink margin lines on the Modified Model interface.
Steps
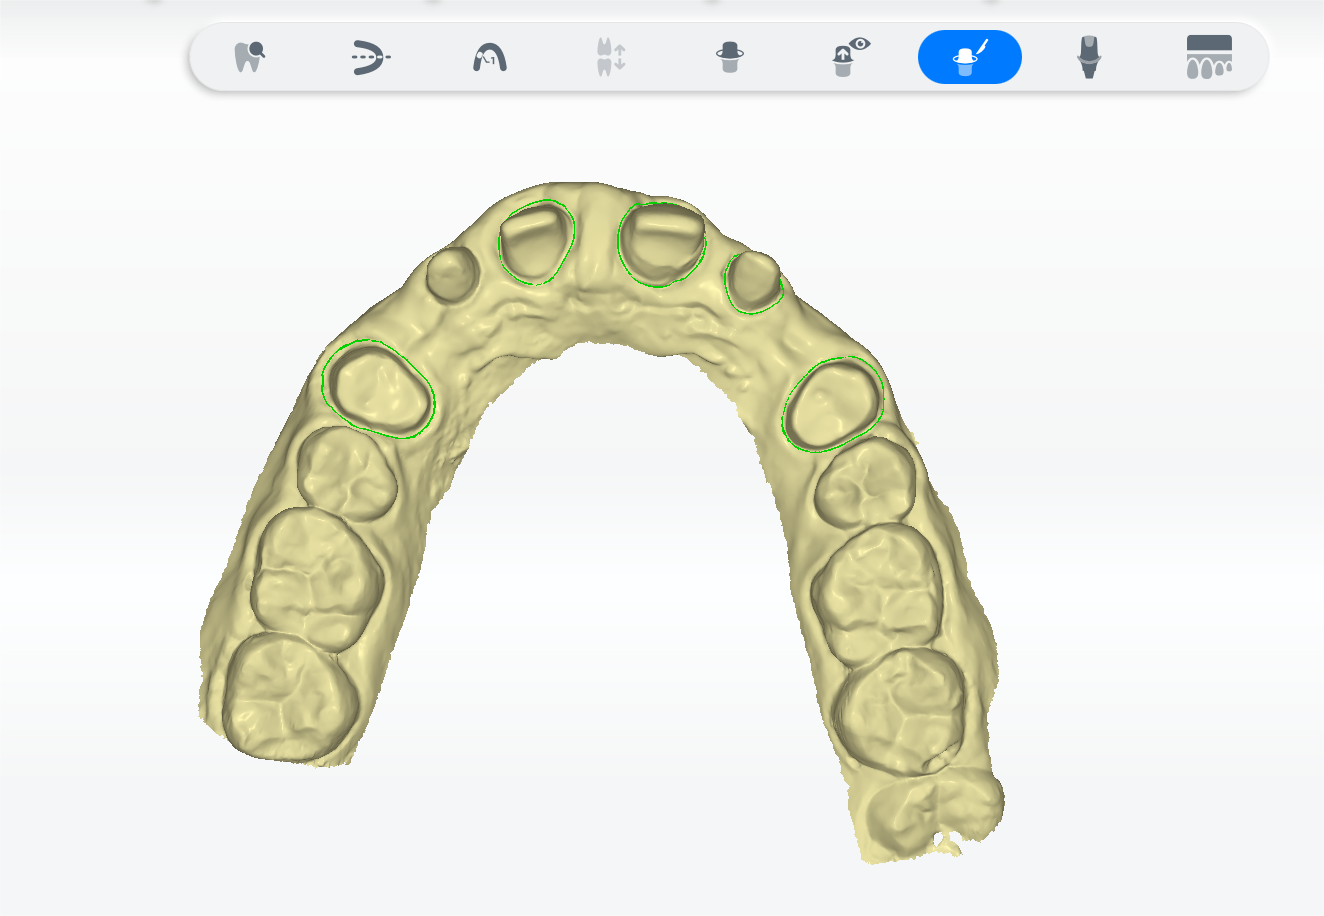
1 In the upper left tooth mark list, click a tooth in the upper or lower jaw to adjust the margin line again, if needed.
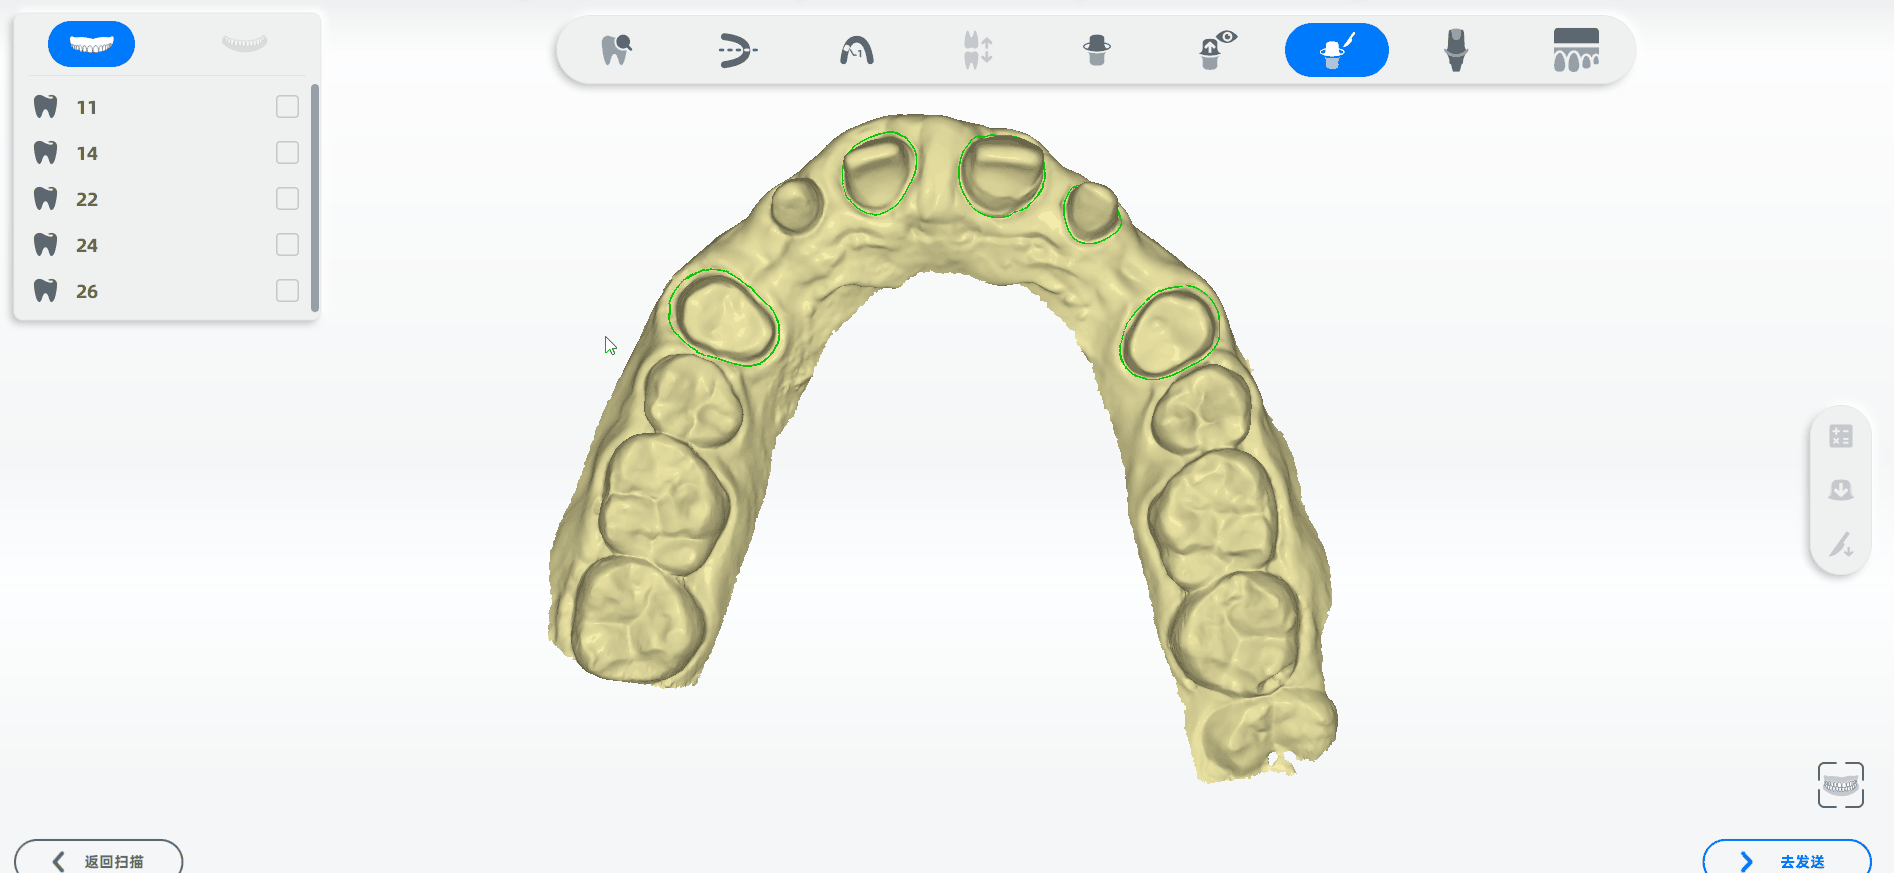
2 Check one or more teeth in the tooth mark list in the upper left corner.
3 Click ![]() to enter the Undercut Direction interface to set the undercut direction.
to enter the Undercut Direction interface to set the undercut direction.

4 Click ![]() on the bottom to set the undercut direction.
on the bottom to set the undercut direction.
5 Click  to confirm.
Note
After filling the undercut or sinking the margin line, drag the slider in the upper left corner of the interface to view the comparison.
● Click ![]() and set the value at the bottom of the interface to fill the undercut.
and set the value at the bottom of the interface to fill the undercut.
● Click ![]() and set the value at the bottom of the interface to sink the margin line.
and set the value at the bottom of the interface to sink the margin line.
Note
Drag the slider to compare the effect.

Button
| Icon | Name | Description |
|---|---|---|
| Undercut Direction | Click |
|
| Delete Undercut Direction | In the tooth mark list, click |
|
| Undercut Direction Group | In the tooth mark list, the icon will appear after checking two or more teeth to set the undercut direction all at once. | |
| Undercut Filling | Set the value at the bottom of the interface to fill the undercut | |
| Margin Line Sink | Set the distance and expansion for margin line sinking. |