Post and Core Case
Post-and-core restoration is mainly used in cases where there are many missing crowns and the crown cannot be restored normally. Deep holes can be drilled into the inside of the abutment and design the pile shape to increase the retention force.
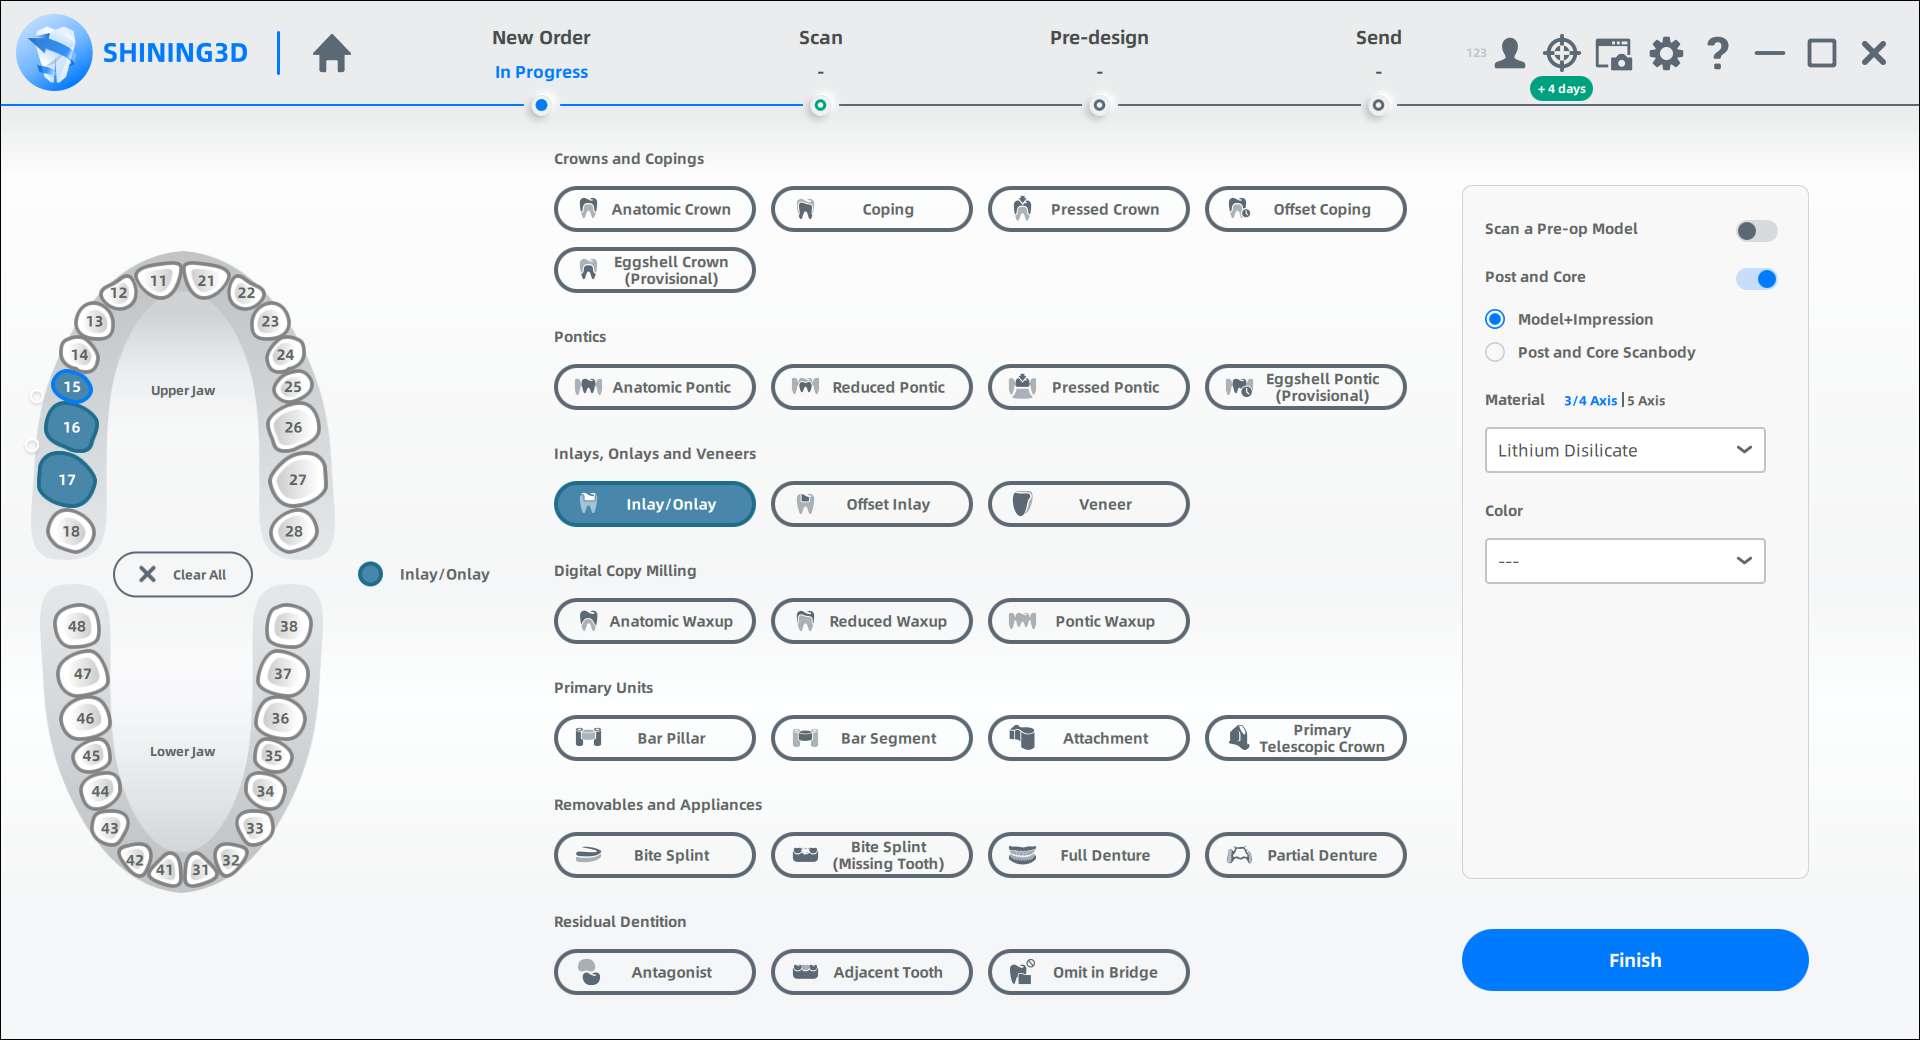
Create the Order
For steps to create an order, see Unsectioned Model Case.
Start Scanning
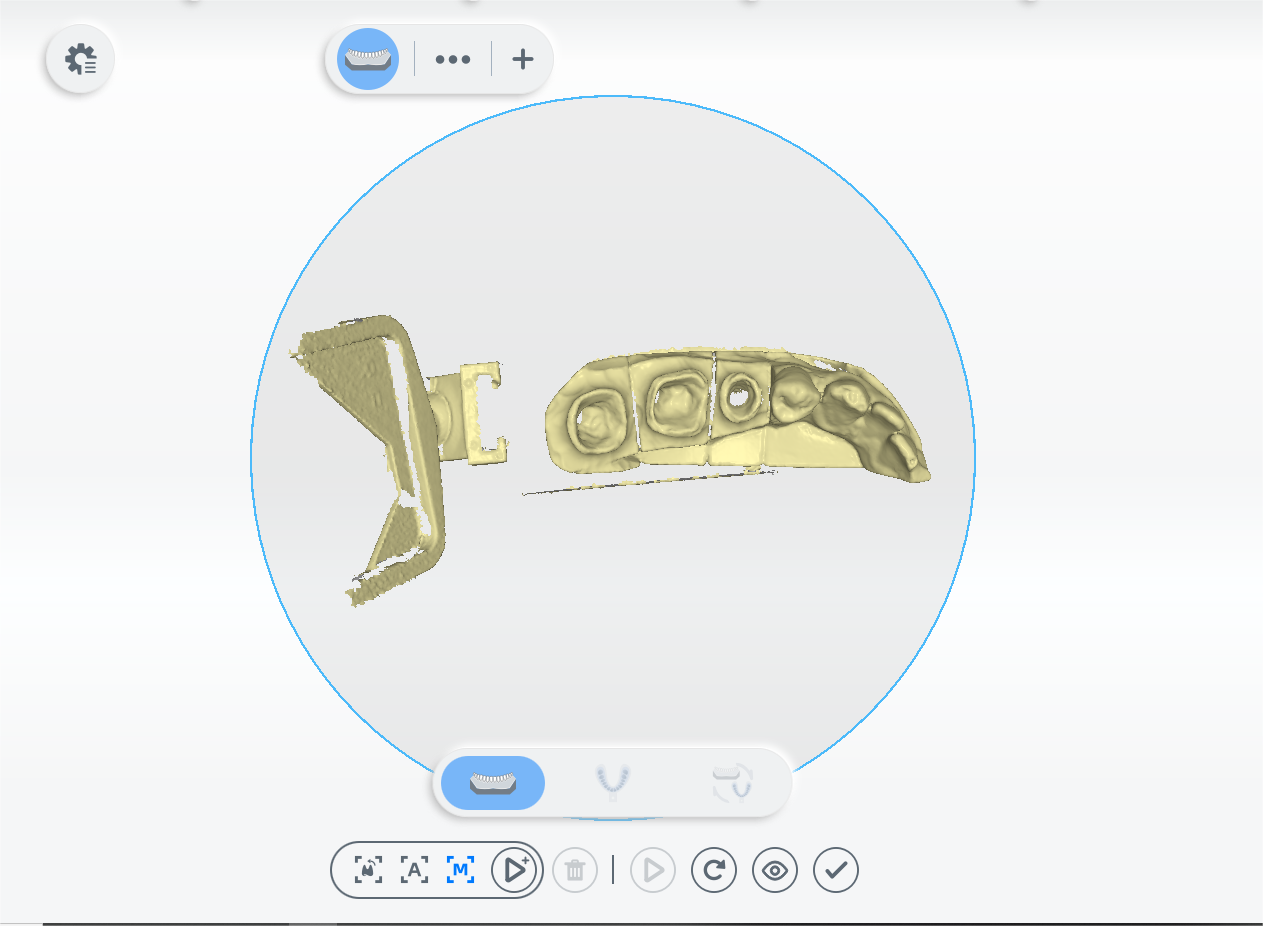
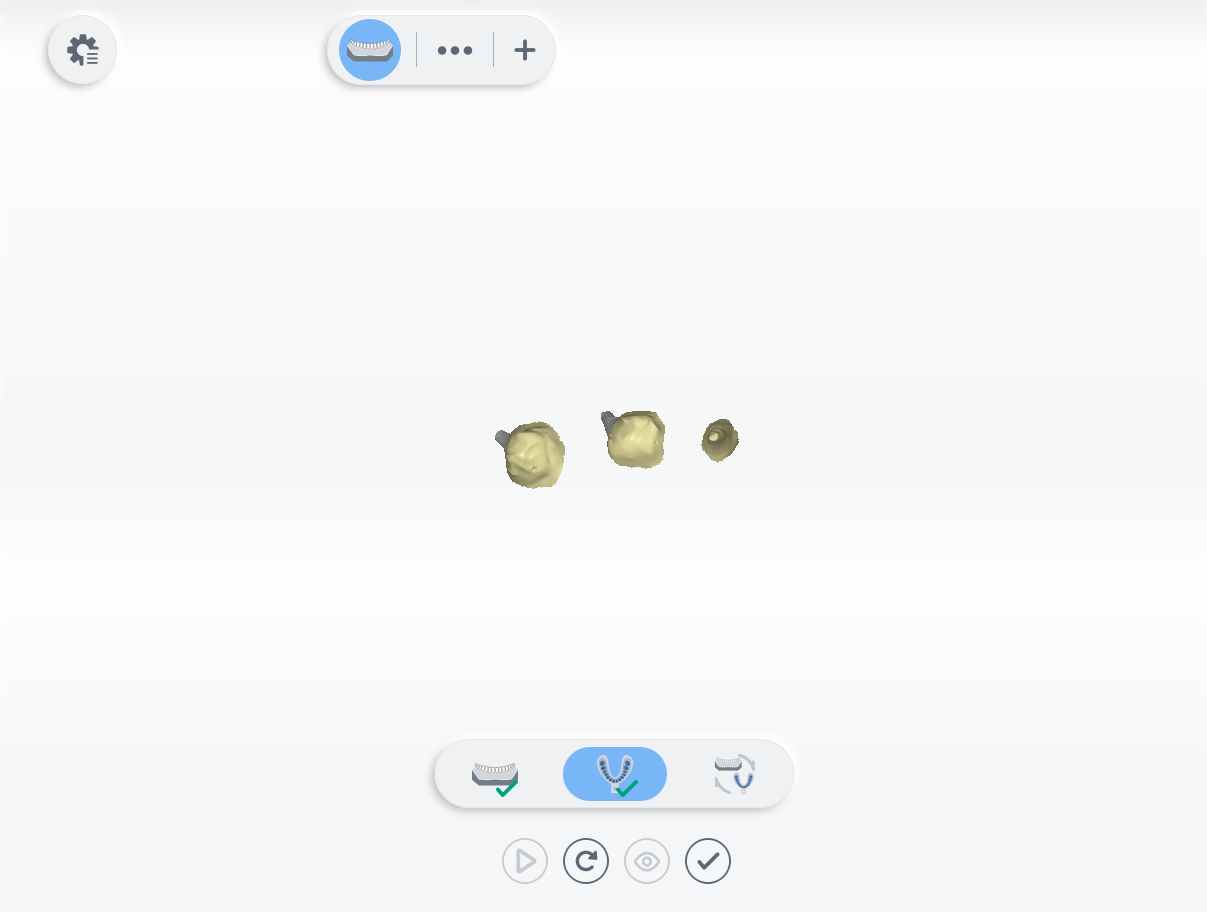
 Lower Jaw Scan
1 Follow the guidance on the interface to place the height adaptor, the fixture and the model.
2 Set the configuration in the camera window. For steps to set parameters, see Parameters.
3 Click ![]() or press the space key to start scanning.
or press the space key to start scanning.
4 If the scanned data is incomplete, click ![]() to add more data to the existing scan.
to add more data to the existing scan.
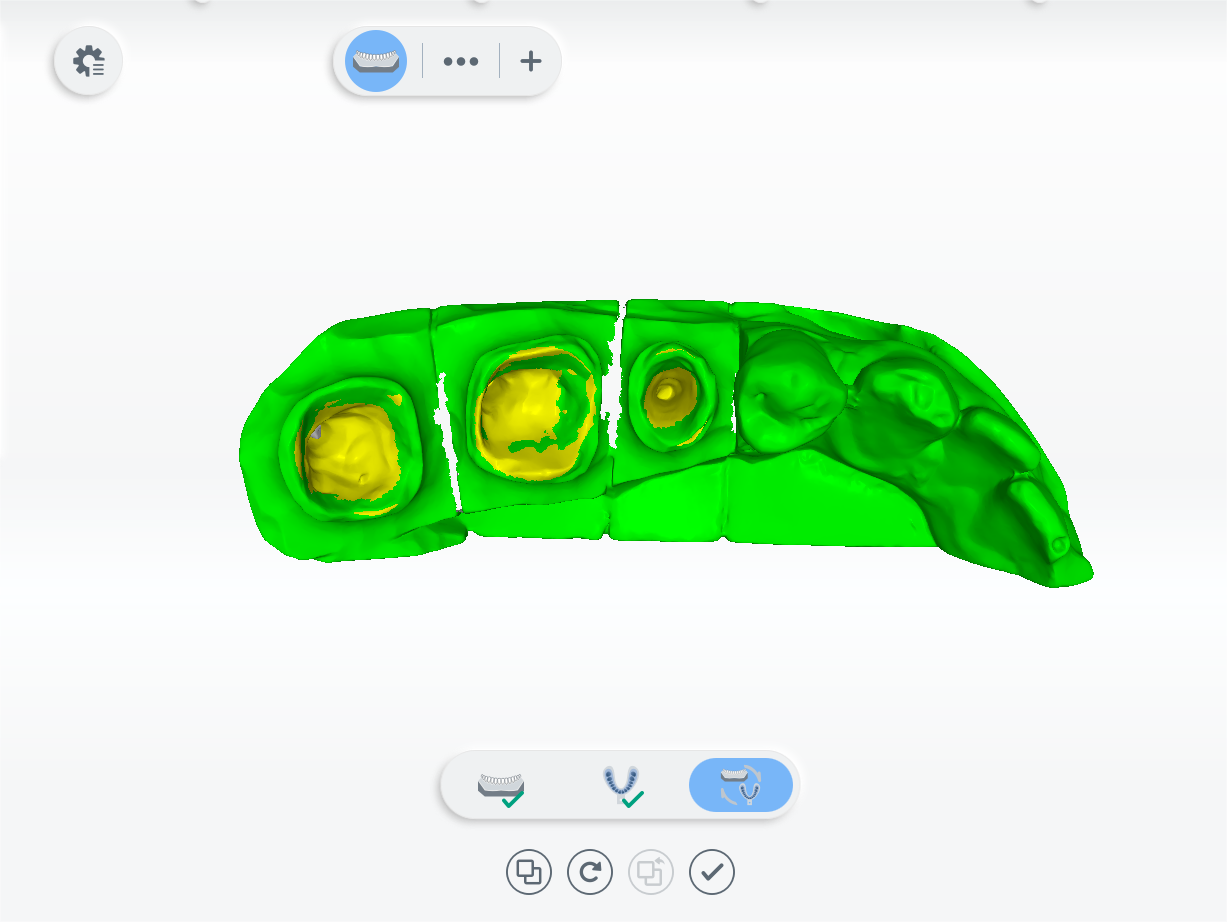
5 After scanning, move or rotate the cutting plane to cut the model.
6 Click
 to edit the model. For more, see Function.
7 Click
8 Edit data and fix post and core outliers according to the prompts in the upper left corner of the interface.
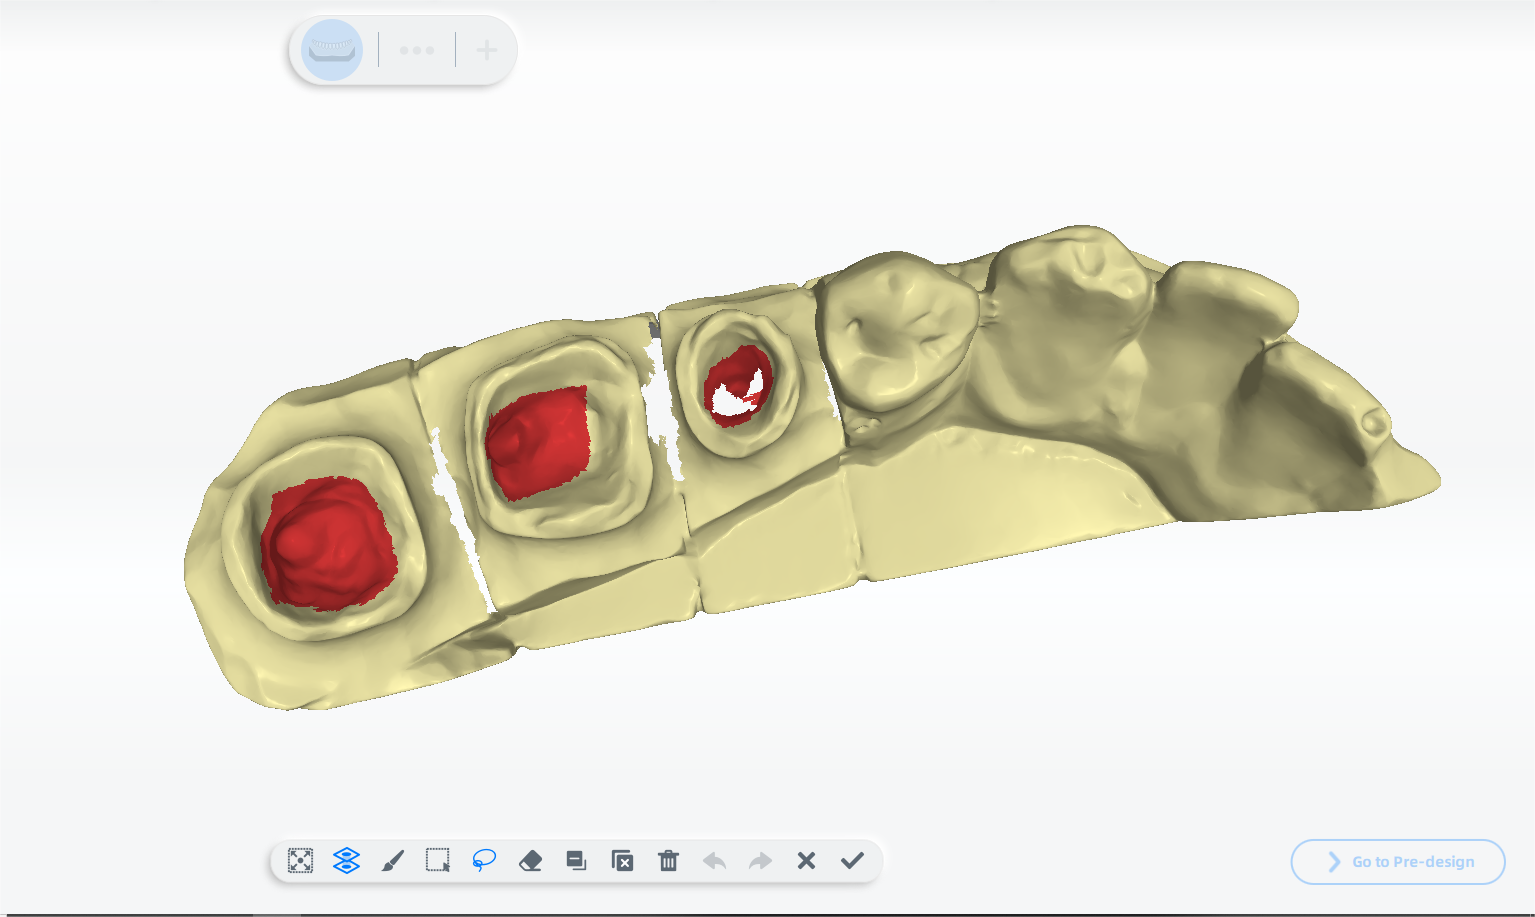
9 Click
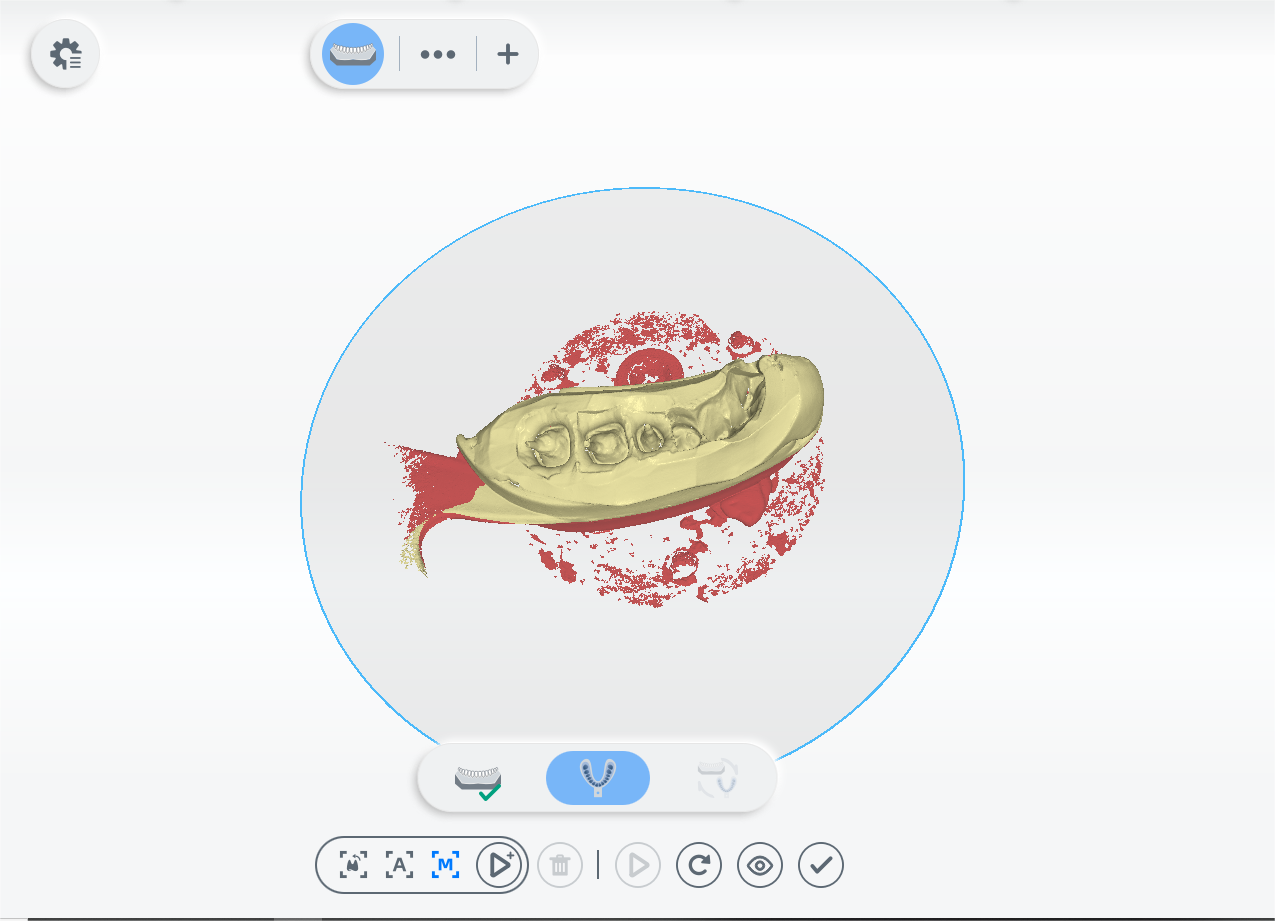
Lower Jaw Post and Core Impression Scan
1 Follow the guidance on the interface to place the height adaptor, the fixture and the model.
2 Click ![]() or press the space key to start scanning.
or press the space key to start scanning.
3 If the scanned data is incomplete, click ![]() to add more data to the existing scan.
to add more data to the existing scan.
4 After scanning, move or rotate the cutting plane to cut the model.
5 Click
6 Edit data and only keep post and core data according to the prompts in the upper left corner of the interface.
7 Click
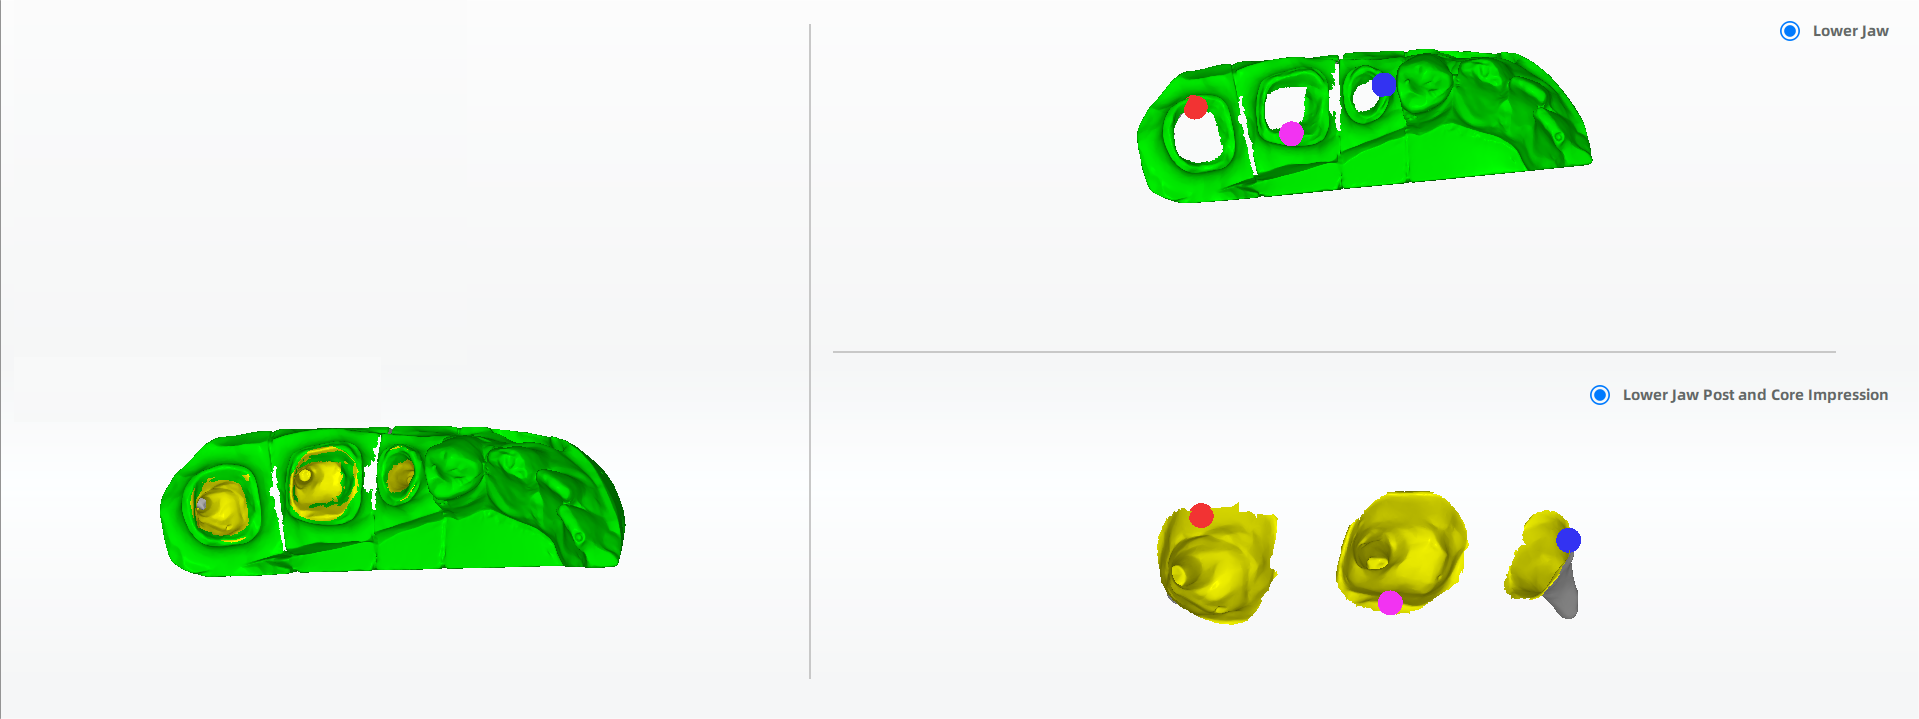
Lower Jaw Post and Core Impression Alignment
1 Check the automatic alignment and click ![]() to finish.
to finish.
2 (Optional) If the result is not optimal, click
Finish Scanning
After finishing the scanning process, click on Go to Pre-design to edit the scanned data.