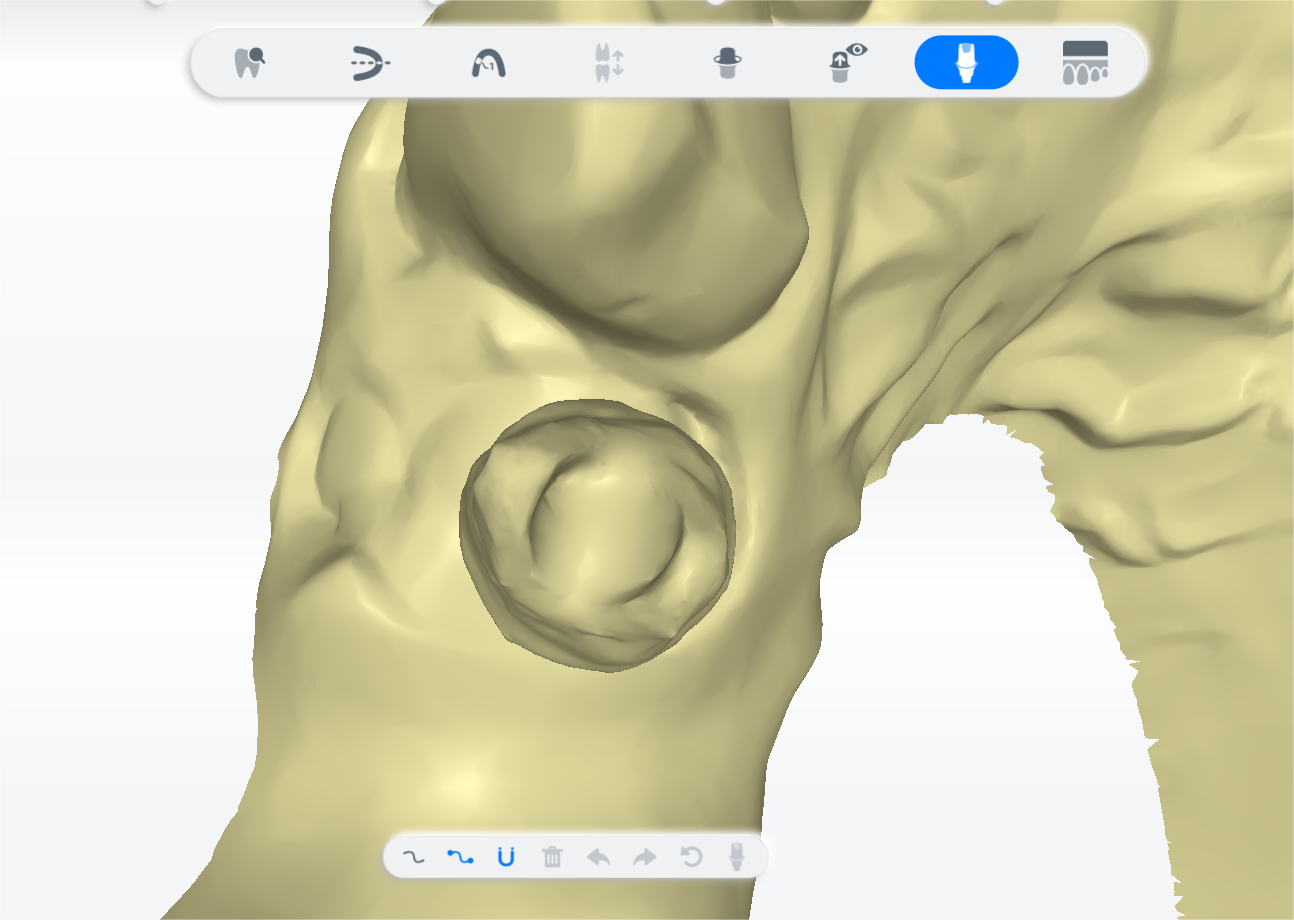
 Screw Channel Sealing
To seal the abutment, select it from the tooth list and pull it to the center, exert Operation Skill to switch perspectives for drawing an optimum sealing line.
Sealing
Steps:
1 After marking teeth, the model can be zoomed in or the marked teeth can be selected on the upper-left menu.
Note
Click the marked tooth on the upper-left menu and the model will be displayed in the center of the certain tooth.
2 Click the tools to seal the abutment.
(1) Select ![]() and hold the left mouse button to draw the sealing line manually.
and hold the left mouse button to draw the sealing line manually.
Or select ![]() and click the left mouse button to add green points.
and click the left mouse button to add green points.
Double-click the left mouse button to finish drawing.
(2) After finishing drawing, adjust the line by dragging it and adding more points. Double-click the right mouse button to delete current points.
Note
The magnetic effect is accessible when selecting points, and the line painted will automatically cling to the abutment's edge.
3 Click to seal.

Edit
Use the following tools to draw a sealing line.
| Icons | |
|---|---|
| Replace a part of the line with the newly painted one. Drag the cursor to draw a sealing line around the abutment with inapparent edge manually. | |
| Adjust the line by dragging it or its point. Delete points by double-clicking. Click the abutment edge to add points, then double-click to draw a sealing line going through all the added points. |
|
| Apply magnetic effect on the method. The line painted will automatically cling to the abutment's edge. | |
| Delete. Click to delete the current sealing line. | |
| Undo. Undo the last operation. | |
| Reset. Click to reset the operation. | |
| Redo. Redo the last operation. | |
| Auto-fill. Adjust the size of the model to be adaptive to the interface. |