Import model
You can import model as you need.
Steps
-
In the Die Scan or All-in-one scan, click
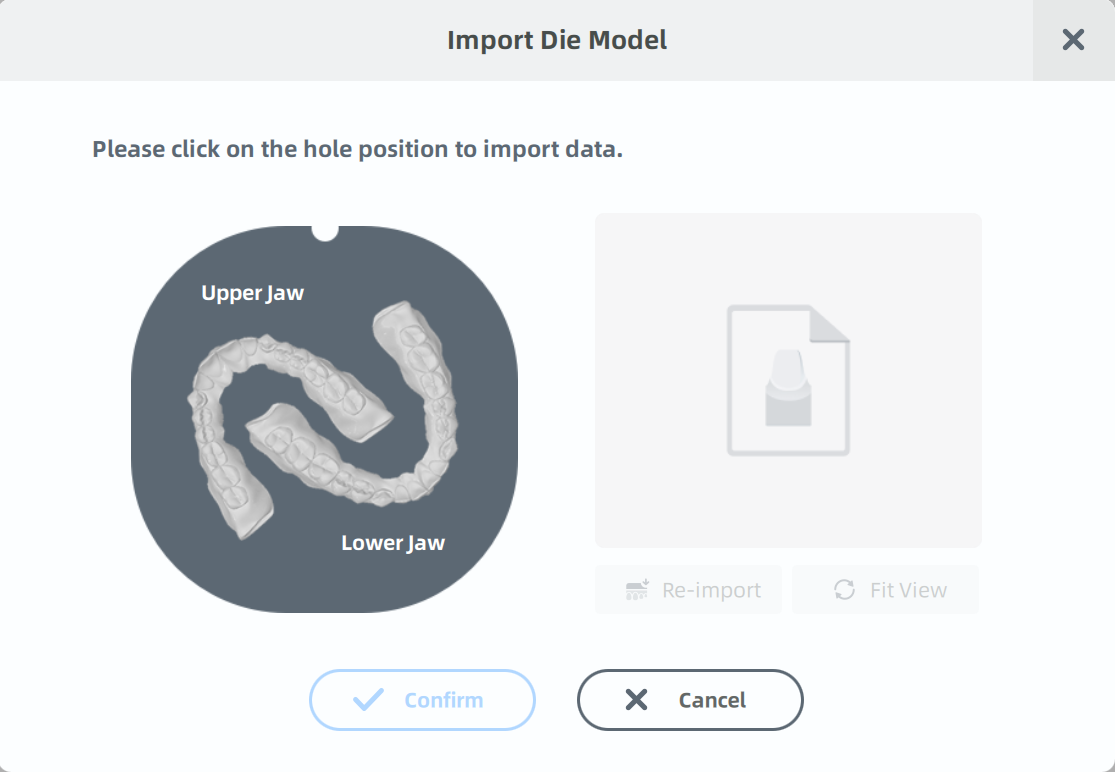
 or press the shortcut key I and the Import Model interface will appear.
Col

Die Scan
Col
All-in-one scanCol

1/4 All-in-one scanType Empty Imported Tooth 

Upper Jaw 


Lower Jaw 


-
Click on the slot or jaw on the die plate where you need to import model data.
Note
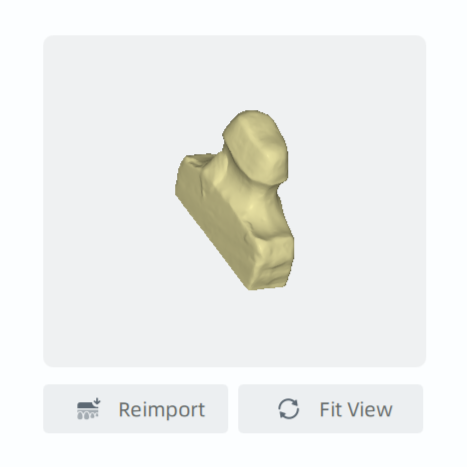
If there is scanned data, clicking on the slot or jaw will preview the model on the right side of the interface. To replace the model, click on Reimport.
-
In the pop-up dialog box, browse and select a file in one of the following formats: STL, OBJ, PLY, BEB to import the model.
-
The imported model can be previewed on the right side of the interface. You can click Fit View to enable the whole model to be made visible and centred in the user view.
Caution
- You can click Confirm to import models only when all slots and jaws have scanned data.
- If you want to cancel the model import, click Cancel, which will remove all selected data.
- For group scanning of die, please import the model data corresponding to the selected slot on the die plate, and make sure that each group imports all model data.
-
In the scanning interface, click
or press the shortcut key I. -
In the pop-up dialog box, browse and select a file in one of the following formats: STL, OBJ, PLY, BEB to import the model.
-
Then the imported model will show on the scanning interface.