New Order
Click  to enter the setting new order page.
Order Information
-
Fill the blanks. Enter the information of the order and the patient.
-
Click
 add new doctor and technician. Select the doctor and technician from the list.
 -
Select the patient type as restoration or orthodontics according to the reality.
- Restoration: The main focus is on the treatment following chipped and missing teeth, such as inlays, full crowns and dentures, but also includes the use of artificial restorations such as occlusal plates and movable brackets. The user needs to select the specific tooth position to be treated and the type of treatment.
- Orthodontics: Orthodontics refers to the straightening of teeth. If you choose orthodontics, there is no need to choose the position of the teeth and the type of treatment.
-
Note that there exists a field for memos and other notes of the project. Remarks such as tooth colour requirements can be filled in.
Tooth selection
Tooth selection contains two modes. One is the patient mode, the other is the multidie mode.
Patient Mode is used to scan the patient's jaw model.
- Select Patient Mode.
- Follow the shortcut instruction to select teeth. Their antagonists is selected by default.
-
(Optional) Set up the bridge.
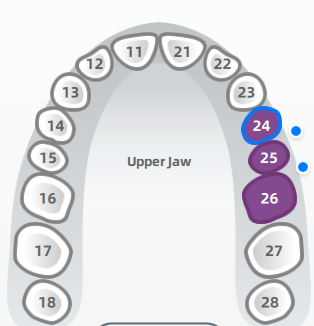
⑴ Select two or more teeth.
⑵ Click the circle between the two teeth.
⑶ When it turns blue, it means that the bridge has been set.Col
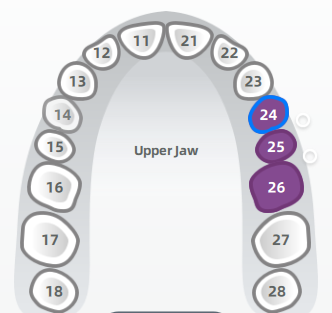
No bridgeCol
With bridge -
(Optional) Click the slider to add scanning steps(pre-op scanning step and gingiva separately scanning step).
-
(Optional) Add scanning steps and Implant-Based.
-
Set Material and Teeth Color.
| Icons | Implant-Based Type | Description |
|---|---|---|
 |
Custom Abutment |
Add the step of scanning ScanBody. |
 |
Custom Abutment (manual positioning) |
Add the step of abutment scanning. After entering this step, abutment scanning is enabled by default. |
 |
Screw Retained |
Add the step of scanning ScanBody for dental implant. |
 |
Screw Retained (manual positioning) |
Add the step of abutment scanning. |
 |
On Substructure Scan (e.g, bar) |
Add the step of scanning ScanBody. |
The multidie mode is mainly used for scanning multiple individual dies. In different numbered positions of the multimodal tray, the surrogate model is placed and the type of repair is selected.
Operations:
- Click the hole in the fixture of the tooth die to select the type of restoration.
- Click the right mouse button (RMB) to cancel the selected type of restoration one by one.
- Click Clear All to cancel all selected types.

Type Selection
-
Select Scan Type.
Icons Scan Type Description 
Sectioned Model
For scanning the upper/lower jaw in which dies are removable.
Unsectioned Model
For scanning the whole upper/lower jaw in which dies are not removable.
Impression Model
For scanning the impression.Note
You can manually change the scan type in the following scenarios:
- After software installation, the scan type defaults to Sectioned Model.
- When creating a new order, the scan type is the same as the last selected type.
- When importing old orders, the scan type of the old orders remains unchanged.
-
Select Occlusion Type. The default option is Two Stone Models in Occlusion.
Pictures Occlusion Type Pictures Occlusion Type Pictures Occlusion Type 
Two Stone Models in Occlusion 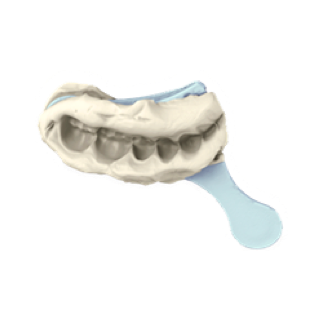
Triple Tray 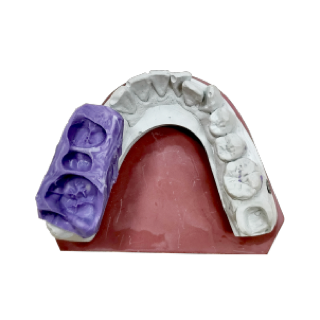
Mushbite 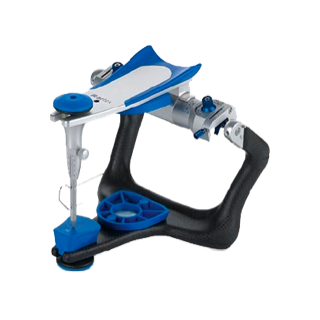
Two Stone Models in Artex CR 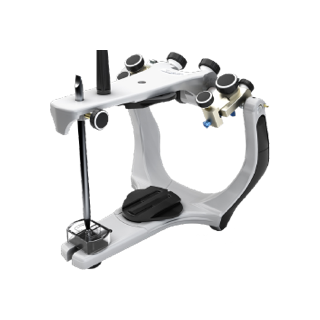
Two Stone Models in Articulator Bio-Art 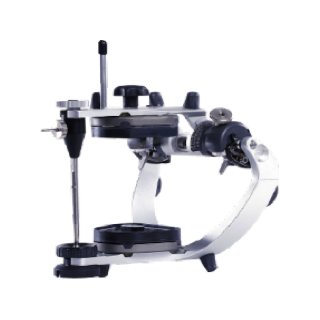
Two Stone Models in Articulator P 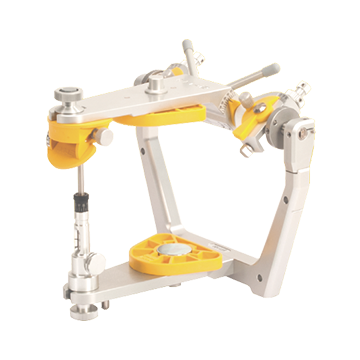
Two Stone Models in Articulator S (legacy) Two Stone Models in Articulator S 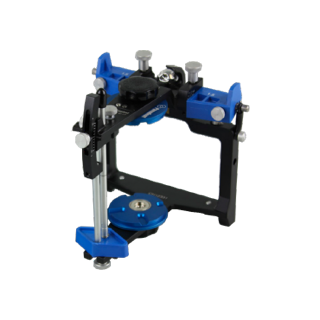
Two Stone Models in Articulator Panadent PCH 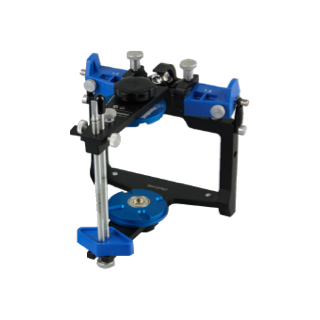
Two Stone Models in Articulator Panadent PSH 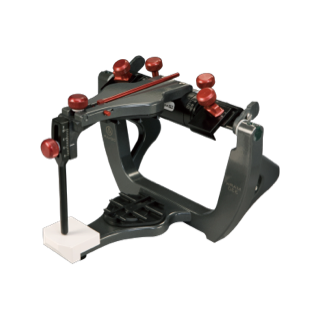
Two Stone Models in Articulator Denar 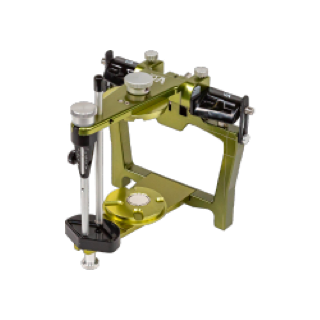
Two Stone Models in Articulator AD2. - Baumann: A third party fixture that can be used with the Artex CR type, Bio-Art, P, S (old style) and S occlusal frame bilateral plaster models for scanning, which is more cost effective.
- Click the slider to scan marker for jaw movement if needed.
-
Add digital Scan Marker for Jaw Movement for models having the occlusion relation or the scan marker for jaw movement.
-
Click the button for further operations.
| Button | Description |
|---|---|
| Scan | Start scanning. |
| Save | Save the current order for further scanning. |
| Explore | View the files related to current order. |