Unsectioned Model Case
Create the Order
Note
- Select Restoration as the dentistry type.
- Select Patient Mode.
- Select Unsectioned Model.
- Select Occlusion Type according to the reality.
More details can be found in Scan Strategy Configuration.
Click Scan to start or click Save to save the order and scan it later.
The lower jaw is the working jaw, and the upper jaw is the opposing jaw in this order.
Start Scanning
 Total Jaw Scan
- Follow the guidance on the interface to place the height adaptor, the fixture and the model.
- Set the configuration in the camera window. For steps to set parameters, see Parameters.
- (Optional) Turn on additional functions. For more, see Function.
-
Click
 or press Space / Enter to start scanning.
 -
After scanning, move or rotate the cutting plane to cut the model.
- Click
 to edit the model. For more, see Function.
 - Click
 to save the edit and return to the scanning interface.
 - Click
 to preview the scanned model;
or click
to preview the scanned model;
or click  to rescan;
or click
to rescan;
or click  to finish.

 Lower Jaw Scan
- (Optional) Turn on additional functions.
-
Click
or press Space / Enter to start scanning.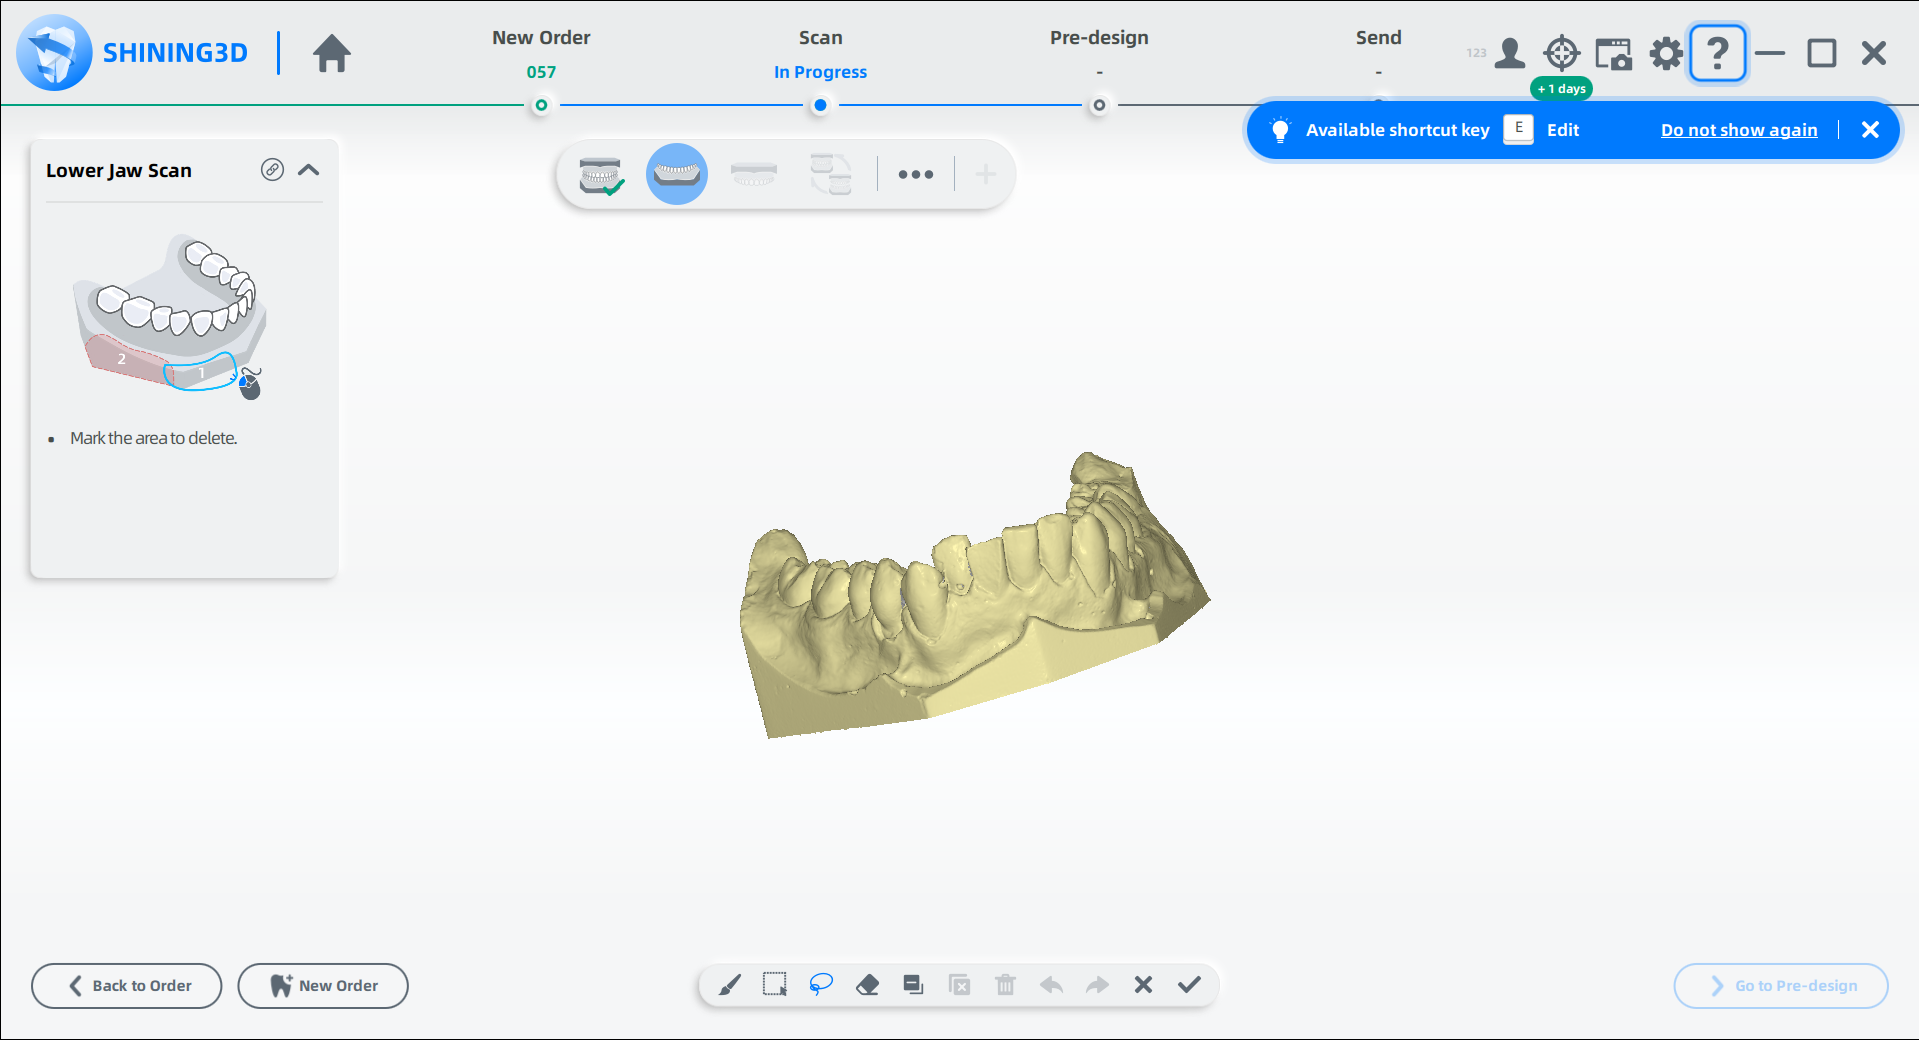
-
 : Add details and process a high-quality scan. For more, see Function.
-
 : During scanning, the area near the preparation tooth is automatically identified and scanned. This function is only available when you select AI Detection.
 -
 : Improve the integrity to the non-separated die regions. For some gaps between teeth that are too tight, turn on this function.
-
-
If the scanned data is incomplete, click
 to add more data to the existing scan. For steps to add scan, see Function.
 - After scanning, cut and edit the scanned data for a cleaner scan.
- Click to finish.
 Die Scan
If there are unsectioned tooth and sectioned tooth in the same order, click ![]() in the step bar to add the die scanning step. For steps to scan dies, see Sectioned Model Case-Die Scan.
in the step bar to add the die scanning step. For steps to scan dies, see Sectioned Model Case-Die Scan.

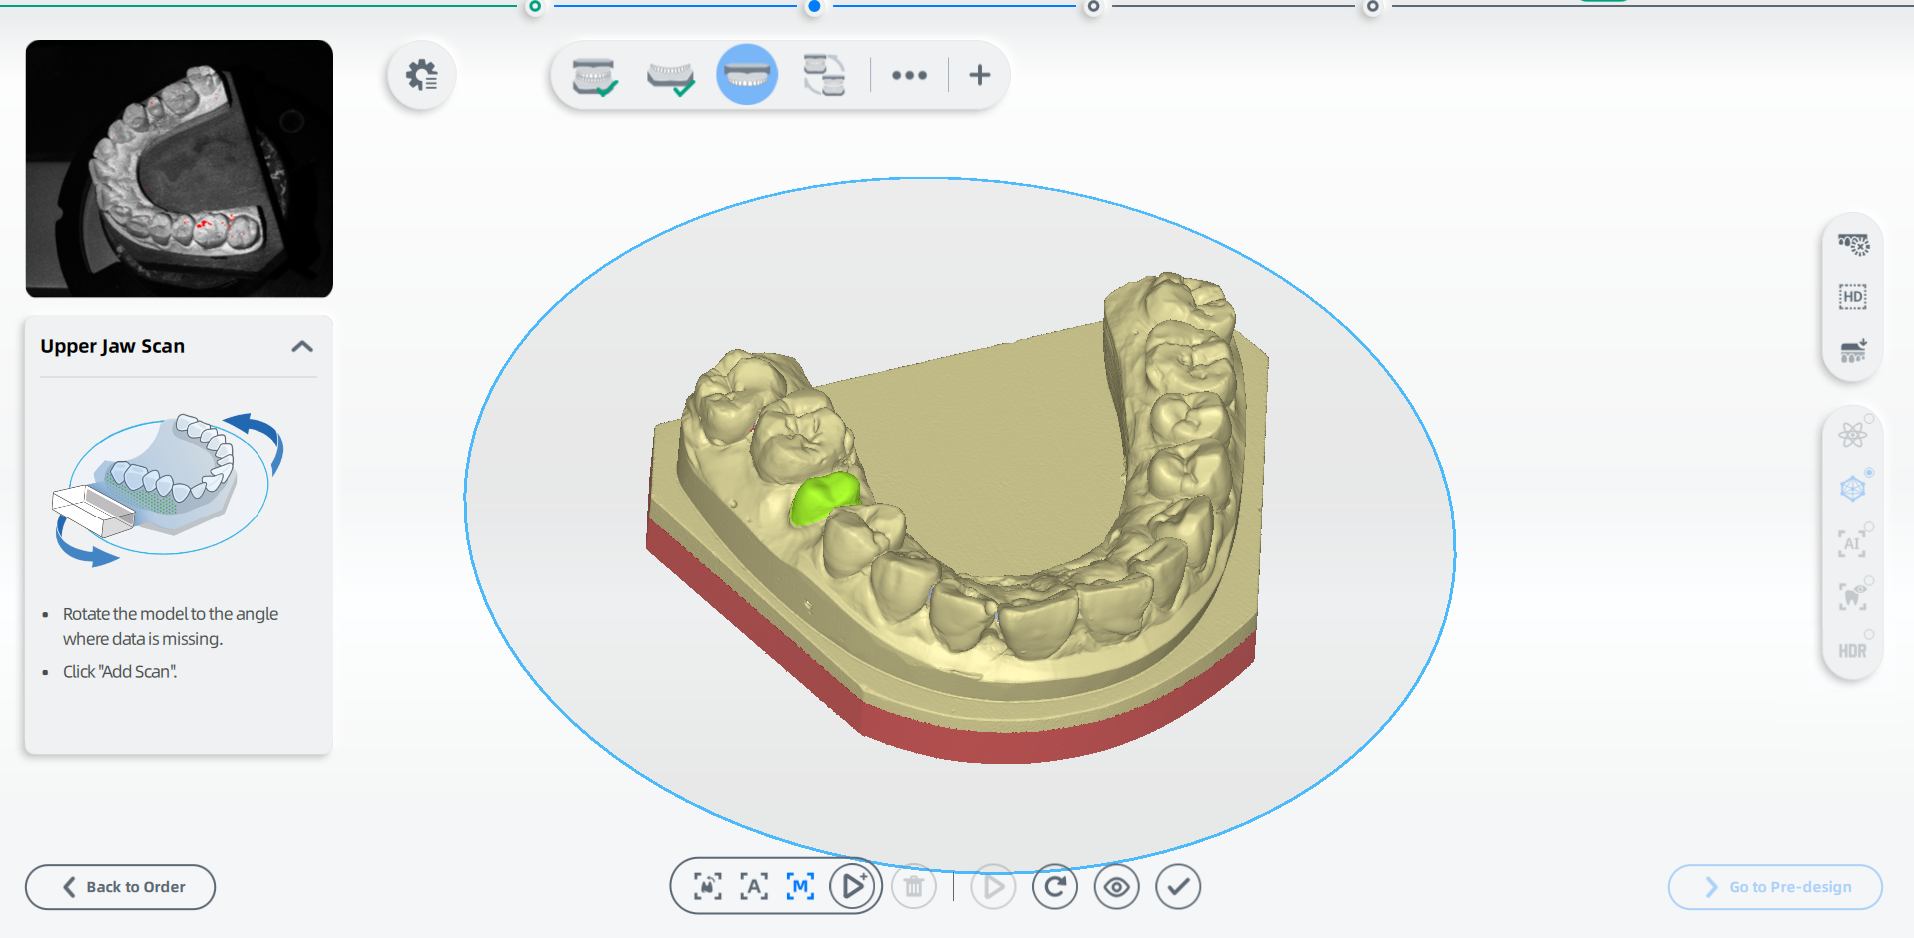
 Upper Jaw Scan
- Click or press Space / Enter to start scanning.
- If the scanned data is incomplete, click to add more data to the existing scan.
- After scanning, cut and edit the scanned data for a cleaner scan.
- Click to finish.
 Occlusion Alignment
- Check the automatic alignment and click to finish.
- (Optional) If the result is not optimal, click
 and align the scanned data manually. For steps to align, see Alignment Operation.
Note
According to the specific needs, you can enable or cancel the bite optimization (highlighted in red). When enabled, it will automatically adjust and optimize occlusion data.

Finish Scanning
After finishing the scanning process, click on Go to Pre-design to edit the scanned data.