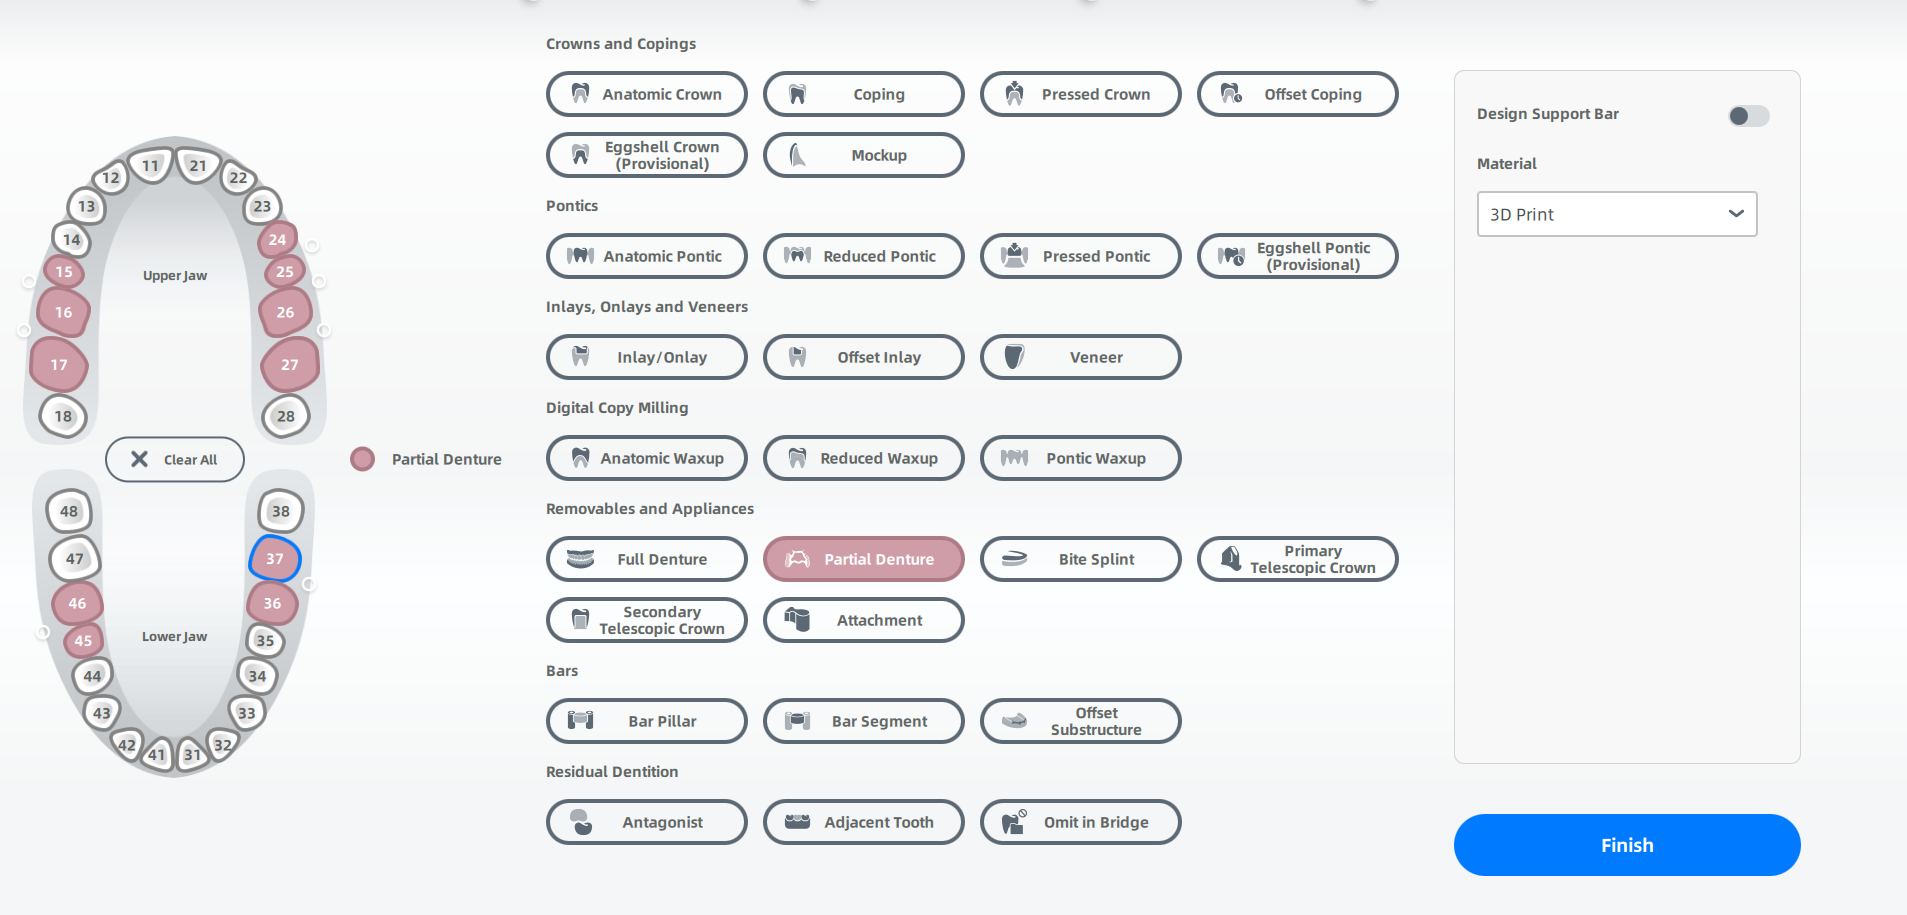
Removable Partial Denture Case
Create the Order
Note
- Select Restoration as the dentistry type.
- Select Patient Mode.
- Select Unsectioned Model.
More details can be found in Scan Strategy Configuration.

Start Scanning
 Total Jaw Scan
- Follow the guidance on the interface to place the height adaptor, the fixture and the model.
- Set the configuration in the camera window.
-
(Optional) Turn on additional functions.
 : Enabled by default. This function increases the scanning angles to obtain more comprehensive scanned data.
 : Add details and process a high-quality scan.
 : When the scanning effect is not good, or having black lines on the model, or the gingiva can't be scanned, enable HDR to improve the integrity to the scanned data.
-
Click
 or press Space / Enter to start scanning.
 - After scanning, move or rotate the cutting plane to cut the model.
- Click
 to edit the model.
 - Click
 to save the edit and return to the scanning interface.
 -
Click
 to preview the scanned model; or Click
  to rescan; or click
  to finish.
 Lower Jaw Scan
-
Turn on additional functions.
 : Process a colored scan. It is recommended to be enabled in this order.
- : Improve the integrity to the scanned data. It is recommended to be enabled in this order.
Col

BeforeCol
After -
Click
or press Space / Enter to start scanning. - If the scanned data is incomplete, click
 to add more data to the existing scan.
 - After scanning, cut and edit the scanned data according to reality.
- Click to finish.
 Upper Jaw Scan
- Turn on additional functions.
- Click or press Space / Enter to start scanning.
- If the scanned data is incomplete, click to add more data to the existing scan.
- After scanning, cut and edit the scanned data according to reality.
- Click to finish.
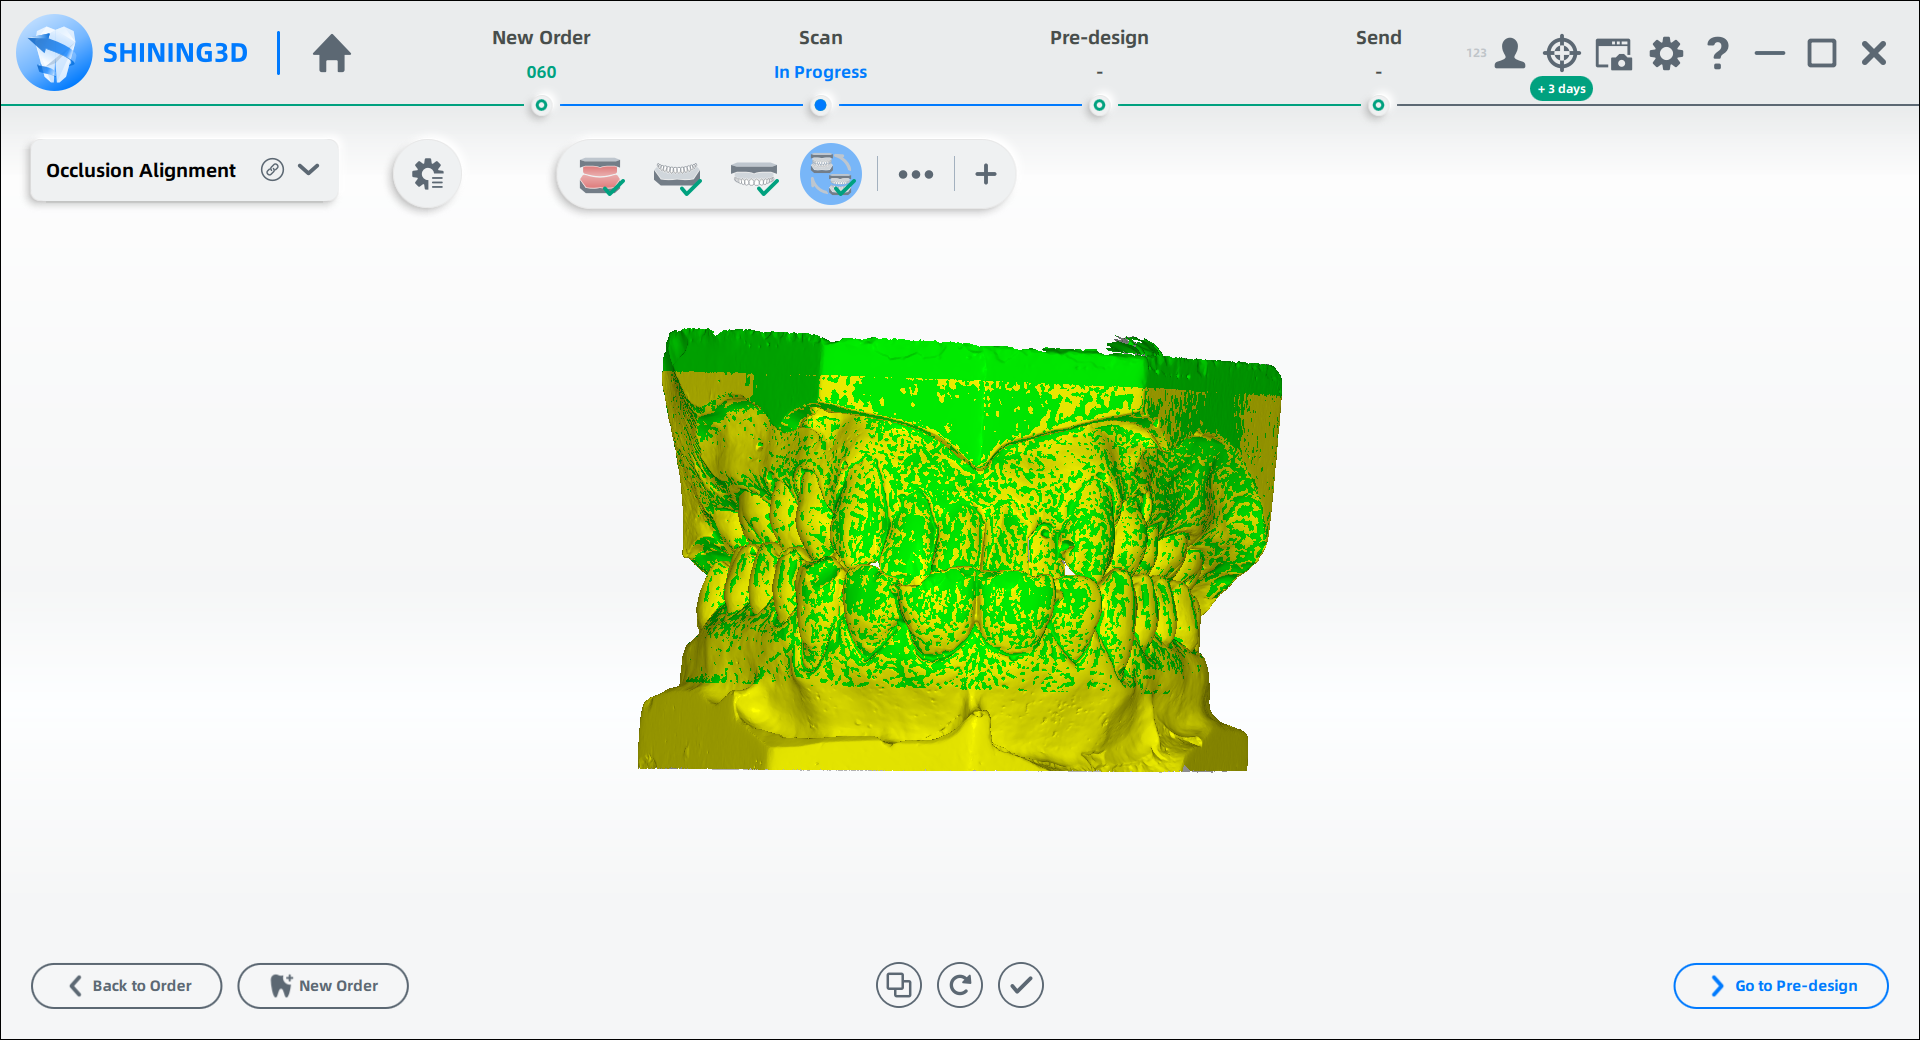
 Occlusion Alignment
- Check the automatic alignment and click to finish.
-
If the result is not optimal, click
 and align the scanned data manually.
Col

Automatic AlignmentCol
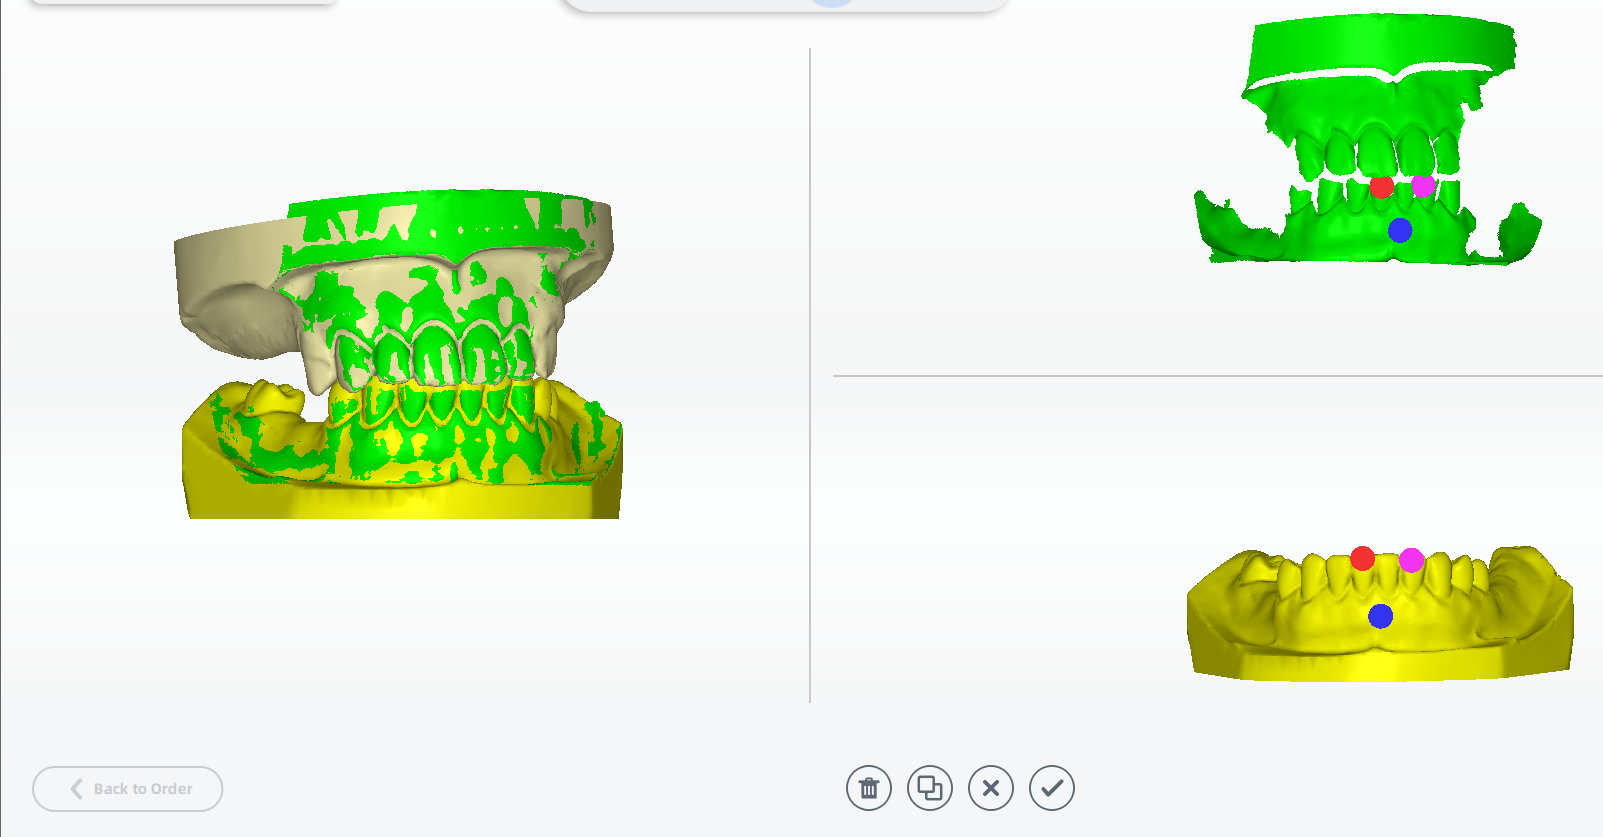
Manual Alignment -
Adjust the occlusion after aligning.
Finish Scanning
After finishing the scanning process, click on Go to Pre-design to edit the scanned data.