Tripletray Case
Triple-tray is mainly used to make impressions of various restorations such as defective teeth. It improves the accuracy of occlusion by simplified scanning steps.
Create the Order
Note
- Select Restoration as the dentistry type (Not Necessary).
- Select Patient Mode.
- (Optional) Click the slider to add scanning steps(pre-op scanning step and gingiva separately scanning step).
- Select Impression.
- Select Triple Tray in Occlusion Type.
More details can be found in Scan Strategy Configuration.

Start Scanning
The upper jaw is the working jaw and the lower is the opposing jaw in this case.
 Upper Jaw Impression Scan
-
Follow the guidance on the interface to place the model.
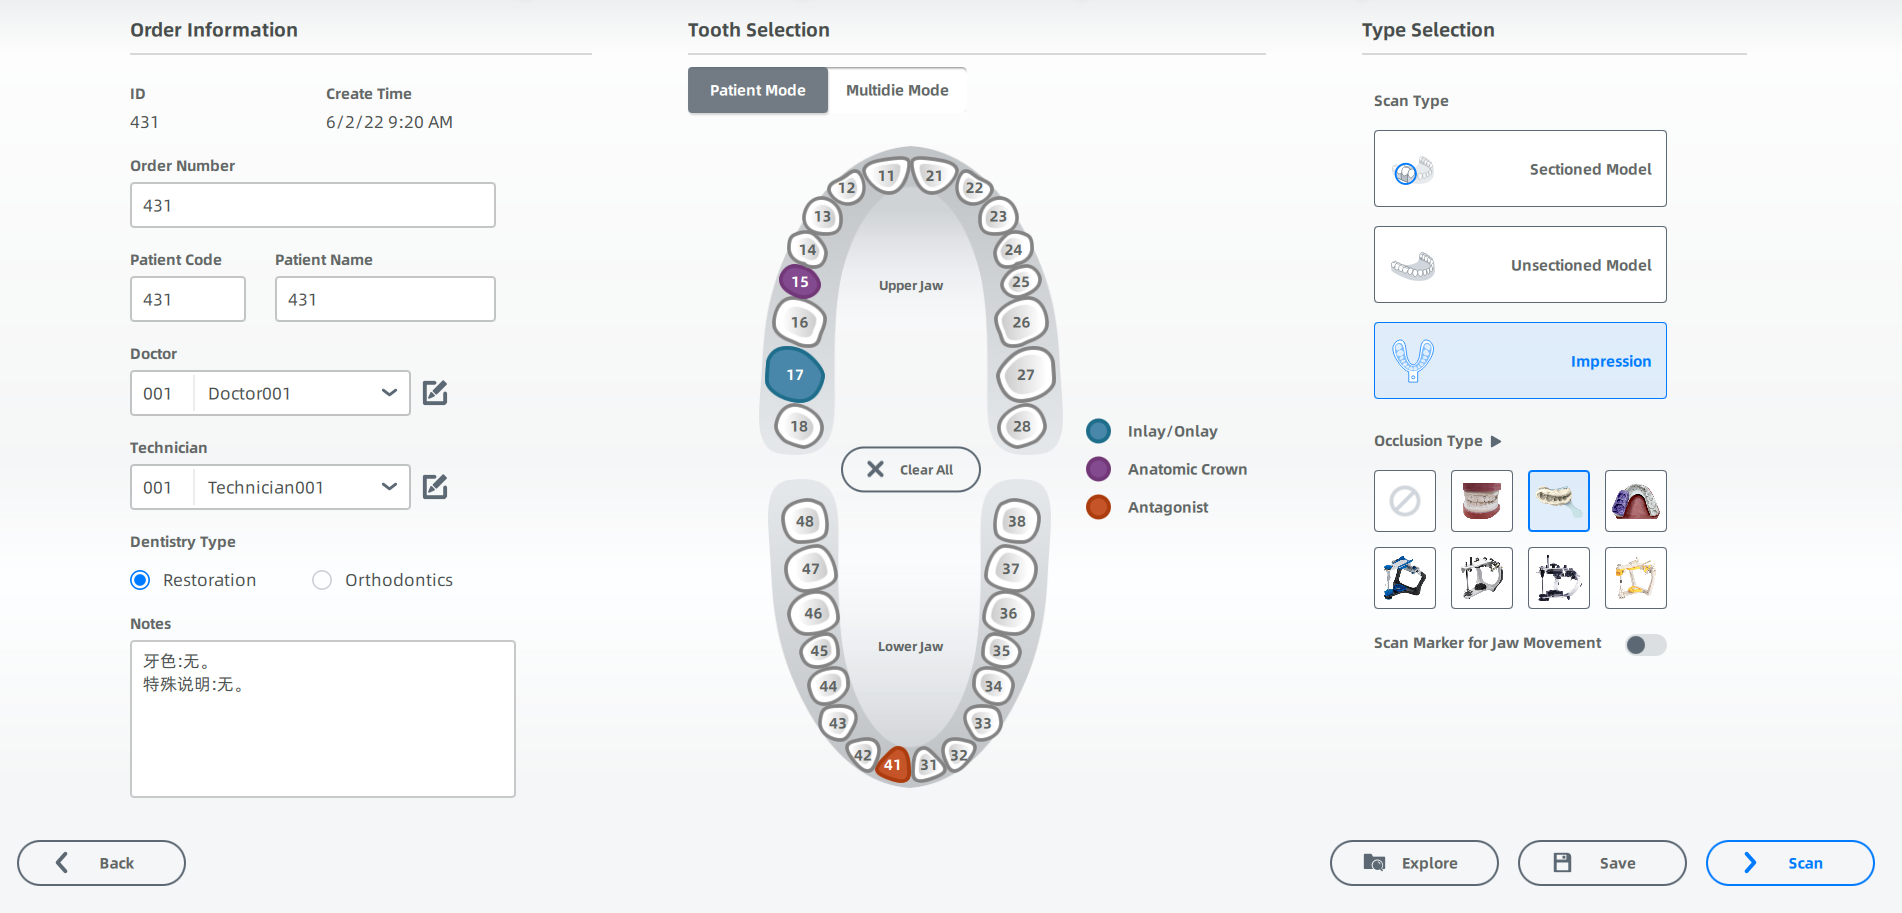
Product Fixture Installation EX Pro Series 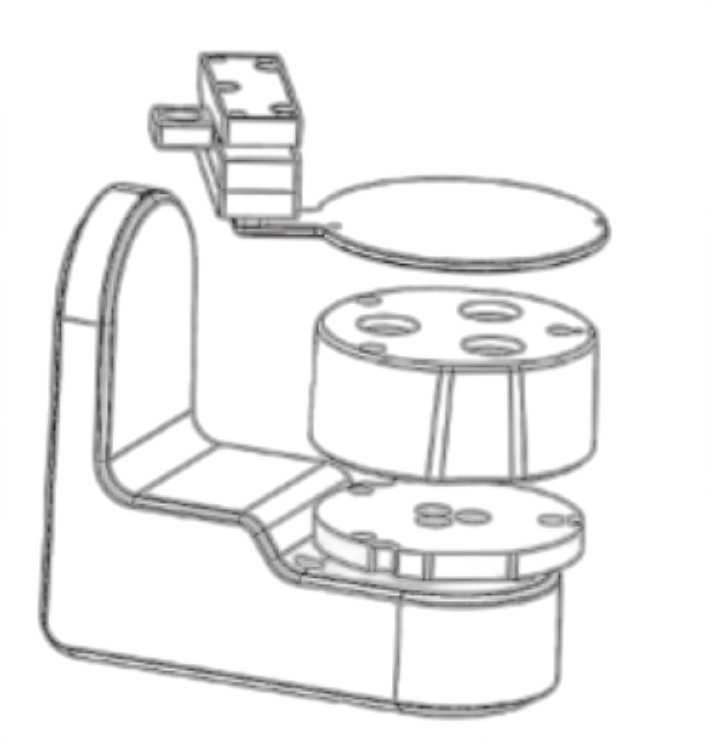
MIX Series 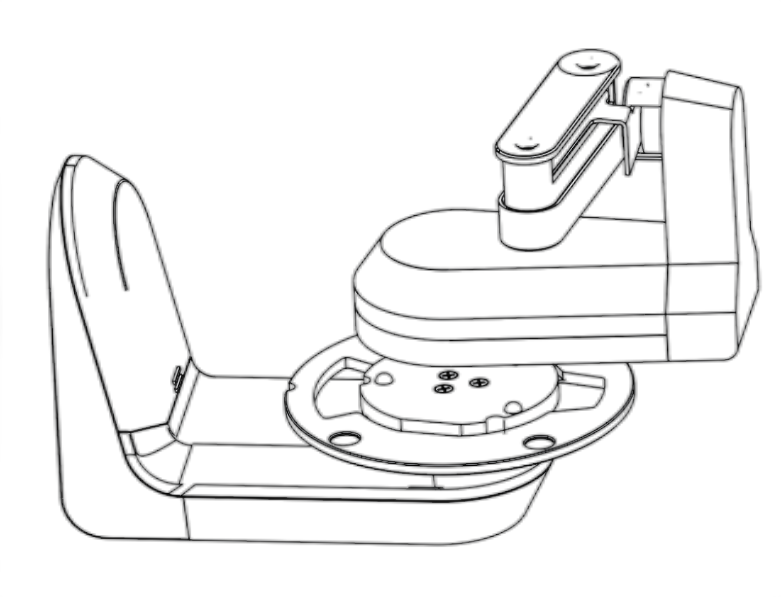
-
(Optional) Click
 , select Tripletray and click Apply.
Note
- Select Auto Flip and the fixture will automatically flip the impression model(only supported by MIX series).
- Select Manual Flip and attach the model directly to the adaptor without the fixture(This case takes the manual flip scanning process as an example).
-
Click
 or press Space / Enter to start scanning.
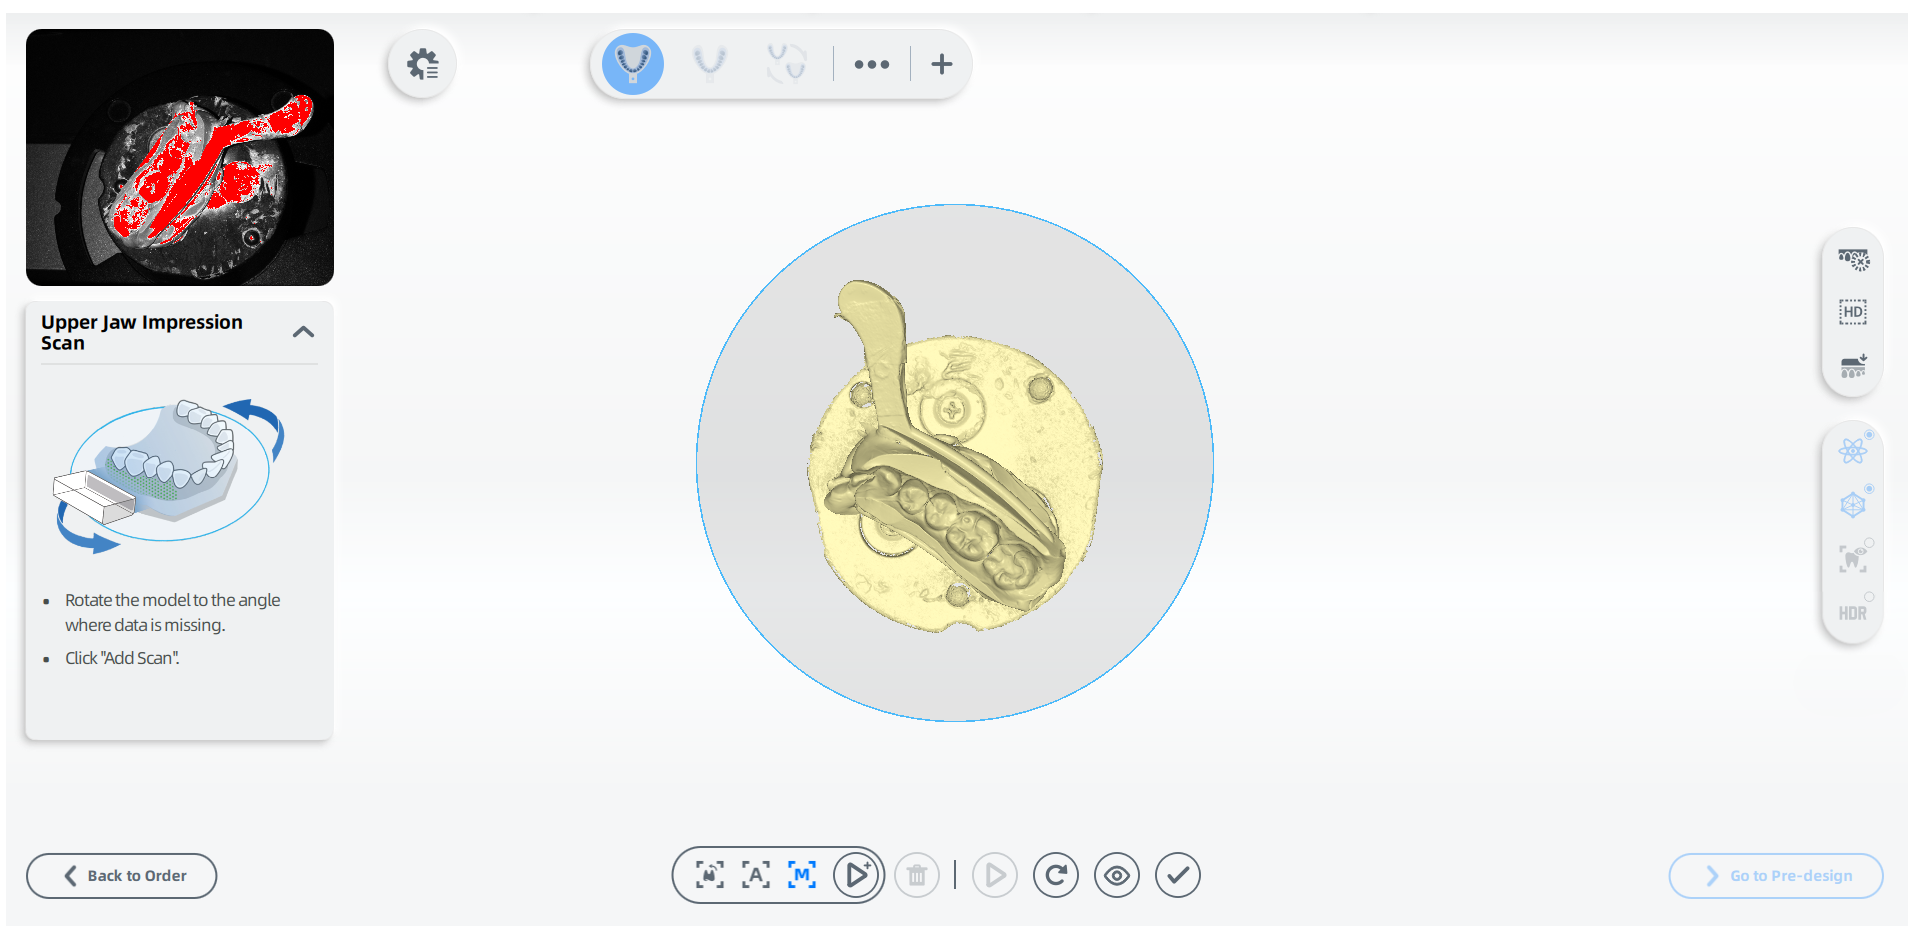
Note
Do not delete the data in the common area of the upper jaw and lower jaw to avoid affecting the alignment.
-
If the scanned data is incomplete, click
 to add more data to the existing scan. For steps to add scan, see Function.
 -
Click
 to preview the scanned model;
or click
to preview the scanned model;
or click  to rescan;
or click
to rescan;
or click  to finish.
Lower Jaw Impression Scan
-
Flip the model manually and click
or press Space / Enter to scan the other side.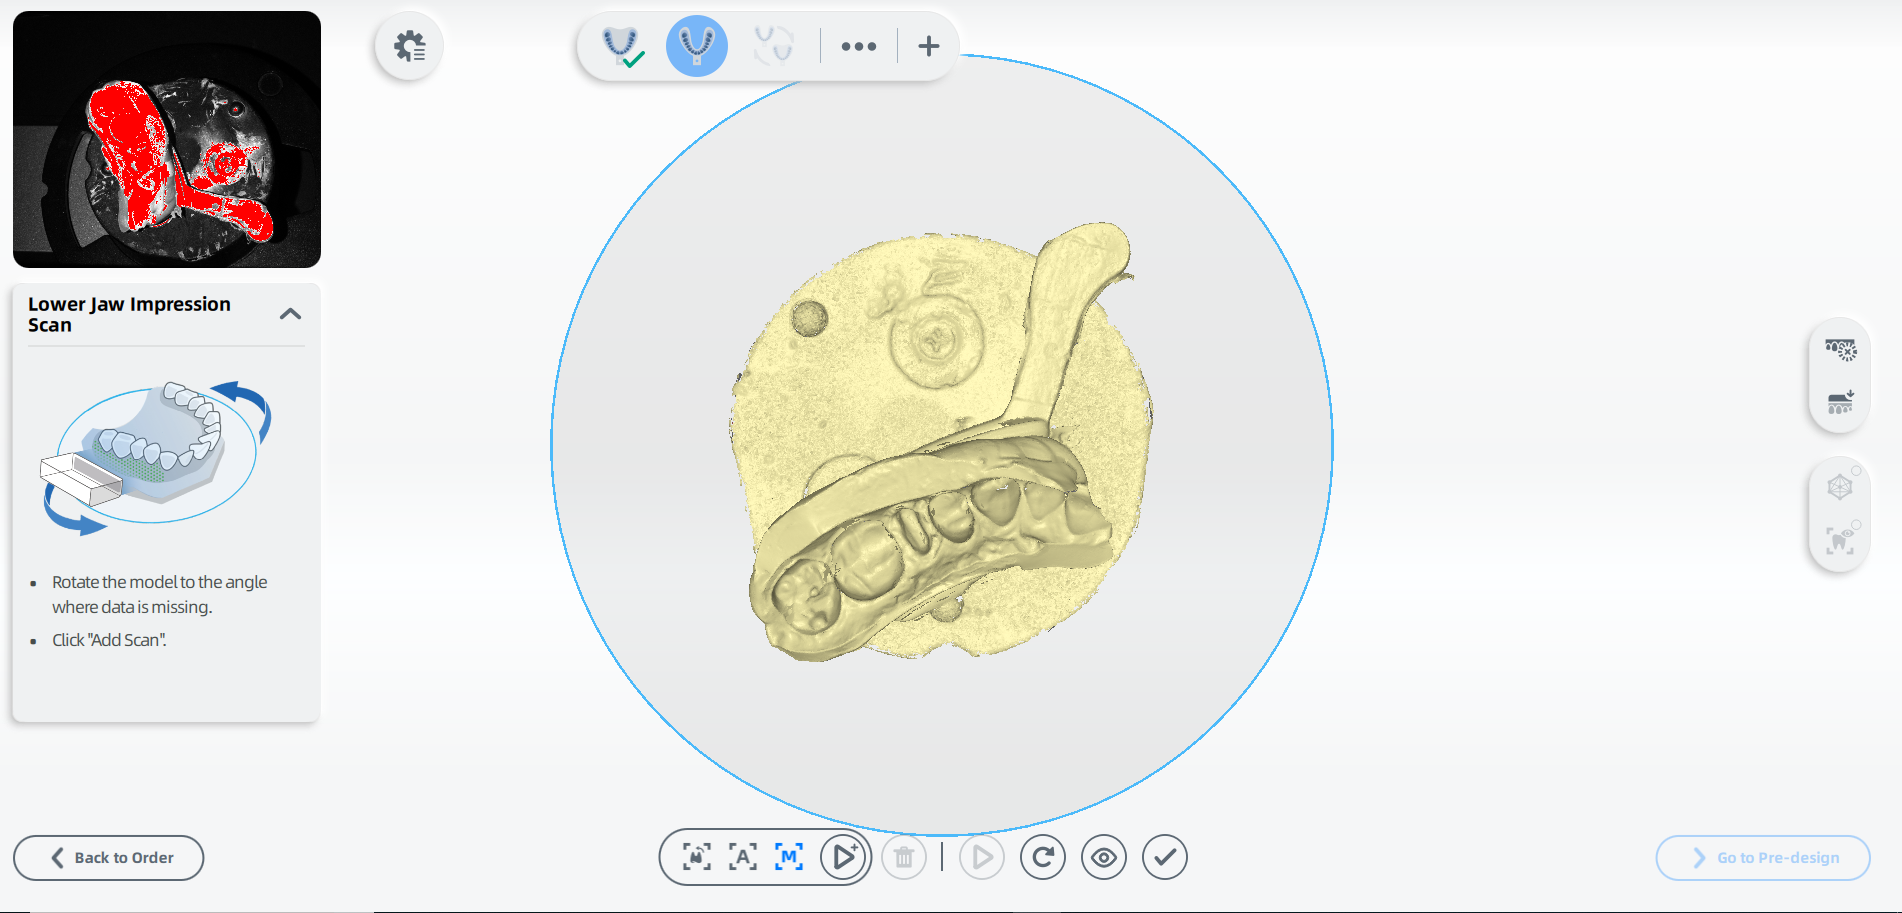
-
If the scanned data is incomplete, click
to add more data to the existing scan. - Click to preview the scanned model;
or click to rescan;
or click to finish.
 Impression Alignment
- Check the automatic alignment and click to finish.
-
(Optional) If the result is not optimal, click
 and align the scanned data manually. For steps to align, see Alignment Operation.
Finish Scanning
After finishing the scanning process, click on Go to Pre-design to edit the scanned data.