3D Setting
Shining3D Digital Cloud provides 3D editor to support model files' 3D setting, which can be used to edit the properties of the model, such as its materials, to achieve custom rendering effects.
On the page of All the files, Recently opened, Recently uploaded or Category view, you can click ![]() in the bottom right corner of the file card to proceed with 3D setting.
in the bottom right corner of the file card to proceed with 3D setting.
Note
- You can also open the 3d editor by clicking the 3D setting button in the top right corner of the model details page.
- The default file viewing mode is
 icon; if you switch to
  list, you can hover your mouse over the file bar, click
  button that appears, and click 3D setting.
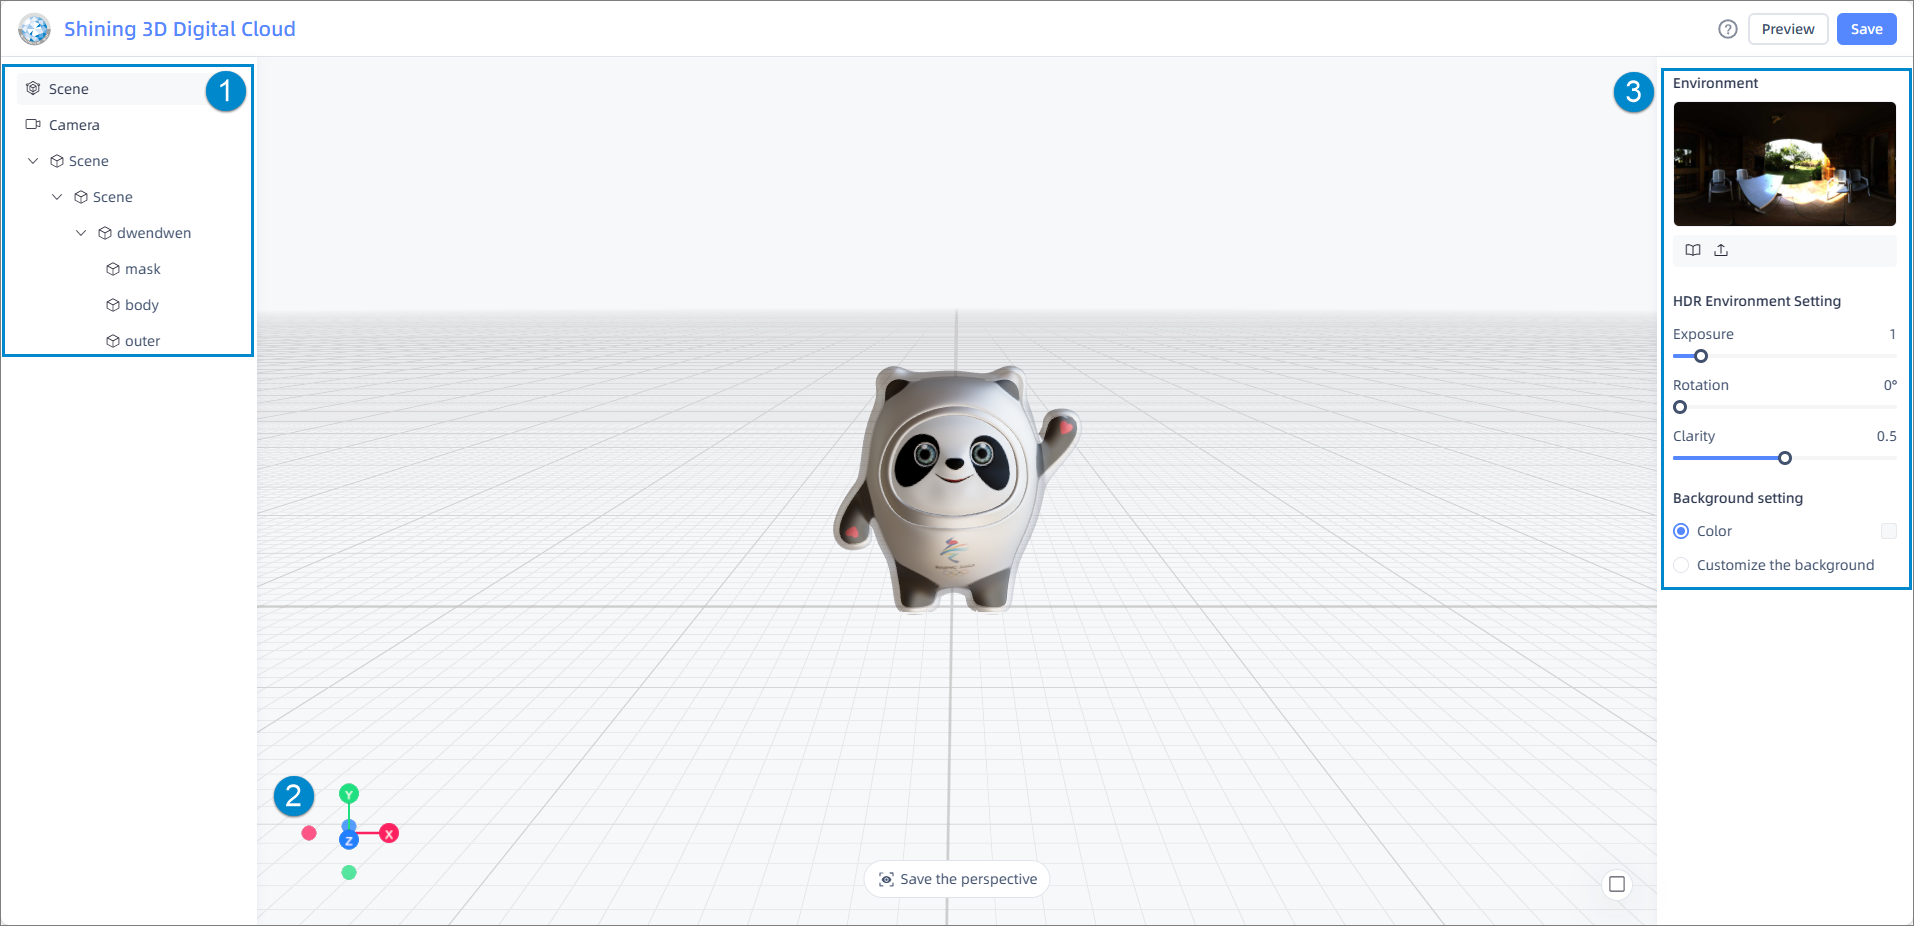
Click the corresponding bar to proceed with scene editing, camera setting or child node's material editing, and related properties can be set in the ③ area on the right side.
Note
- Click > to expand child nodes of the model, and click again to collapse.
- Hover the mouse over the child node, the
 button appearing on the right indicates that node is shown (as default), click to hide the node; subsequently, you can click
  to show the node.
Support rotating, moving models, model sub-nodes, or plane references by adjusting the coordinate axes.
Set scene properties (environment, HDR environment and background), camera properties (type and field of view) and child node properties (position, material, color, etc.).
Basic functionalities
Plane interaction:
- Turn on/off the plane reference (grid): click
 to turn on the plane reference (enabled as default), the corresponding button status is
  .
.
- Move the plane:press and hold shift , click anywhere within the preview image, except on the model itself, and drag to move.
- Rotate the plane: click anywhere within the preview image, except on the model itself, and drag to move.
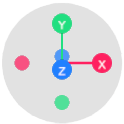
You can resort to the floating coordinate pole in the bottom left corner to quickly switch the viewing angle.
Model interaction:
- Rotate the model: hover the mouse over the preview image, and scroll up/down to zoom in/out the model.
- Move the model: click the specified node in the left navigation bar or directly select the model node on the preview image, then drag the displayed X, Y, Z coordinate axes.
- Rotate the model: click the specified node in the left navigation bar or directly select the model node on the preview image, then drag the displayed rotation axis.
Note
After successfully selecting a specific axis with the mouse, that axis will turn yellow.
Scene edition
Click the ![]() Scene button in the left navigation bar to open the window of scene edition.
Scene button in the left navigation bar to open the window of scene edition.
- Environment: click
 Themes to select the environment (Outdoors, Indoors, Sky, Night, Nature, Studio), or click
  button to upload HDR setting.
 - HDR Environment Setting: support adjusting Exposure (0 ~ 10), Rotation (0° ~ 360°) and Clarity(0 ~ 1).
- Background Setting: support customizing the color (input RGB) or background (can be selected from Themes or Upload background).
Camera settings
Click the ![]() Camera button in the left navigation bar to open the window of Camera settings.
Camera button in the left navigation bar to open the window of Camera settings.
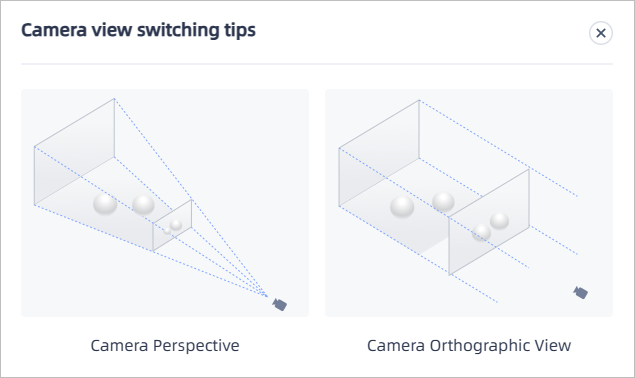
- type: support Orthographic Camera or Perspective Camera, and the introduction to two types is shown in the right figure.
- Field of view (can be set when the camera type is perspective): the scope is 10 ~ 170.
Texture edition
Click the model's ![]() child node to open the window of child node edition.
child node to open the window of child node edition.
- Properties: support modifying the child nodes' Position, Scale and Rotate.
-
Material: support customizing the material of the model's child node, including Color, Roughness, Metalness, AO, Transparency, Emissive intensity, Normal and Bump mapping; you can click
Material library to select public or space material, or click  button to upload mappings.
Note
After modifying the material, you can click
 to save it as space material.
 -
Advanced Options: support changing the mapping, adjusting Attenuation, Opacity, Material Thickness, Clearcoat, Gloss, Specular Reflection, Index of Refraction, Double sides, etc.