Scanning
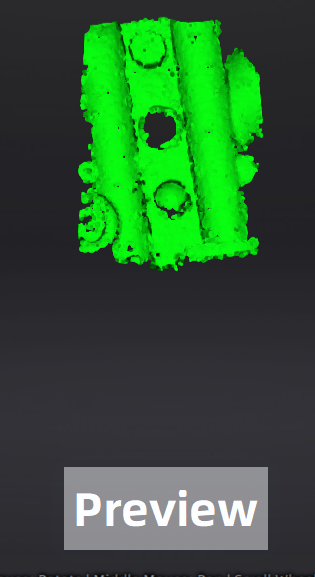
Preview / Scan / Pause
You can always switch in these 3 status with the trigger on the scanner, or click the button in the software. The basic switch order is: Preview -- Scan -- Pause.
| Function | Icon | Instruction |
|---|---|---|
| Preview |  |
In this mode, only show data for preview, but not record the data, you can modify the scan parameters according to the preview. |
| Scan |  |
Start scanning, data is recorded. During scanning, make sure to keep the scanner perpendicular to the surface, keep a proper distance from the object, and adjust the brightness depending on the ambient light or texture of the object. |
| Pause |  |
Pause scanning, you can edit the scan data or change the view angle if you want. |

Caution
When scanning the recessed areas of an object, please hold the scanner directly towards the area to be scanned.
Generate point clouds
When you finish the scan, you can Generate Point Clouds1 or Optimize and Generate Point Clouds2. You may want to edit the data later.
Note
The time it takes to generate point cloud depends on the data size of your project and the hardware configuration of your PC.
-
To generate point cloud directly without any optimization, will be fast and less memory been used; Only available in Object Scan. ↩
-
Optimize then generate point cloud, suggest choosing this option when you have higher accuracy requirement or when there is layering problem caused by accumulated aligning errors during scanning. ↩