Preparation
If the object to be scanned has rich geometric or textural features, the scanning speed and quality can be better guaranteed;
On the contrary, if the object to be scanned has fewer geometric or textural features or a high degree of feature repetition, you need to do some preparation work before scanning to enhance your scanning experience.
For Portrait Scan
Col

Wrong example
Col

Correct example
Specific requirements:
- Hairstyle: Please keep it as neat as possible and avoid hairstyles with loose strands or bangs.
- Clothing: Avoid wearing dark or reflective clothing (such as black leather shoes); do not wear accessories or glasses that may cause reflections.
- Posture: Since the scanned object should remain as still as possible during the scanning process, a comfortable and easy-to-maintain posture is suggested before the scan begins.
For Foot Scan
If you need to scan foot, it is recommended that you use a glass station (as shown below) to assist in scanning the sole data, and use the professional Foot station alignment mode designed for foot scanning; for more, please see foot scan.
For Special Objects
Note
Not recommend to scan following objects:
- Soft material object that cannot be hung.
- Lattice structures with many small deep holes.
- Moving or shaking objects. Frequent coordinate changes will lead to a poor scanning quality.
| Object | Preparation | Notes while scanning |
|---|---|---|
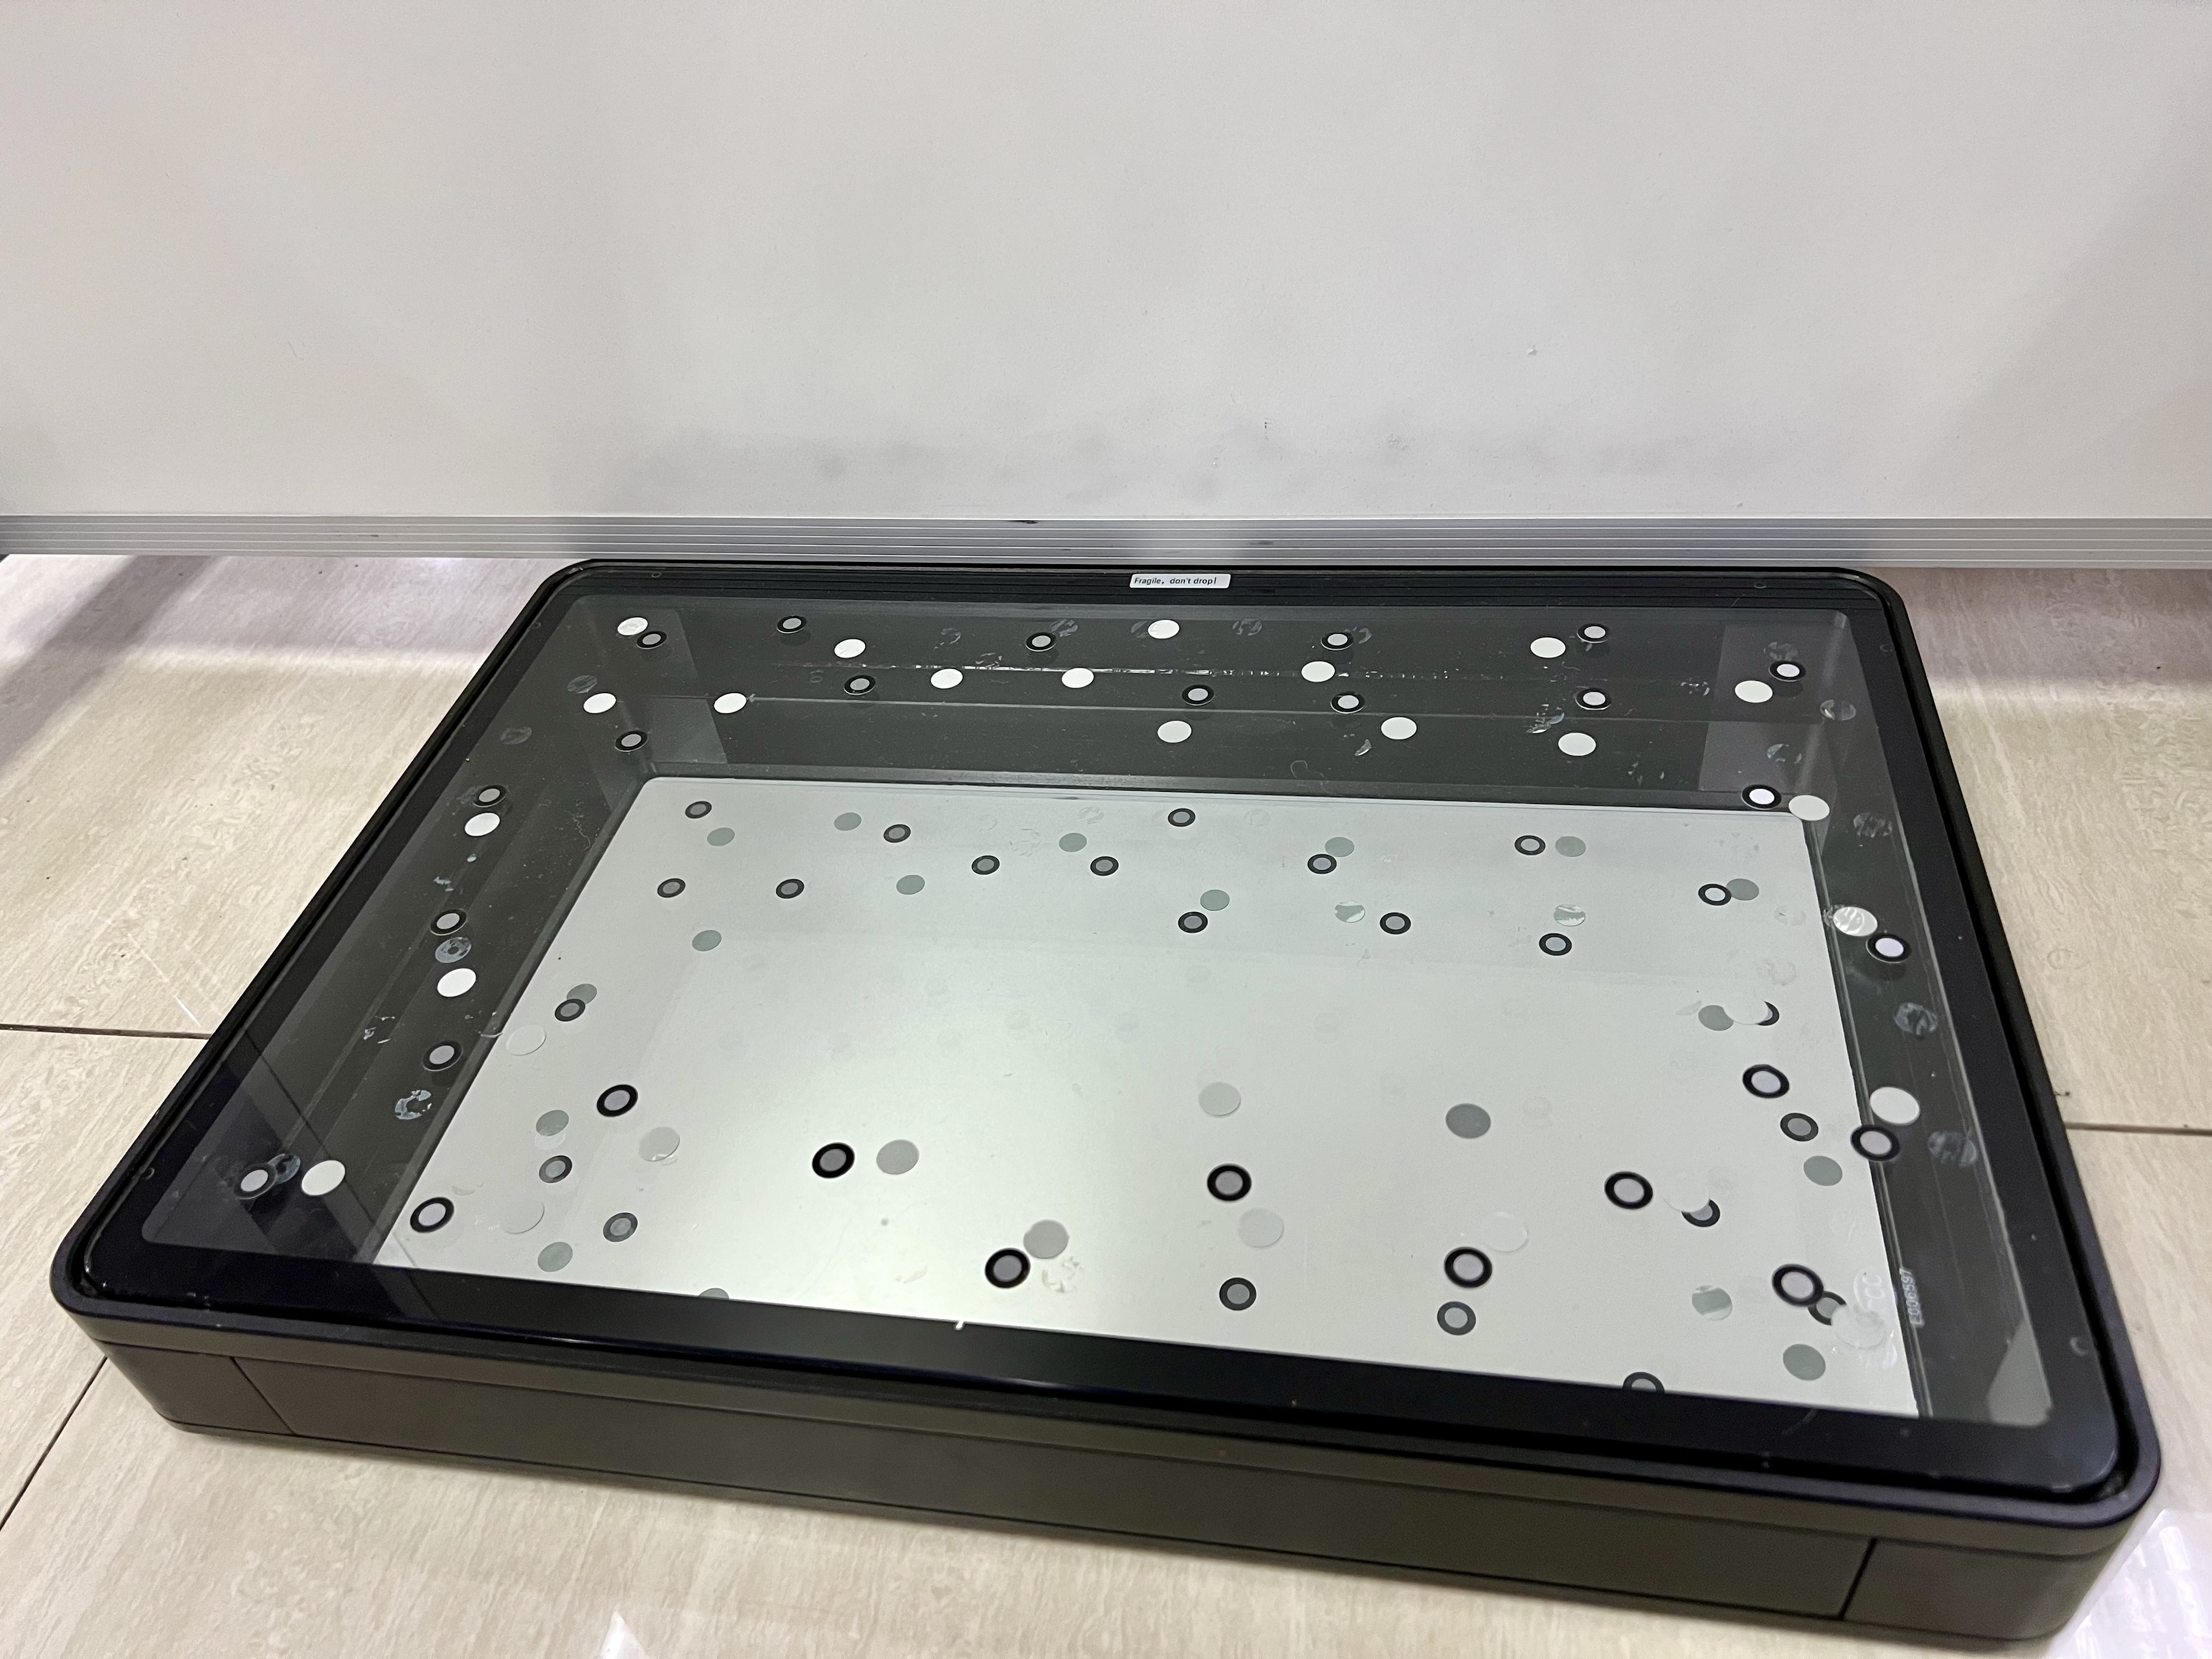
| Transparent, shiny, reflective or black objects | Use washable or vanishing scanning spray. | Scan as normal after spraying. |
| Objects with less features or repetitive features |
|
Scan as normal after preparations. |
| Thin wall objects | Select Global Markers mode and place markers on and around the objects, for more please see scan for thin-wall objects. | Scan as normal after preparations. |
| Small objects | Select Global Markers mode, and align projects, for more see scan for small objects. | Scan as normal after preparations. |
Scan for Thin-wall Objects
To scan thin-wall objects without distinct features, as shown in the follows:
It is recommended that you select Global Markers mode and scan with markers:
1.Prepare two auxiliary objects with markers placed on their upper and lateral sides.

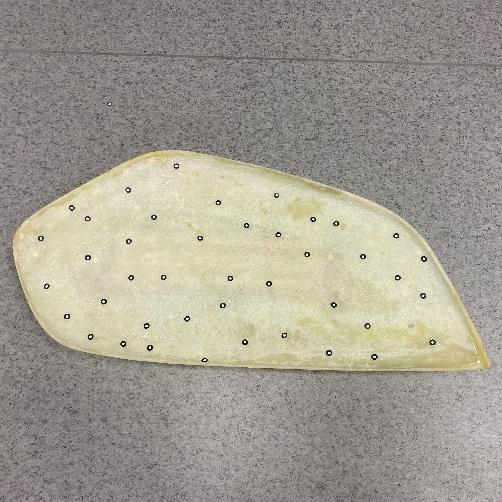
2.Place different markers on lateral sides of the scanned object.

3. Place the scanned object side-upright and fixed, and place the auxiliary objects on both sides of the object (at a distance apart).
4.During the scanning process, the markers on both sides of the auxiliary objects should be scanned to complete the transition between the front and back side, then scan the lateral sides, and scan the left data after removing the auxiliary objects.
Scan for Small Objects

To scan small objects without distinct features, as shown in the right figure:
It is recommended that you select Markers alignment mode and align By Manual:
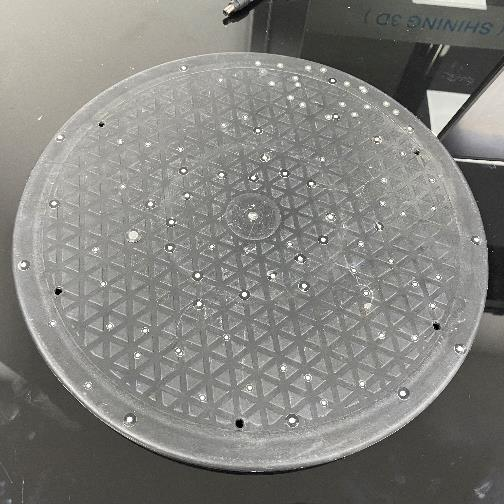
1.Prepare one auxiliary object with markers placed on its side.
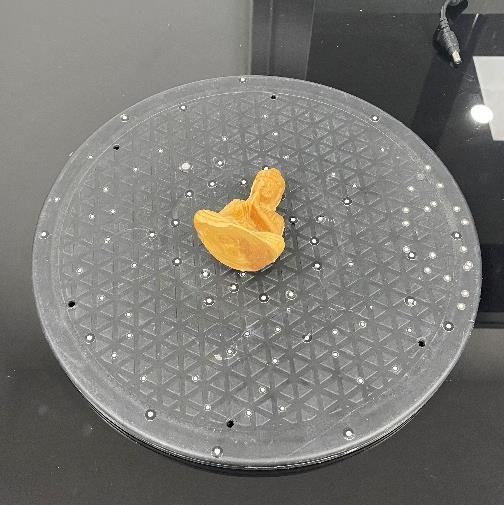
2.Put the scanned object on the center of the surface with markers, and select Markers alignment mode.
3.Turn over the object, and click ![]() to create a new project within the current project group, and scan the back side of the object.
to create a new project within the current project group, and scan the back side of the object.
4.Click align By Feature to align two projects (if not successful, click By Manual instead).