Quick Calibration
After accuracy calibration or there already exists calibration data in the software, quick calibration is recommended when the scanning accuracy drops or alignment failure occurs frequently.
The operation steps for quick calibration are as follows:
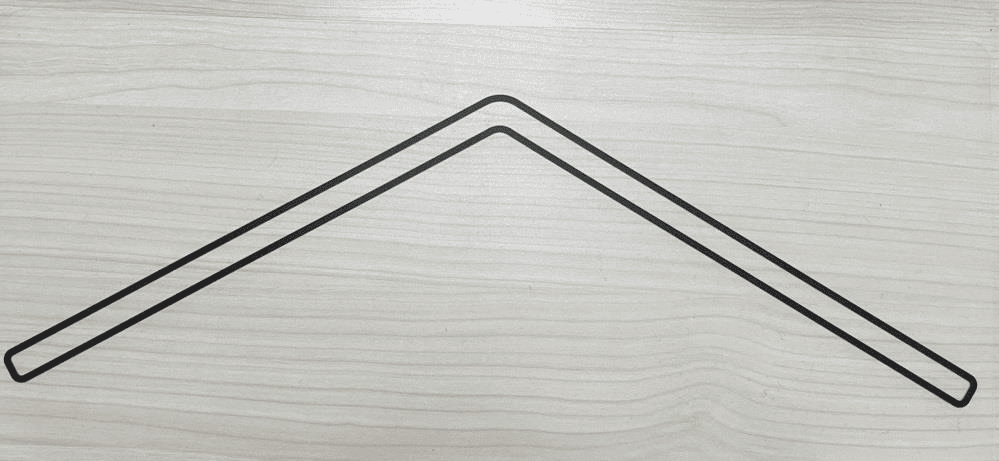
1.Place the arrow-shaped position paper on a flat surface with the arrowhead pointing forward.
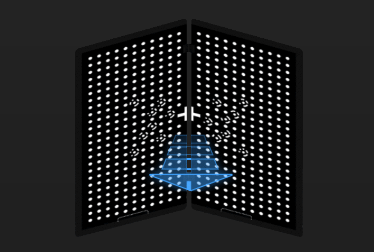
2.Open the calibration board with its black dotted side toward you and place it vertically on the position paper to match the outline.
Note
Please place the calibration board according to the orientation shown in the right animated image.
3.Adjust the scanner's position according to the illustration on the software interface and make sure it has the same position.
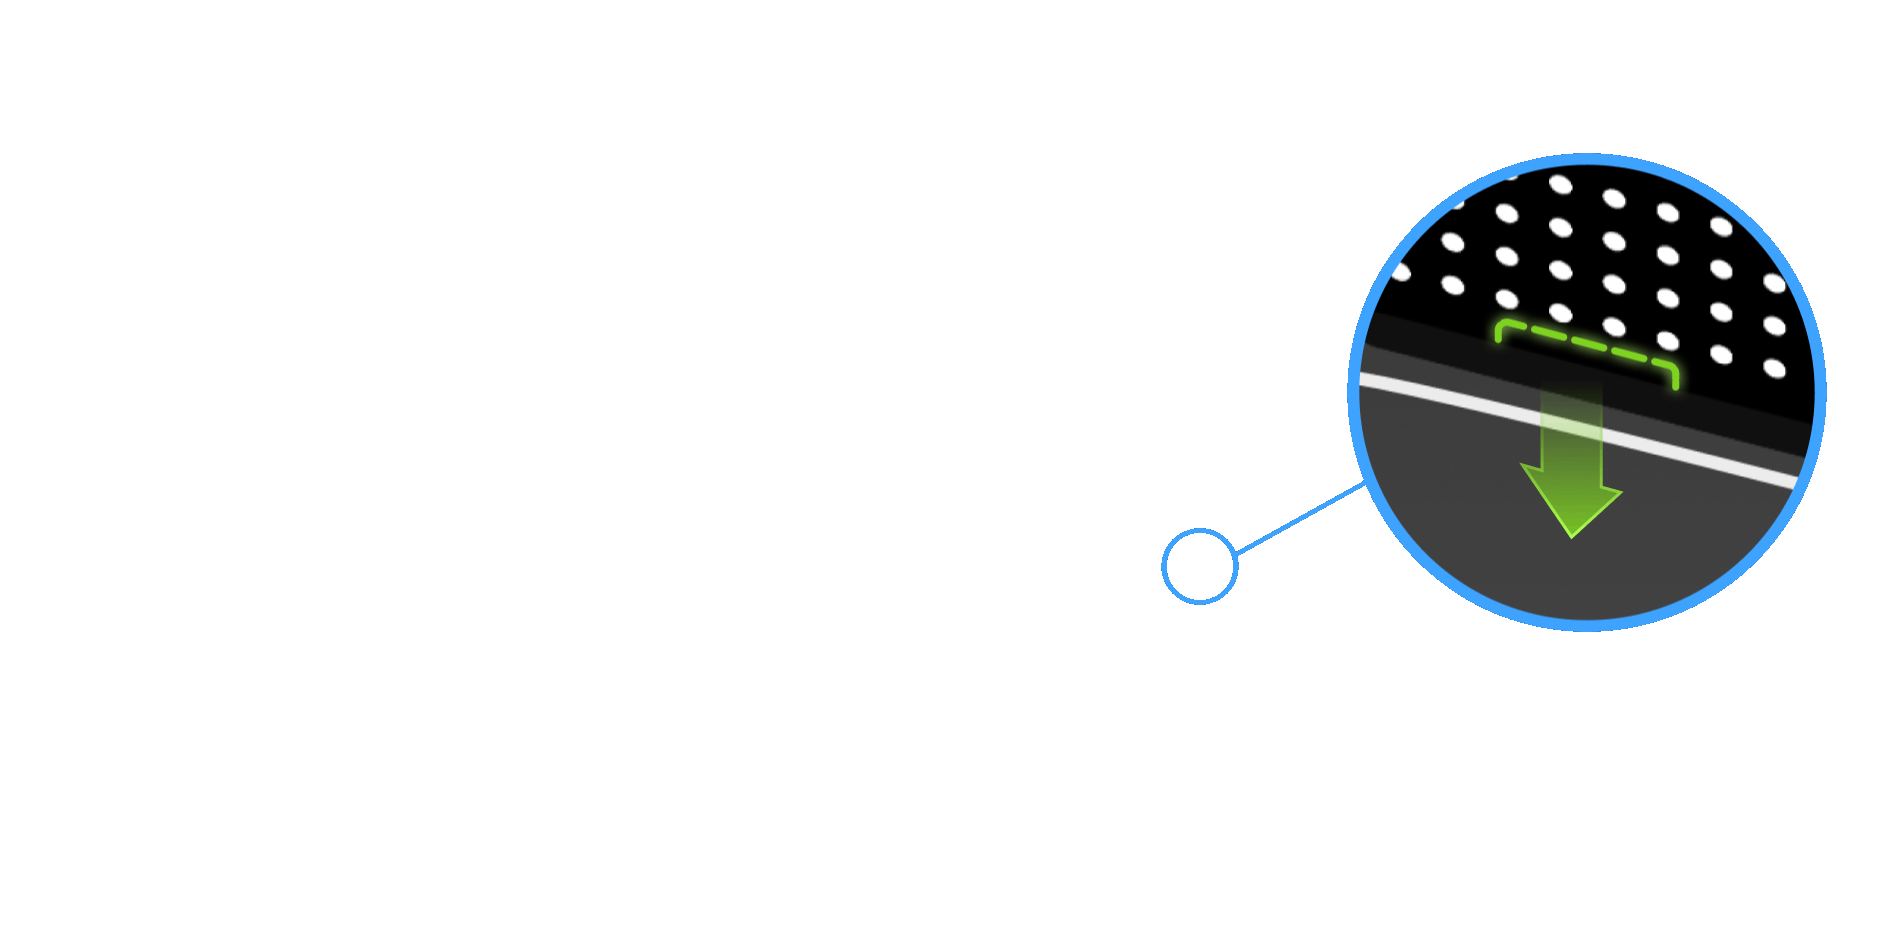
4.Press ![]() gently on the back side of the scanner to start capturing, then slowly pull the scanner in the direction of the arrow shown on the software interface from near to far; during the movement, please adjust the distance between the scanner and the calibration board based on the color changes of distance bars.
gently on the back side of the scanner to start capturing, then slowly pull the scanner in the direction of the arrow shown on the software interface from near to far; during the movement, please adjust the distance between the scanner and the calibration board based on the color changes of distance bars.
Caution
- Do not move the calibration board after capturing images.
- During the movement, please pay attention to the software interface: it will give error message when any misoperation.
- During the movement, please make sure the cross on the calibration board is in the white box on the camera viewport.
| Distance indication bars | Color | Meaning |
|---|---|---|
 |
Blank | Not calibrated |
| Blue | Calibrating | |
| Green | Calibrated |
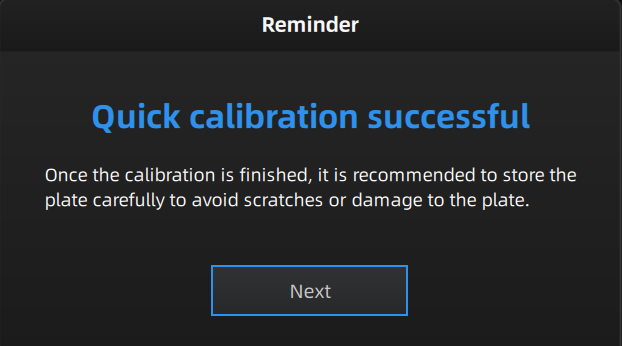
5.When all distance bars turn green, the software will do the calculation automatically and demonstrates the calibration result; if it prompts "White balance calibration successful", you can click Next to start scanning.
Note
- If the calibration fails, please try it again.
- If you still fail to calibrate the scanner, please perform Accuracy Calibration.