White Balance
When the ambient brightness changes, it is recommended that you calibrate the white balance to ensure the accuracy of the scanned texture data.
Caution
Do not perform white balance calibration under strong light, polarization-color light or monochromatic light in order to avoid color cast or other problems.
The operation steps for white balance calibration are as follows:
1.Place the calibration board horizontally with the white side up.
Caution
To get a better texture, please make sure the calibration board is clean.
2.Hold the scanner vertically to the calibration board, and make sure to point the scanner to the center of the calibration board on the camera viewpoint.
3.Press ![]() gently on the back side of the scanner to start capturing, then slowly move the scanner vertically up to the height of the middle distance bar; during the movement, please adjust the distance between the scanner and the calibration board based on the color changes of distance bars.
gently on the back side of the scanner to start capturing, then slowly move the scanner vertically up to the height of the middle distance bar; during the movement, please adjust the distance between the scanner and the calibration board based on the color changes of distance bars.
Caution
- Do not move the calibration board after capturing images.
- During the movement, please pay attention to the software interface: it will give error message when any misoperation.
- During the movement, please make sure to point the scanner to the center of the calibration board on the camera viewpoint.

4.When the middle distance bar turns blue (as shown in the right), the software will do the calculation automatically and demonstrates the calibration result.
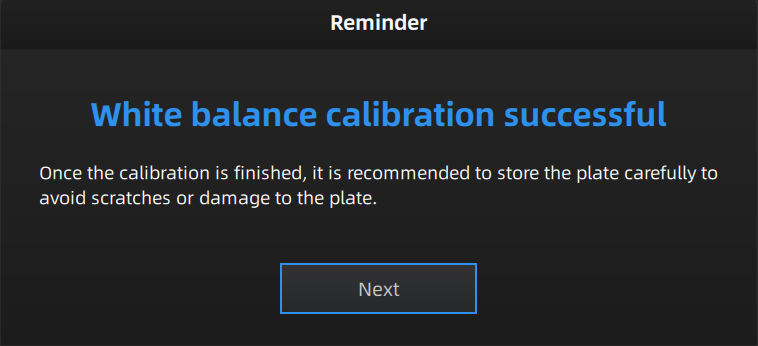
5.If it prompts "White balance calibration successful", you can click Next to start scanning.
Caution
- If the calibration fails, please repeat step 2 to step 4.
- If you still fail to calibrate the scanner, please contact your supplier or our support team.
- If still not satisfied with the scanned texture data, please do white balance calibration again, or change the ambient light first.