Create a Project File
Before scanning, you need to create or open a project.

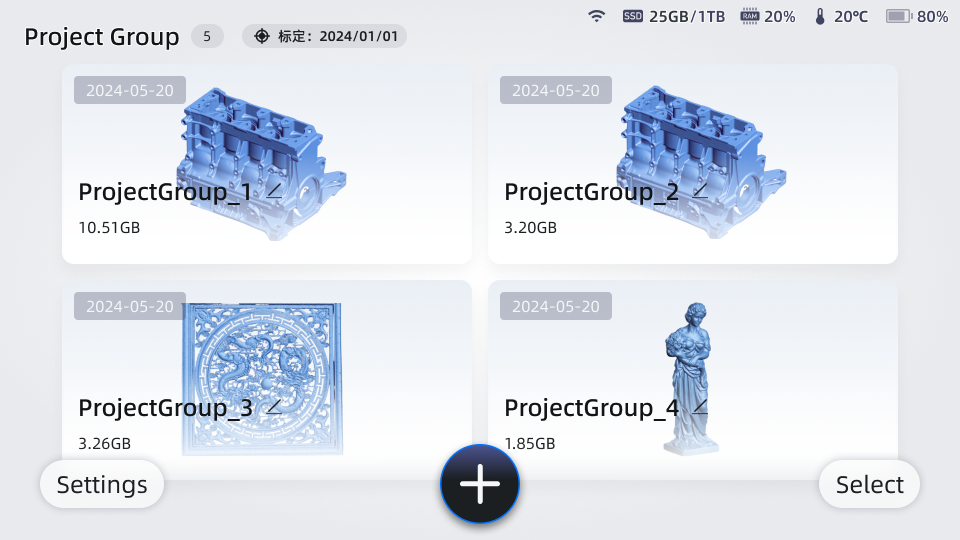
On the screen, tap to create a project file. By default, the file name is Project 1. Then, select the scan mode, alignment mode and point distance to prepare for scanning. For more details, refer to Scan Mode.
Note
- When creating a project file, a project group is automatically created, which includes the created project file.
- Multiple project files can be created within a project group, and the project group name can be modified.
| Project Group | Scenario | Application |
|---|---|---|
| One object with one project file in the project group | One alignment mode | Suitable for a data model that can complete the scan in one go. |
| One object with multiple project files in the project group | One alignment mode | Suitable for scanning big objects from different sections and align them together. |
| One object with multiple project files in the project group | Multiple alignment mode | Suitable for scanning large objects where different regions require different scan mode and align mode. |
Related Operations
On the right side of the project group name, tap to rename the project group.
On the screen, tap Select in lower-right corner to enter the project group editing page. You can delete selected or all project groups.
On the screen, tap Select in lower-right corner to enter project group editing page. Tap to export the project to the USB flash drive.
Note
- The project file can only be exported if there is a USB flash drive connected available.
- If the transmission of the project file is interrupted, the already transferred data will not be cleared, and you can continue transferring the remaining files.