Transfer via Cable
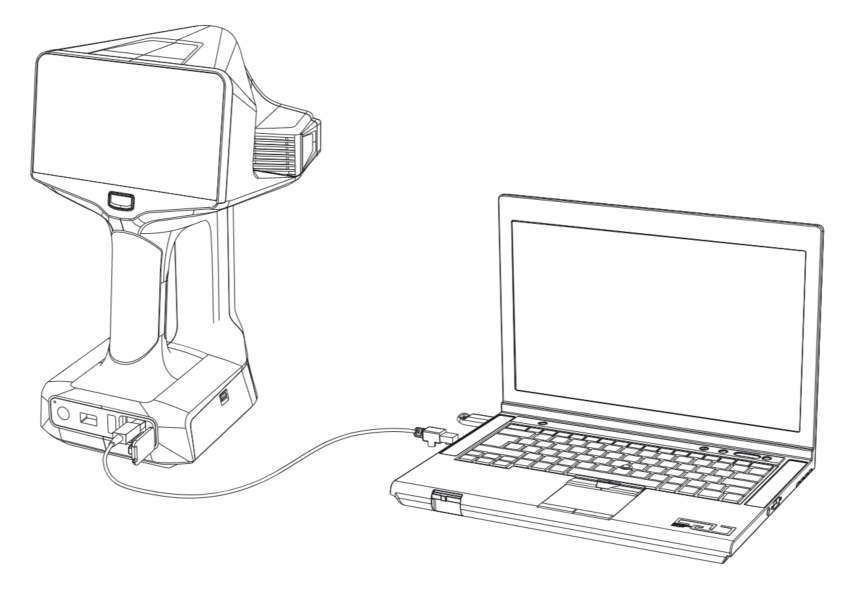
Use the included USB-C to C cable to connect the scanner and your PC, or use the ethernet cable. The USB-C to C cable can provide faster data transfer speeds.
Steps
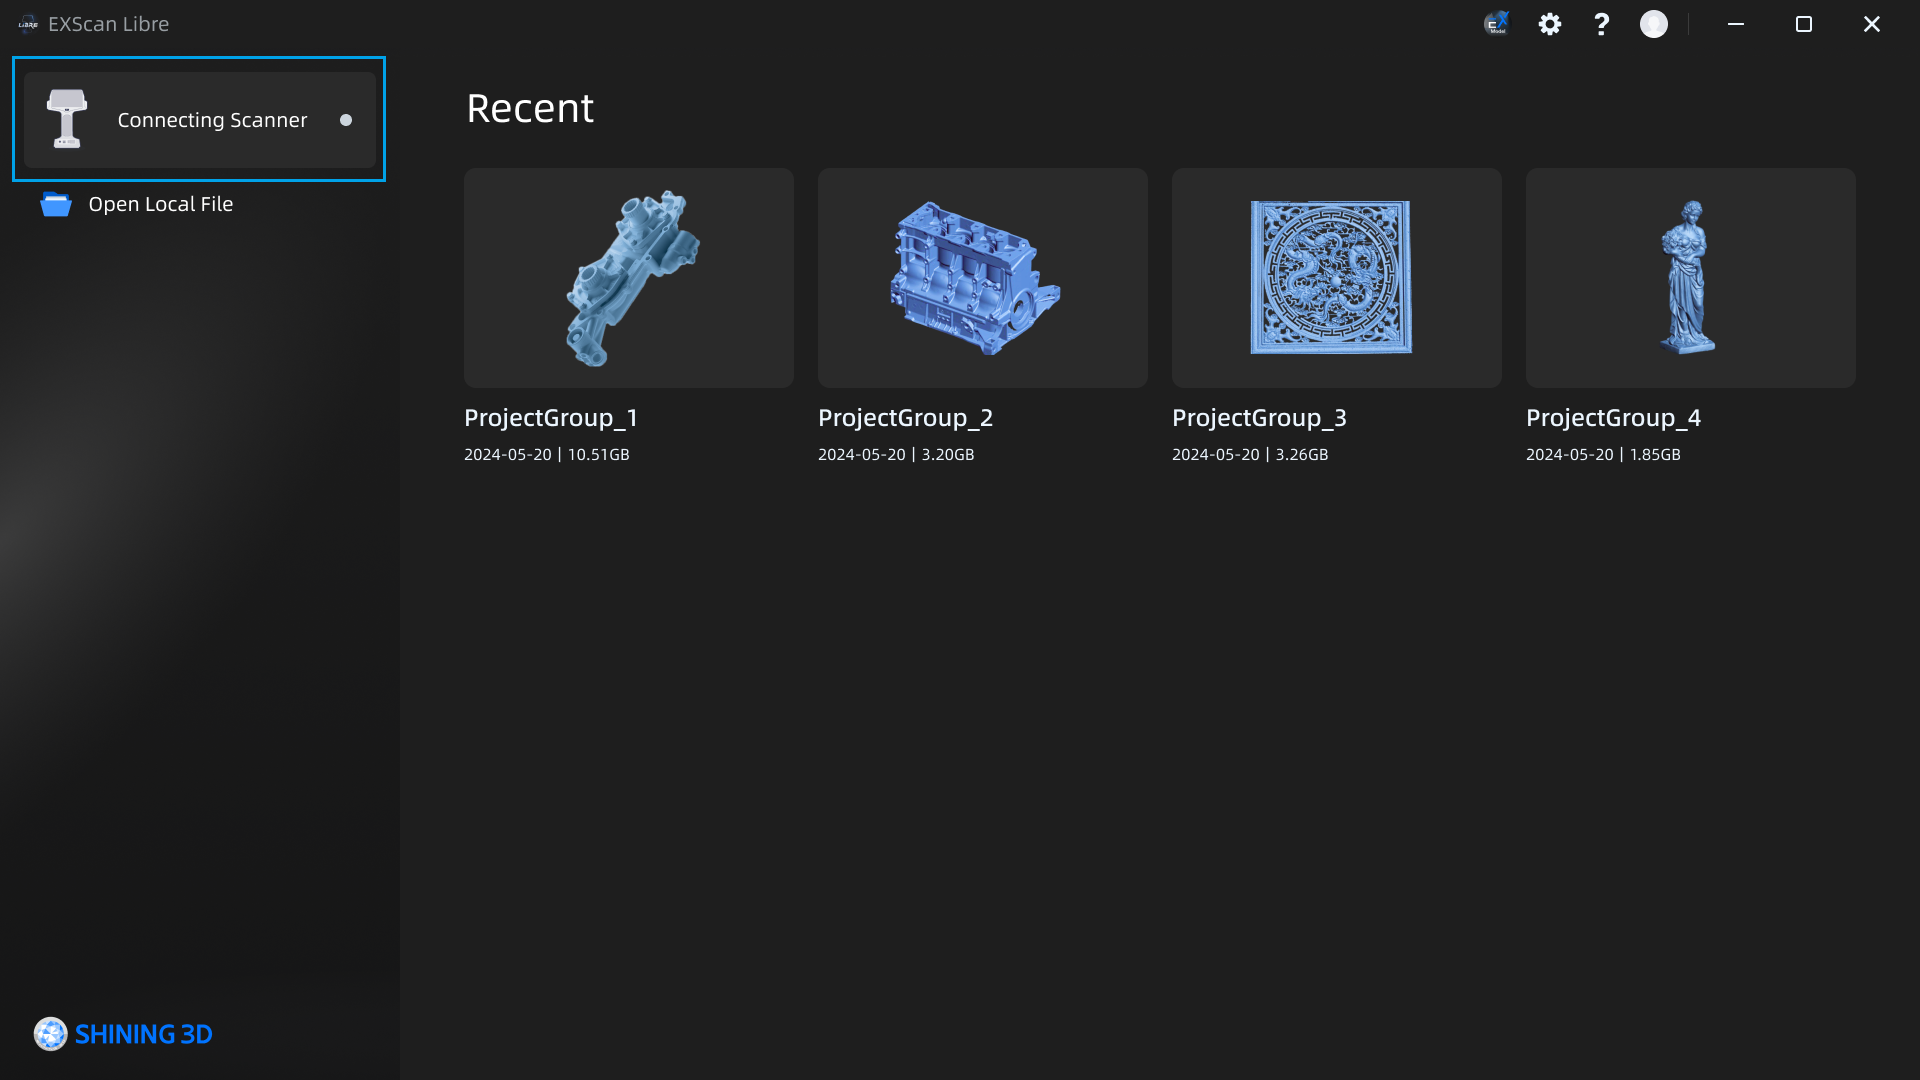
- In the EXScan Libre home page, click Connect Scanner on the left side to start searching for scanner.
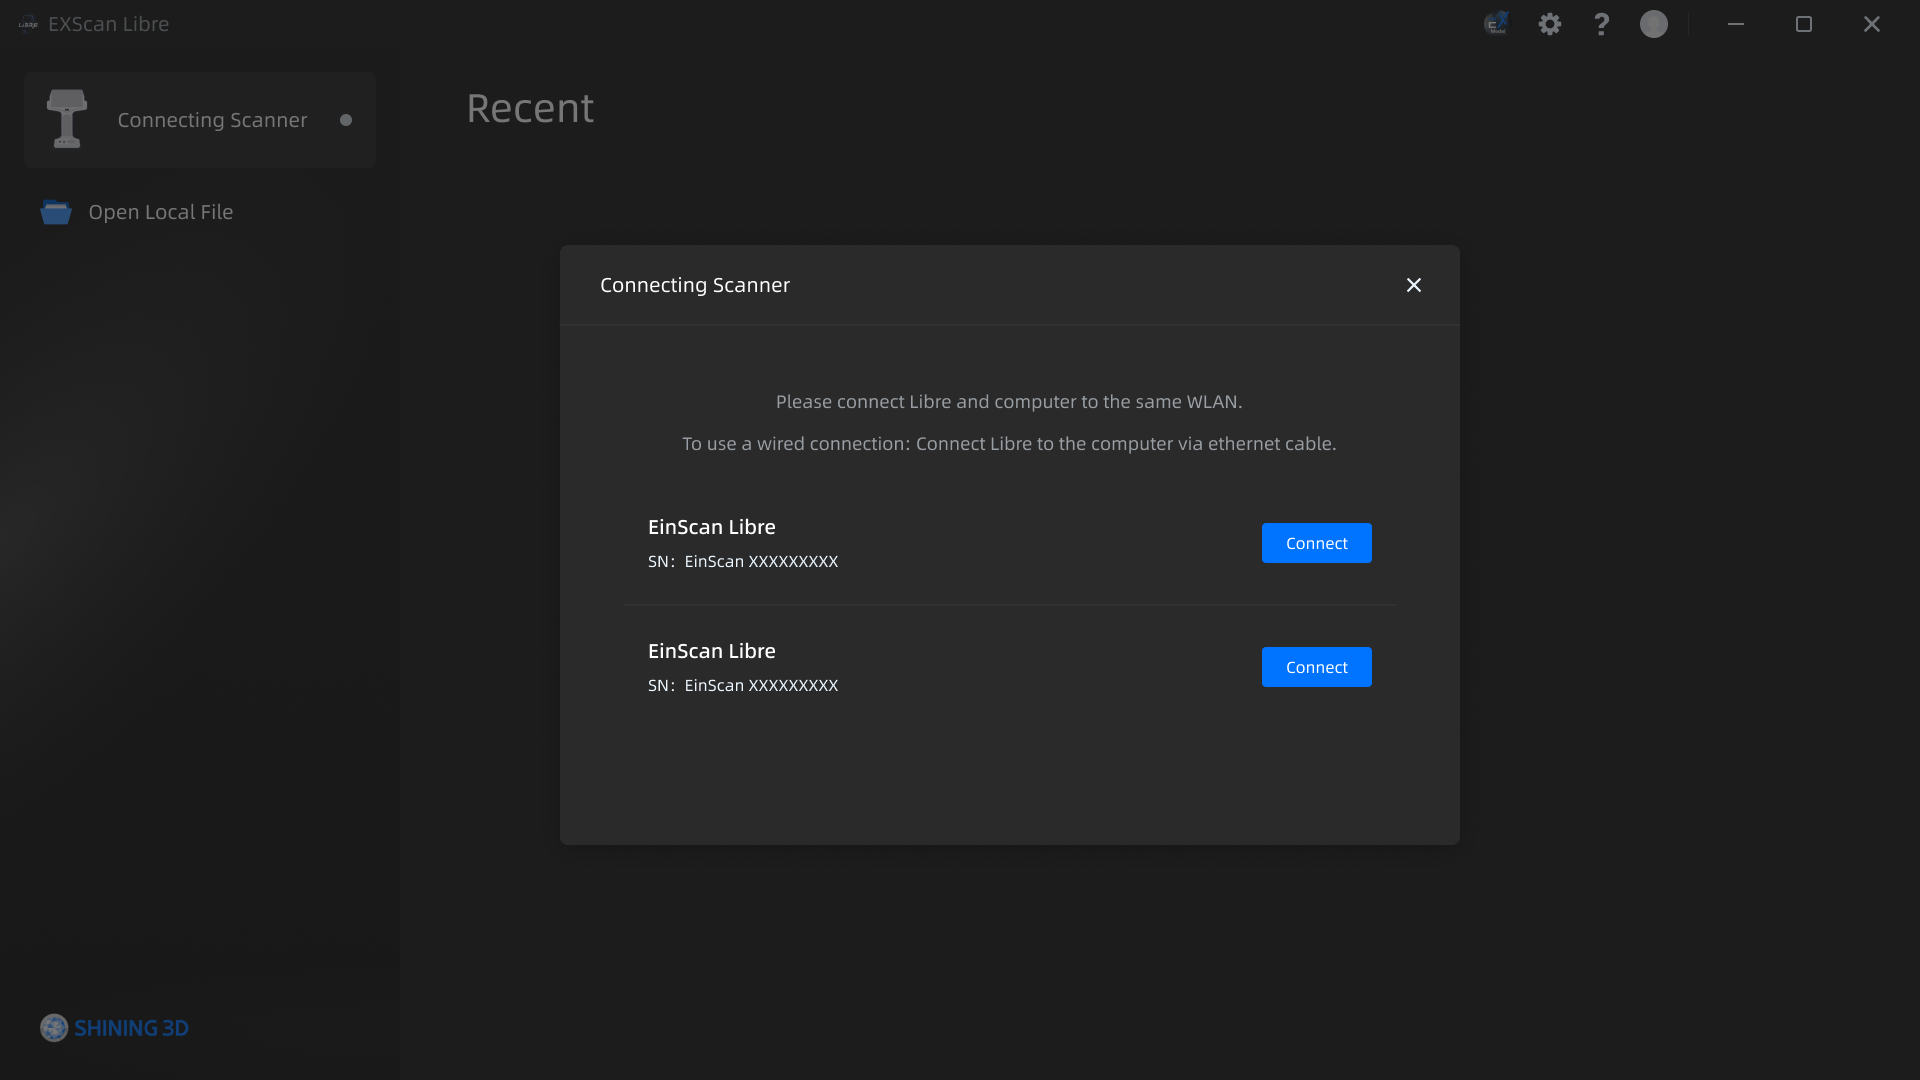
- Select the scanner and click Connect.
Note
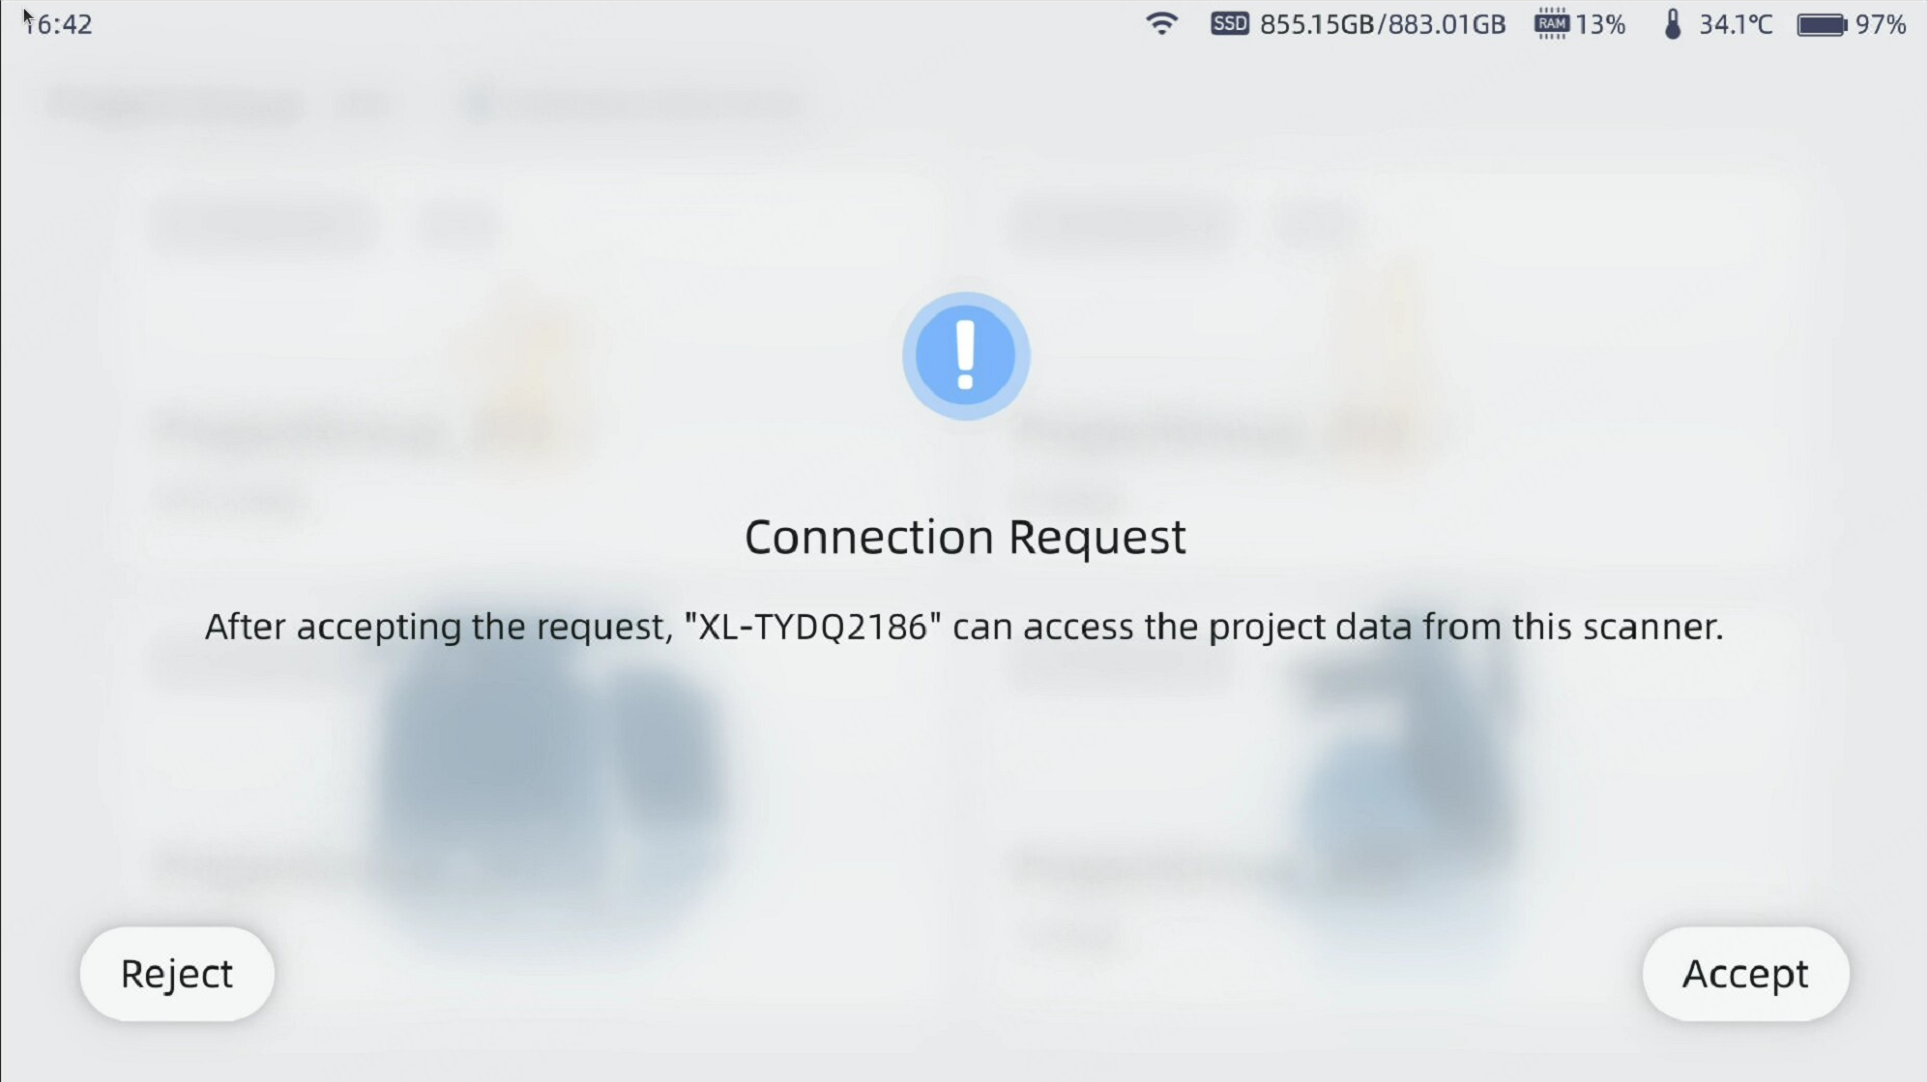
When the PC sends project files reading request to the scanner, users need to respond on the scanner to decide whether allow the connection.
-
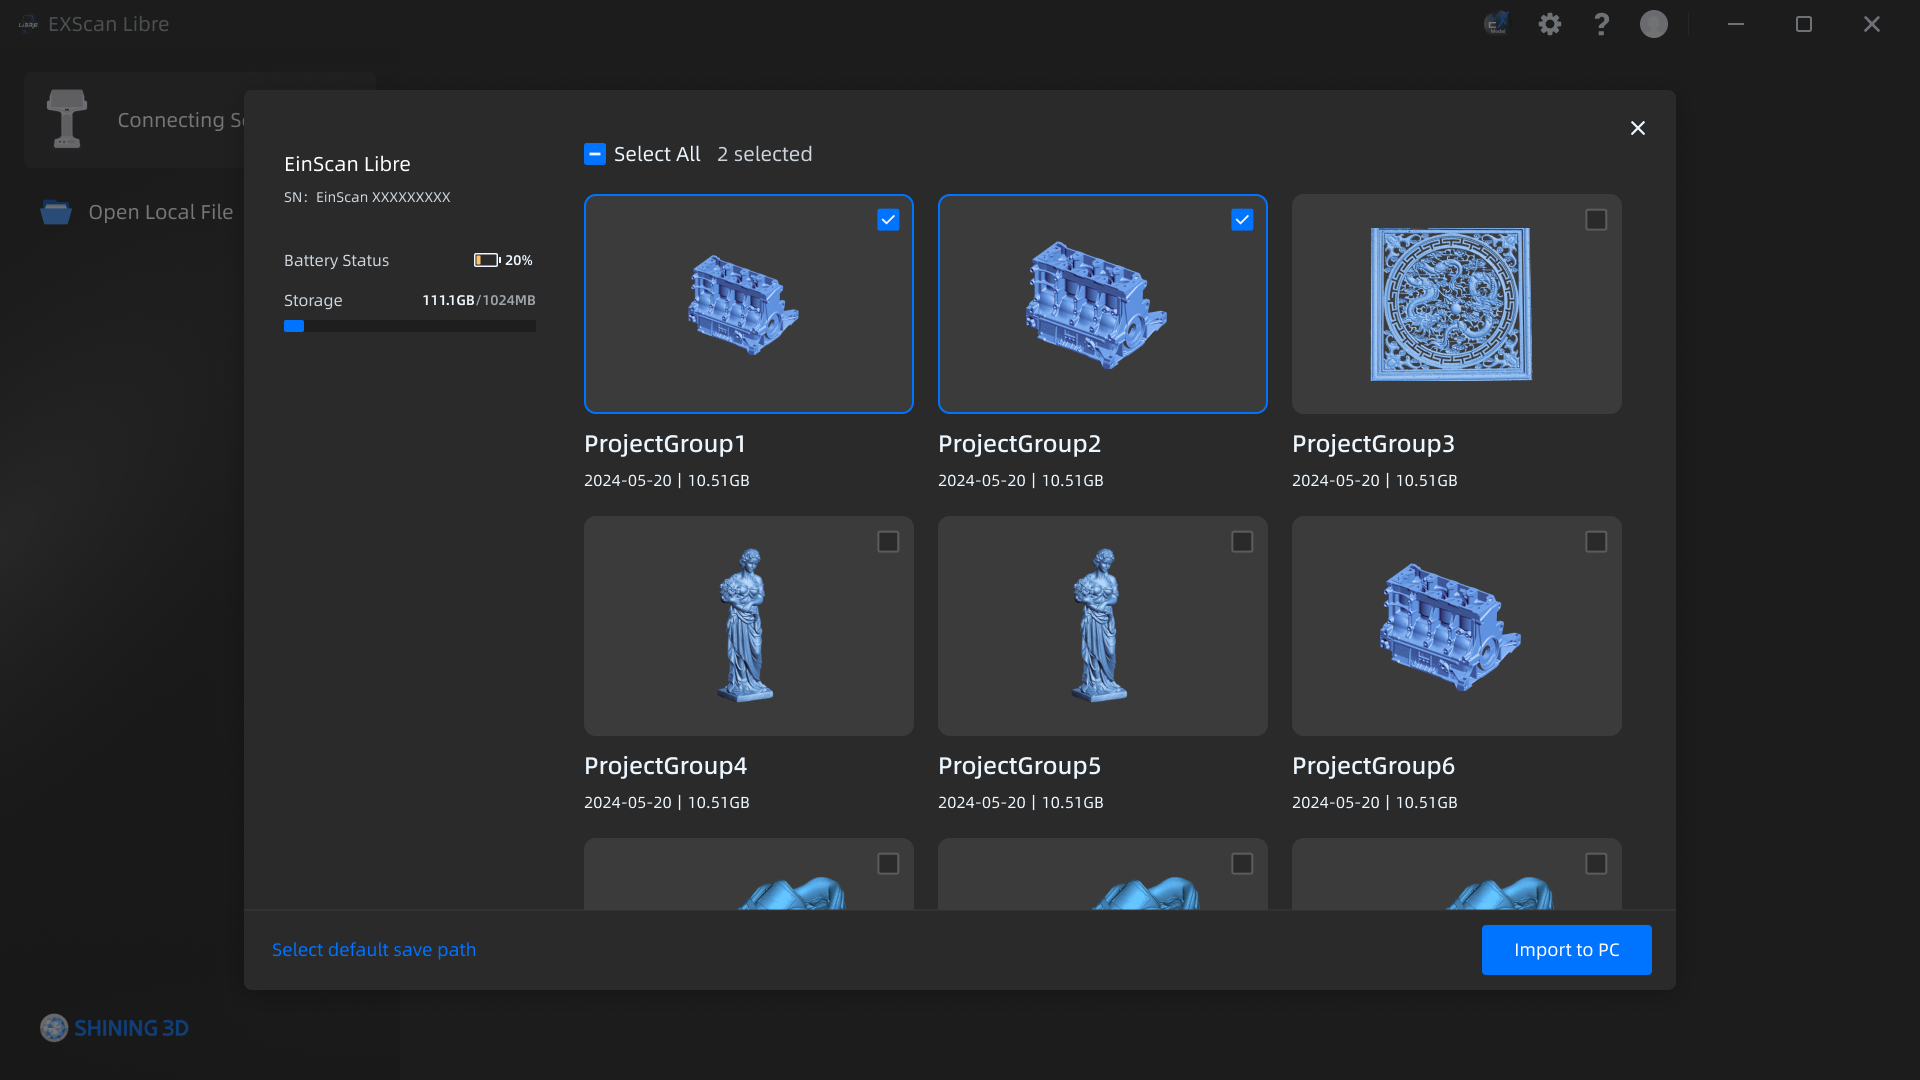
Once the connection is successful, the EXScan Libre will display the list of project groups.
-
Check the project groups that need to be imported to the local computer.
-
Click Import to PC to start the data transfer.
Device Status
- Disconnected: a gray dot on the right side indicates a disconnected scanner.
- Connected: a green dot on the right side indicates a connected scanner.
- Data Transfer: the transfer progress is displayed on the right side.
Caution
- Support transferring up to 30 project groups each time.
- When scanner disconnected, the ongoing transfer of project files will be automatically canceled.
- Scanning cannot be continued while data transfer is in progress.