Calibration
Calibration is a key step to ensure the accuracy and tracking of the device. It helps calibrate the system to improve scanning accuracy and data quality.
Access Calibration
-
Swipe down from the top of the screen to display the control center panel. Here, you can tap calibration to access the calibration page.
-
Tap Settings > My Libre > Calibrate to access the calibration page.
-
You can click the calibration icon
 on the home page to enter the calibration process.
Caution
- Do not move the calibration board and scale bar during the calibration.
- Due to factors like shipping, accuracy may decrease, so it is recommended to perform a calibration at the first use.
- If you notice a drop in accuracy during scanning, or frequent scanning errors or tracking lost, it is recommended to recalibrate.
- To ensure the performance, it is recommended to calibrate the scanner at least every 14 days. If more than 14 days have passed since the last calibration, the calibration icon will be displayed in
 .
.
Steps
- During your first entry into the calibration interface, please select the type of calibration boards.
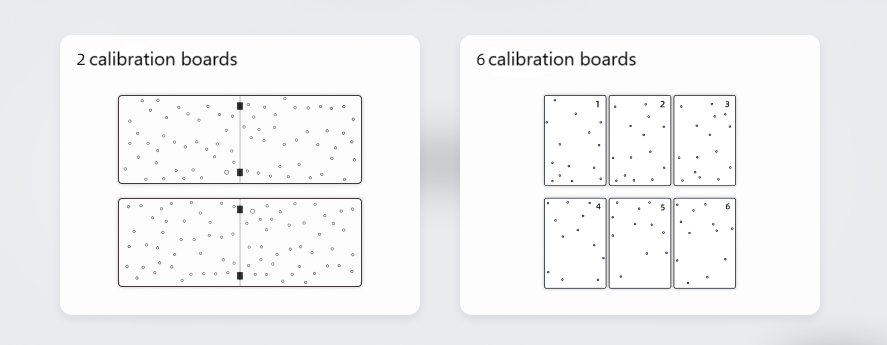
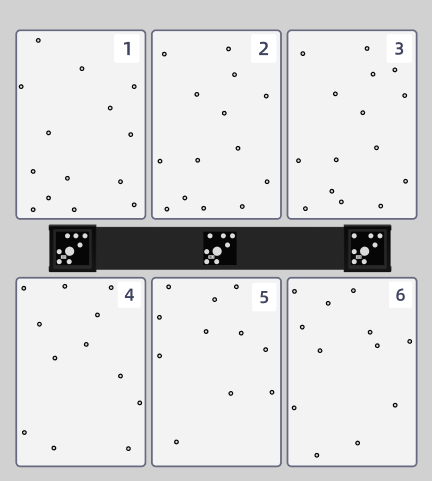
- After taking out the calibration boards and scale bar, place them on a flat surface in the sequence indicated in the diagram below (example with six calibration boards).
Note
- Place the scale bar in the middle as shown in the diagram, with one or three calibration boards on each side.
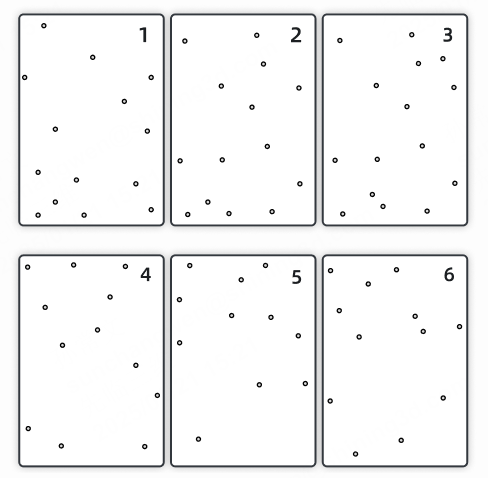
- If you have six calibration boards available, please arrange them sequentially from 1 to 6.
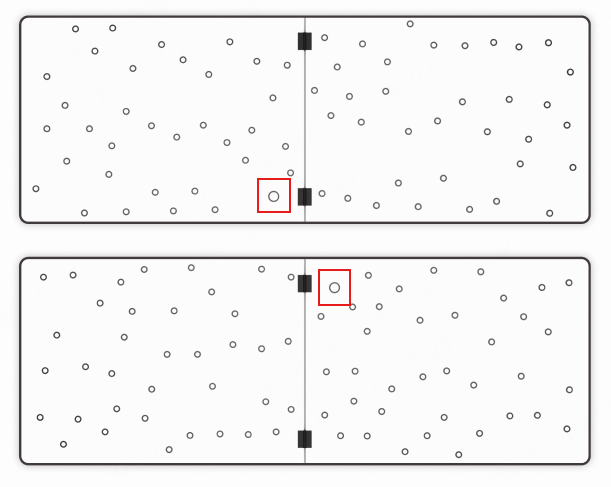
- If using two folding calibration boards, place the side with the large circles adjacent to the scale bar.
- If you have six calibration boards available, please arrange them sequentially from 1 to 6.
- Match the scale bar with the scanner and verify the scale bar's serial number in Settings > My Libre. Ensure that the scale bar's serial number matches the scanner to successfully calibrate.
- Calibration can be done in IR mode and HD mode. If only one mode is needed, calibrate only that specific mode, you can tap Skip upper-right corner of screen.
- You can tap Help in the lower-right corner of the screen to view the calibration guide to help you with the calibration process.
- Tap
 to start calibration. During the calibration process, slowly move the scanner according to the 3D guide until it aligns with the target position.
Caution
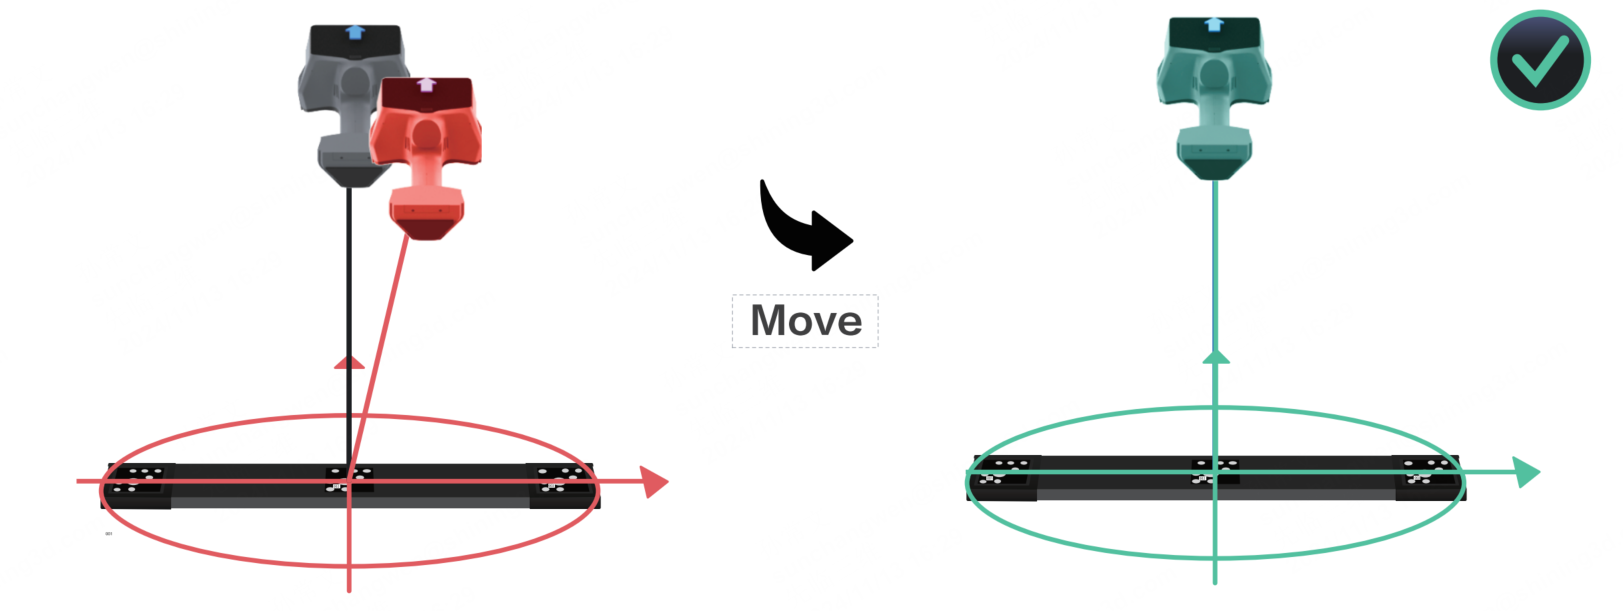
- If the scanner model displayed in red, it means the distance to the target position is too far. Please move closer to the target until the color turns green. When it is green, keep the scanner stable.
- Ensure there are no other markers around the calibration environment, and avoid calibrating on a highly reflective floor.
- According to the guide, ensure that the height, horizontal position, and scan projection range of the scanner align with the illustrated instructions. Once all three position indicators satisfy the prompts, the software will automatically proceed to calibration.
- Complete all calibration steps until the system indicates successful calibration. After calibration, store the calibration board in its proper place immediately.
Note
- The tilt angle should be at 30°.
- After completing the rapid calibration, tap Next in the lower-right corner of the screen to proceed to HD Calibration.
- Please calibrate again if the calibration fails.
- Please contact technical support if the calibration still fails after several attempts.
White Balance Calibration
When the texture camera is turned on, it is recommended that you complete the white balance calibration after setting the proper texture brightness. For more details, refer to Brightness.