Create a Project Group
A project group is a collection of multiple single project files. It allows multiple single projects to be aligned together or merged for mesh processing. It is usually recommended that the projects in a project group come from the same object. You can open the project group and click ![]() to create a new single project within the group.
to create a new single project within the group.
On the screen, tap ![]() to create a project file. By default, the file name is Project 1. Then, select the scan mode, alignment mode and point distance to prepare for scanning. For more details, refer to Scan Mode.
to create a project file. By default, the file name is Project 1. Then, select the scan mode, alignment mode and point distance to prepare for scanning. For more details, refer to Scan Mode.
Note
- If the remaining storage space is less than 50 GB, please go to Settings > Storage to clear the cache before creating a new project group.
- When creating a project file, a project group is automatically created, which includes the created project file.
- Multiple project files can be created within a project group, and the project group name can be modified.
-
Within a project group, multiple projects utilizing different scan modes can be created; however, only two distinct resolutions are allowed: IR mode and Laser HD mode. If an IR mode project (either IR Rapid or IR Adaptive) already exists within the group, you will not be able to set the resolution when creating a new IR mode project, as it will default to the resolution of the existing IR project. The same rule applies to Laser HD mode.
-
If using a project group, please transfer the project group data to the PC software for alignment / mesh processing. For more details, refer to transfer data.
When to use a project group?
- When you need to scan both the front and back sides of an object.
- When the object to be scanned is too large and the software indicates insufficient memory, it's recommended to scan in multiple projects.
- When different parts of the object have different materials, requiring different scanning modes or alignment methods.
- When you need to use two different resolutions on the same object.
- When you need to output mesh data for different parts of the same object.
Note
- Project group
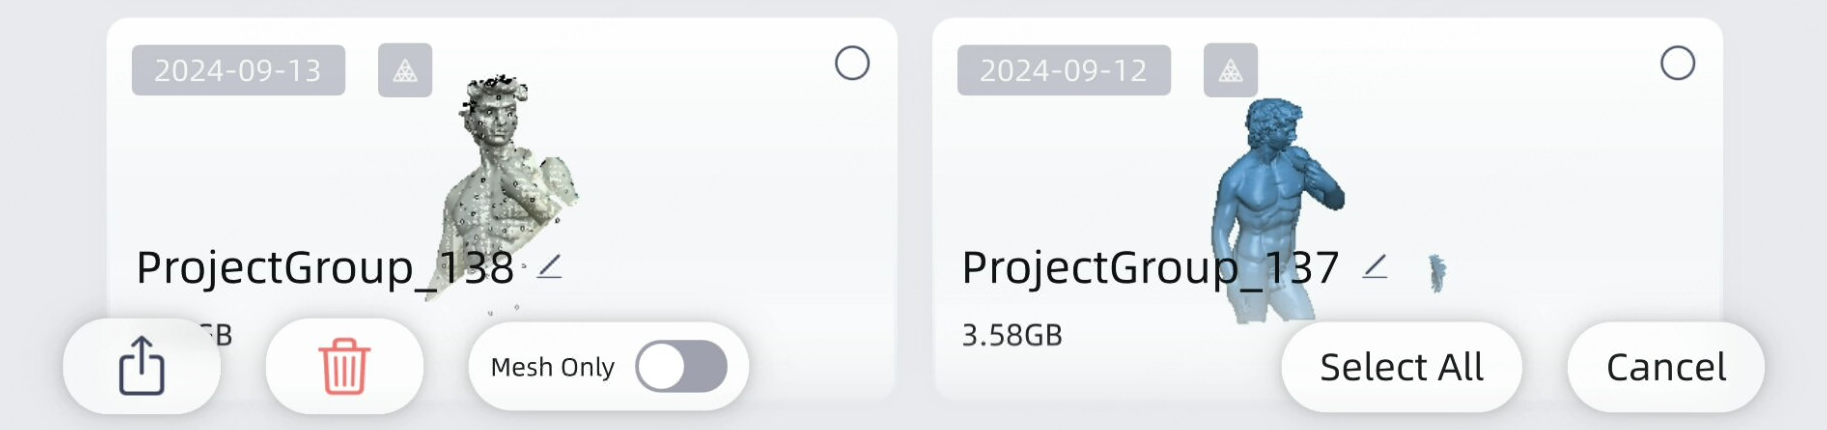
- The screen displays not only the list of project groups, but also other display contents such as thumbnails of scanned models, scan data, project group names, and file sizes.
- The model is shown as the thumbnails. If there are no project files within the project group, nothing will be displayed.
- The scan date will reflect the recent date of project file updates.
- Modifying the project group name is supported. The name will be displayed up to 10 characters, with "..." displayed if it exceeds the limit.
- Project
- Clicking a project group will display a list of projects within that project group.
- Each project file will display detailed information about the project, such as its name, scan mode, alignment mode, point distance, etc.
- After opening a project file, you can continue to scan or edit data.
Related Operations
On the right side of the project group name, tap ![]() to rename the project group.
to rename the project group.
On the screen, tap Select in lower-right corner to enter the project group editing page. Make selection, tap ![]() to delete selected or all project groups.
to delete selected or all project groups.
- On the screen, tap Select in lower-right corner to enter the project group editing page.
- Select the file type to be exported, then click
 to export to the USB flash drive.
Note
- To export to a USB drive, you need to log in to your SHINING 3D account and insert the USB drive.
- If the transmission is interrupted, the already transferred data will be retained.
- The project group with mesh data is identified by the icon
 in the upper-left corner.
 - The project group with images is identified by the icon
 in the upper-left corner.