Start Scanning
The point cloud is a collection of data in a 3D coordinate system (xyz), representing the external surface of an object or environment. Imagine each point as a tiny dot floating in space. You can obtain a large amount of point cloud data by scanning objects using a 3D scanner, which can be used for subsequent model rendering and measurements.
During scanning, it is important to direct the scanner at the object. Follow the software prompts to maintain an appropriate working distance and smoothly cover the entire surface of the scanned object to complete the scan.
If you use global markers alignment, it will increase the accuracy in general and prove useful for scanning thin objects. When utilizing global markers alignment, you will need to scan twice. During the first scan, the scanner captures markers only. After optimizing all markers, the scanner captures point clouds.
Caution
- When scanning global markers, the projector is off which will not affect markers' recognition and accuracy.
- If high precision is required, it is recommended to apply the scale bar when scanning global markers to optimize the accuracy.
- Please make sure to properly place the scale bar before scanning:
- It is recommended to position the scale bar above the object, slightly off-center, to avoid obstructing the markers.
- After pausing the scan, you can place the scale bar in a new position for new collection; the scale bar can be collected up to 10 times in one project.
-
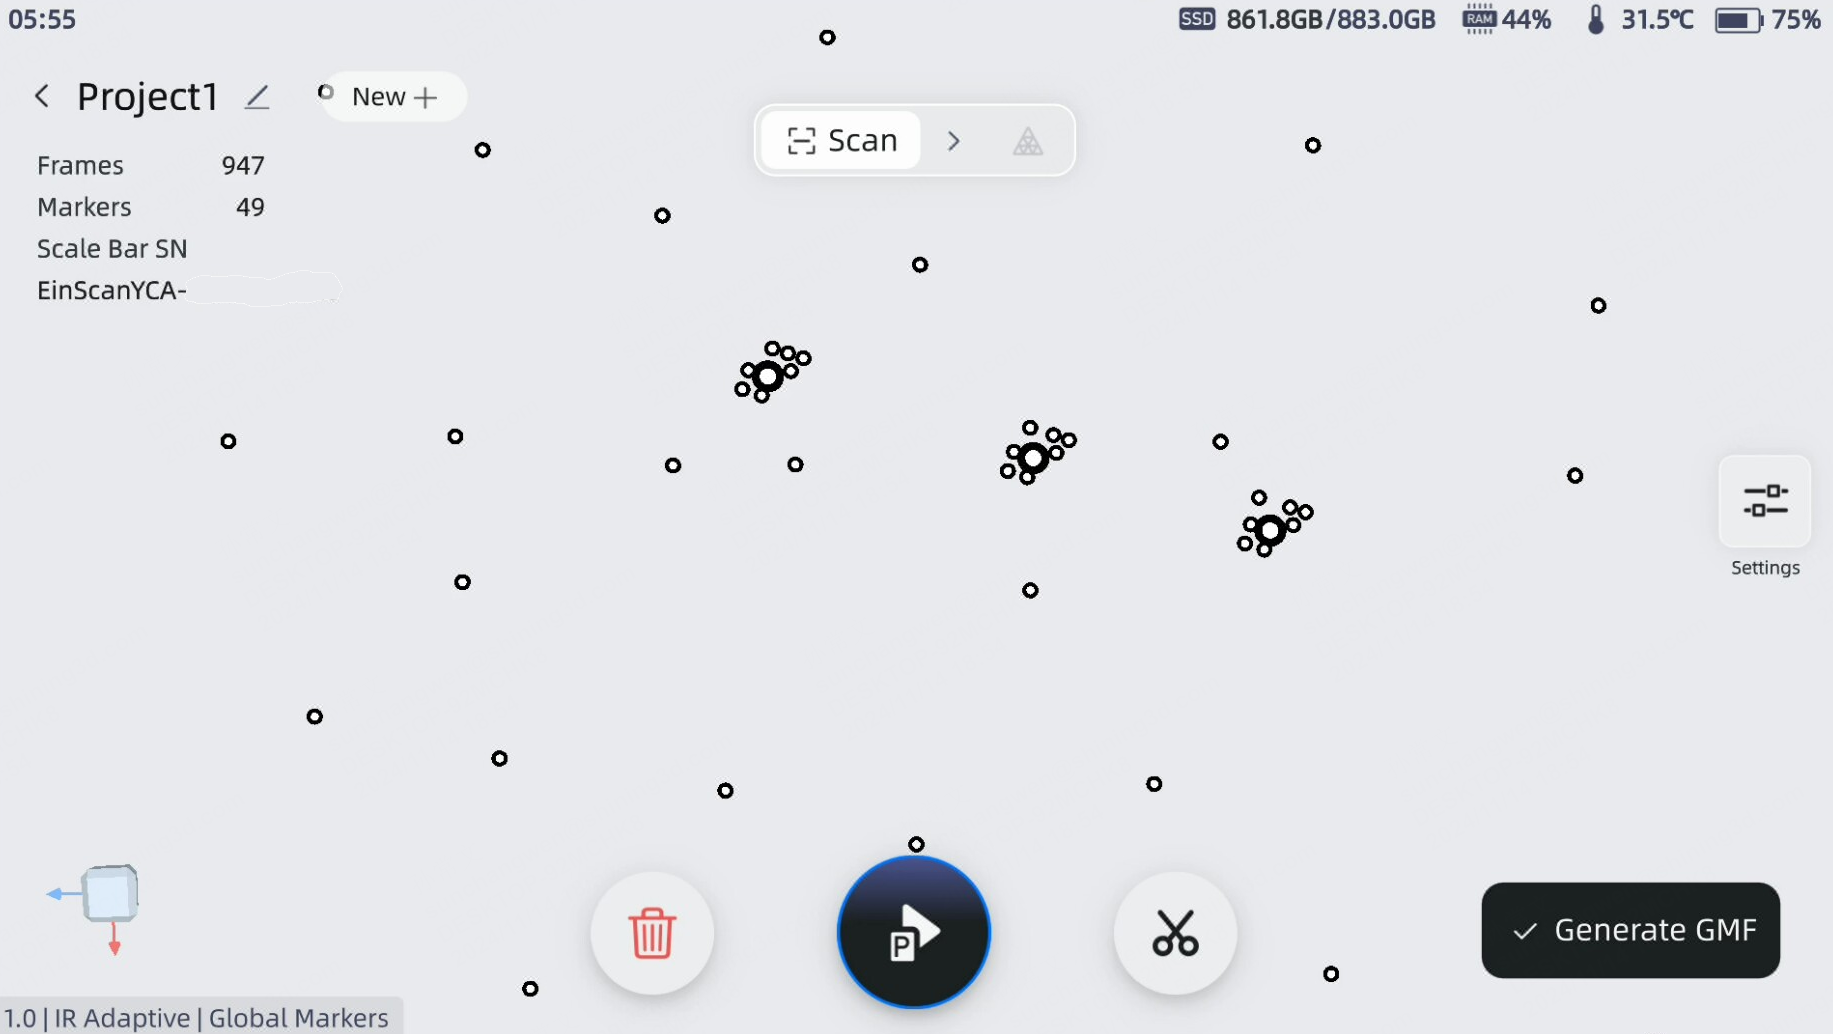
Click
 to start scanning.
Note
- When scanning, you can adjust the brightness according to the environment brightness or color of the object.
- During scanning, you can use gestures
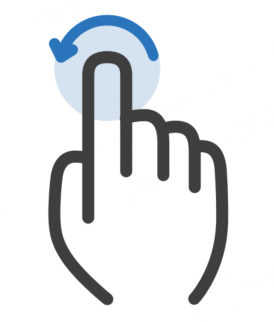 to zoom in or out the data.
 - After starting the scan, you will not be able to switch the scanning or alignment modes.
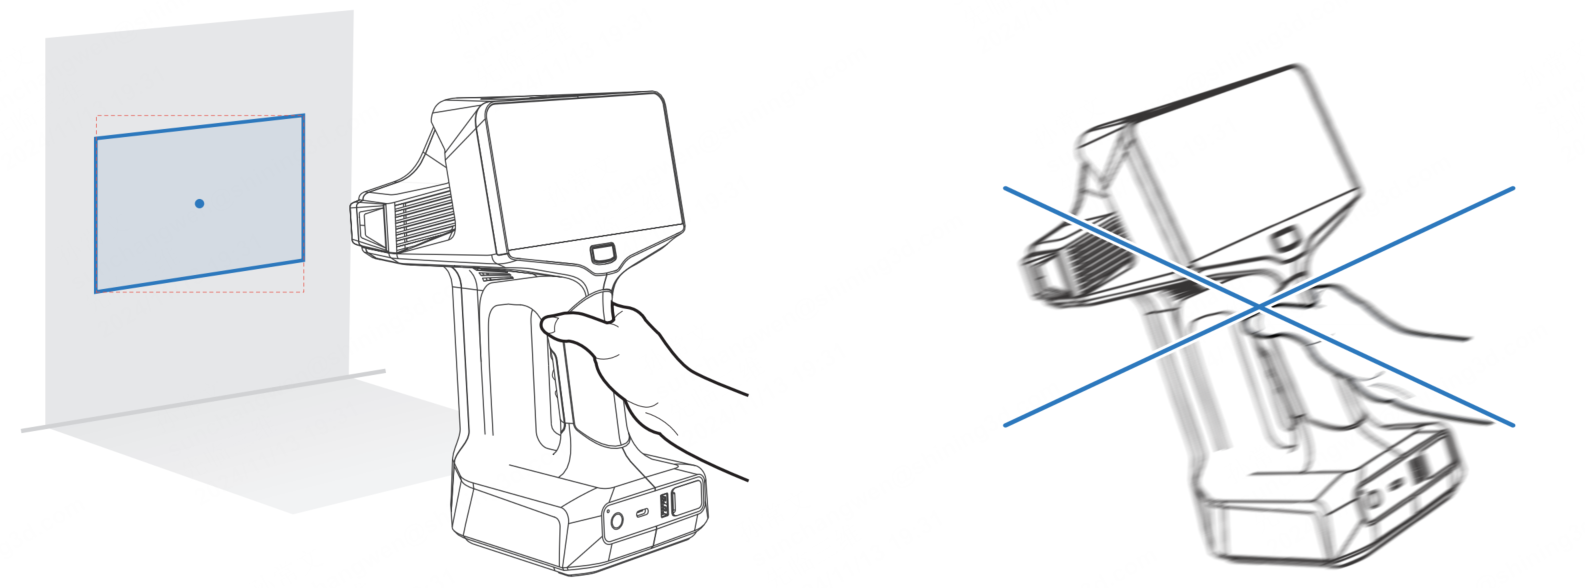
- Please hold the scanner and scan from different positions and angles to get better scanning results.
- When scanning, make the scanner directly facing the object and keep it at a proper distance, ensure the histogram shows most green.
- When scanning global markers, it is recommended to first position the scale bar above the object.
-
During the scanning process, please monitor the data on the screen in real time, and move the scanner gently and steadily until fully capture the object.
Caution
- If a "
 tracking lost" prompt appears, move the scanner to the scanned area, re-establish tracking, and then continue scanning.
 - If a prompt appears indicating that the data is too large, please create a new project and continue scanning to avoid issues in mesh generation and data transmission.
Losing and Resuming Tracking
As you move the scanner, it captures a series of frames per second with overlapping areas. Which are used to track the object. If the scanner fails to capture enough overlapping areas, it may lose tracking.
Tracking lost may happen
- Moving the scanner too fast.
- The scan data is insufficient.
- Scanner moves away from the existing scanned part and there is no enough common area can be used for alignment.
The Scanning Process
Start Scan
After previewing, tap the Start Scan icon on the screen or press the scan button on the scanner to begin capturing the point cloud data of the object. Tap the start button again to pause the scan.
Data Editing
When scanning, you can edit or delete data and rescan if needed. For more details, refer to data editing.
Meshing
Meshing is to convert the point cloud into a triangular mesh surface. The meshed data can be directly used for rendering, measurement or printing. For more details, refer to meshing.
Export Data
Supports exporting the mesh data. For more details, refer to data transmission. You can select one or multiple file format (.stl, .obj, .ply, .3mf, .asc, .las and .P3) to transfer it to your PC.