General Scanning
By scanning, you can obtain point cloud data and then generate accurate mesh data.
Note
The following scanning steps apply to all scanning types except for feet scanning.
Steps
-
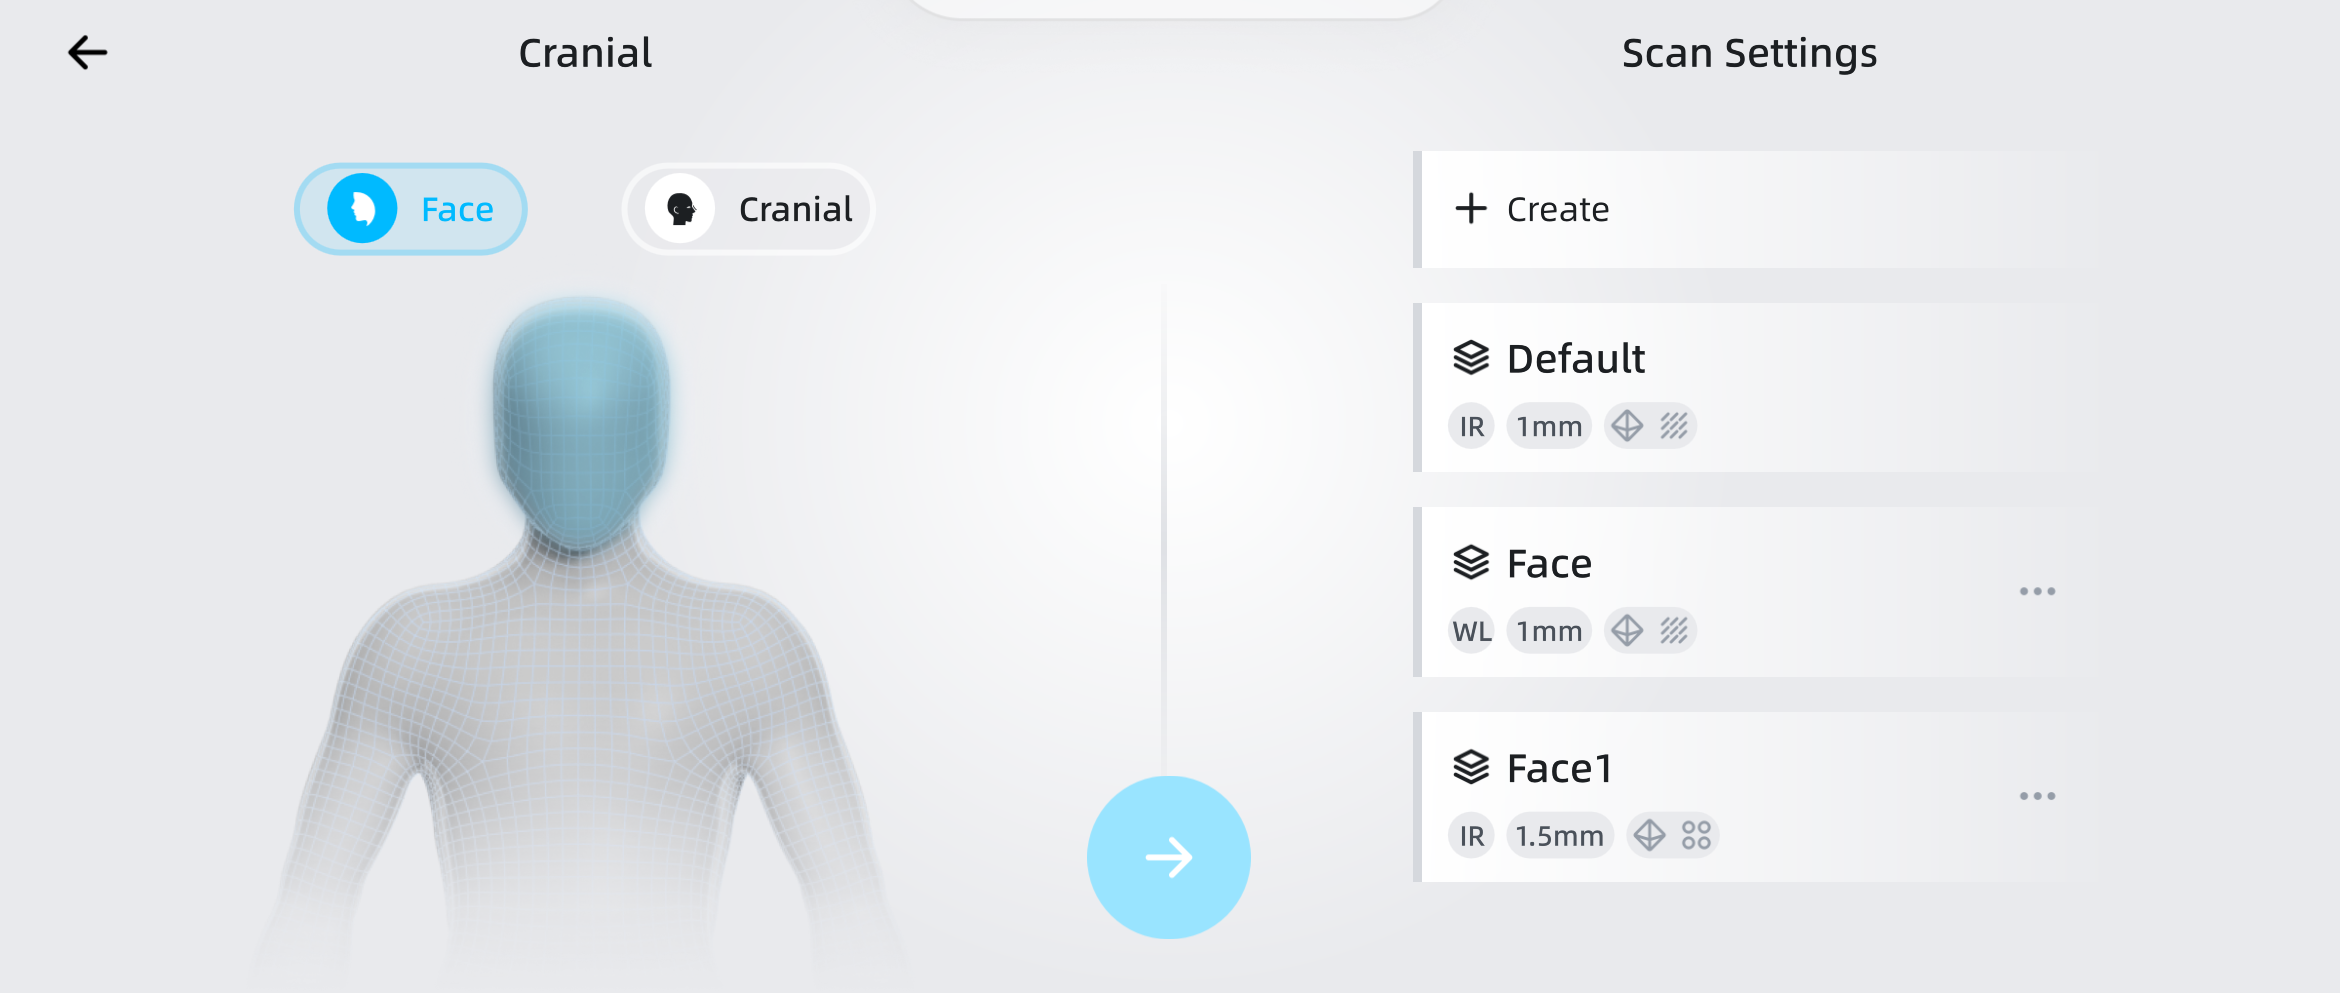
Select the scanning type and set parameters (resolution, align mode, and texture) on the homepage; for details, please refer to Scanning Mode.
-
Tap
 to enter the scanning interface.
 - Prepare according to the type of object to be scanned and the selected scanning mode; for details, please refer to the Scanning Preparation section.
-
Adjust the scanning brightness and working distance.
- Tap
 to open the camera window, and adjust to the appropriate scanning brightness based on the camera view; during the scanning process, you can adjust the scanning brightness again according to the scanning effect.
 - Tap
 to enable the working distance adjustment function, and use the radial slider to adjust the working distance based on the working distance value prompt.
Note
For more details, please refer to Scanning Settings.
- Tap
-
Tap
 at the bottom of the interface to start scanning.
 -
During the scanning process, please monitor the image data on the screen in real-time, and move the scanner slowly and steadily until the object is completely scanned.
Note
- If "Tracking Lost" prompt appears during scanning, please adjust the posture, move the scanner to the already scanned area, and continue scanning after re-tracking.
- During the scanning process, you can enable the
 Data Quality Indicator to check data quality based on the color of the data; blue represents high-quality scanned data and yellow represents insufficient scanned data that requires further scanning.
-
Tap
 at the bottom of the interface to pause the scanning.
 -
Check the integrity of the data through operations such as rotation and zooming.
Function Description Pan Slide to pan the model with two fingers. Rotate Slide to rotate the model with one finger. Zoom Pinch or spread with two fingers to zoom the model. 
Tap this button to restore the model to its original size and reset it to the center of the screen. 
-
If the data is incomplete or of low quality, tap the
button at the bottom of the interface to continue scanning; if you need to rewind the frame, tap the  button to access the rewind function; if you are not satisfied with the overall data, tap the
  button to clear the scanned data and start scanning again.
 - After completing the scan, tap the
 button at the bottom of the interface to enter the Point Cloud Editing interface, where you can edit and clip the scanned data to remove redundant data.