Foot Scanning
To scan the feet, select the specialized feet mode and use the foot station.
Note
Feet scanning supports Insole-SMO and AFO-KAFO modes, as well as single-foot and both feet modes; for more details, please refer to Scanning Types.
Steps
Caution
- Keep the surrounding environment clean and unobstructed before scanning.
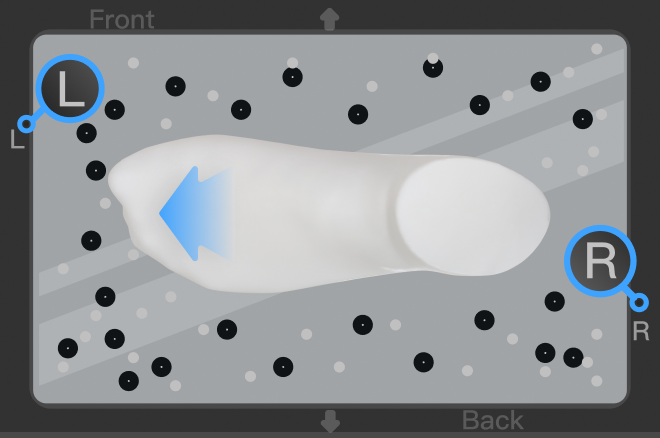
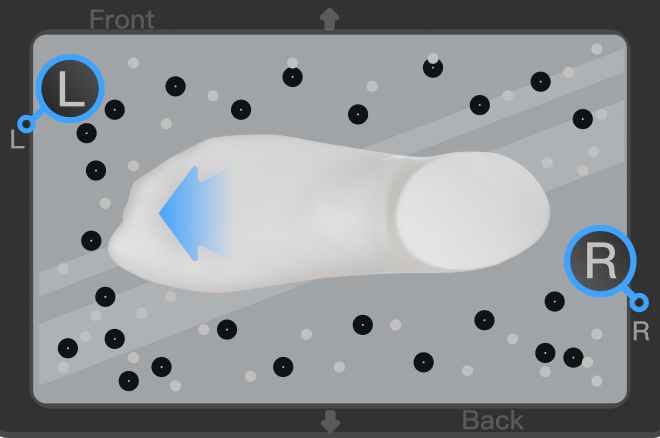
- Place the foot / feet parallel to the long edge of the foot station and do not cover the markers.
- Ensure you scan all necessary data of the sole to avoid impacting the alignment.
- Avoid scanning in environments with strong direct light above the station to prevent overexposure.
- On the home page, select the feet scanning type (Insole-SMO or AFO-KAFO) and choose single-foot or both feet mode, then set the parameters (resolution and texture); for specific details, please refer to Scan Mode.
-
If the station has not been bound yet, tap
 and scan the QR code on the station to bind it.
Note
If you use another station, please re-scan to bind it.
-
Tap
 to enter the scanning interface.
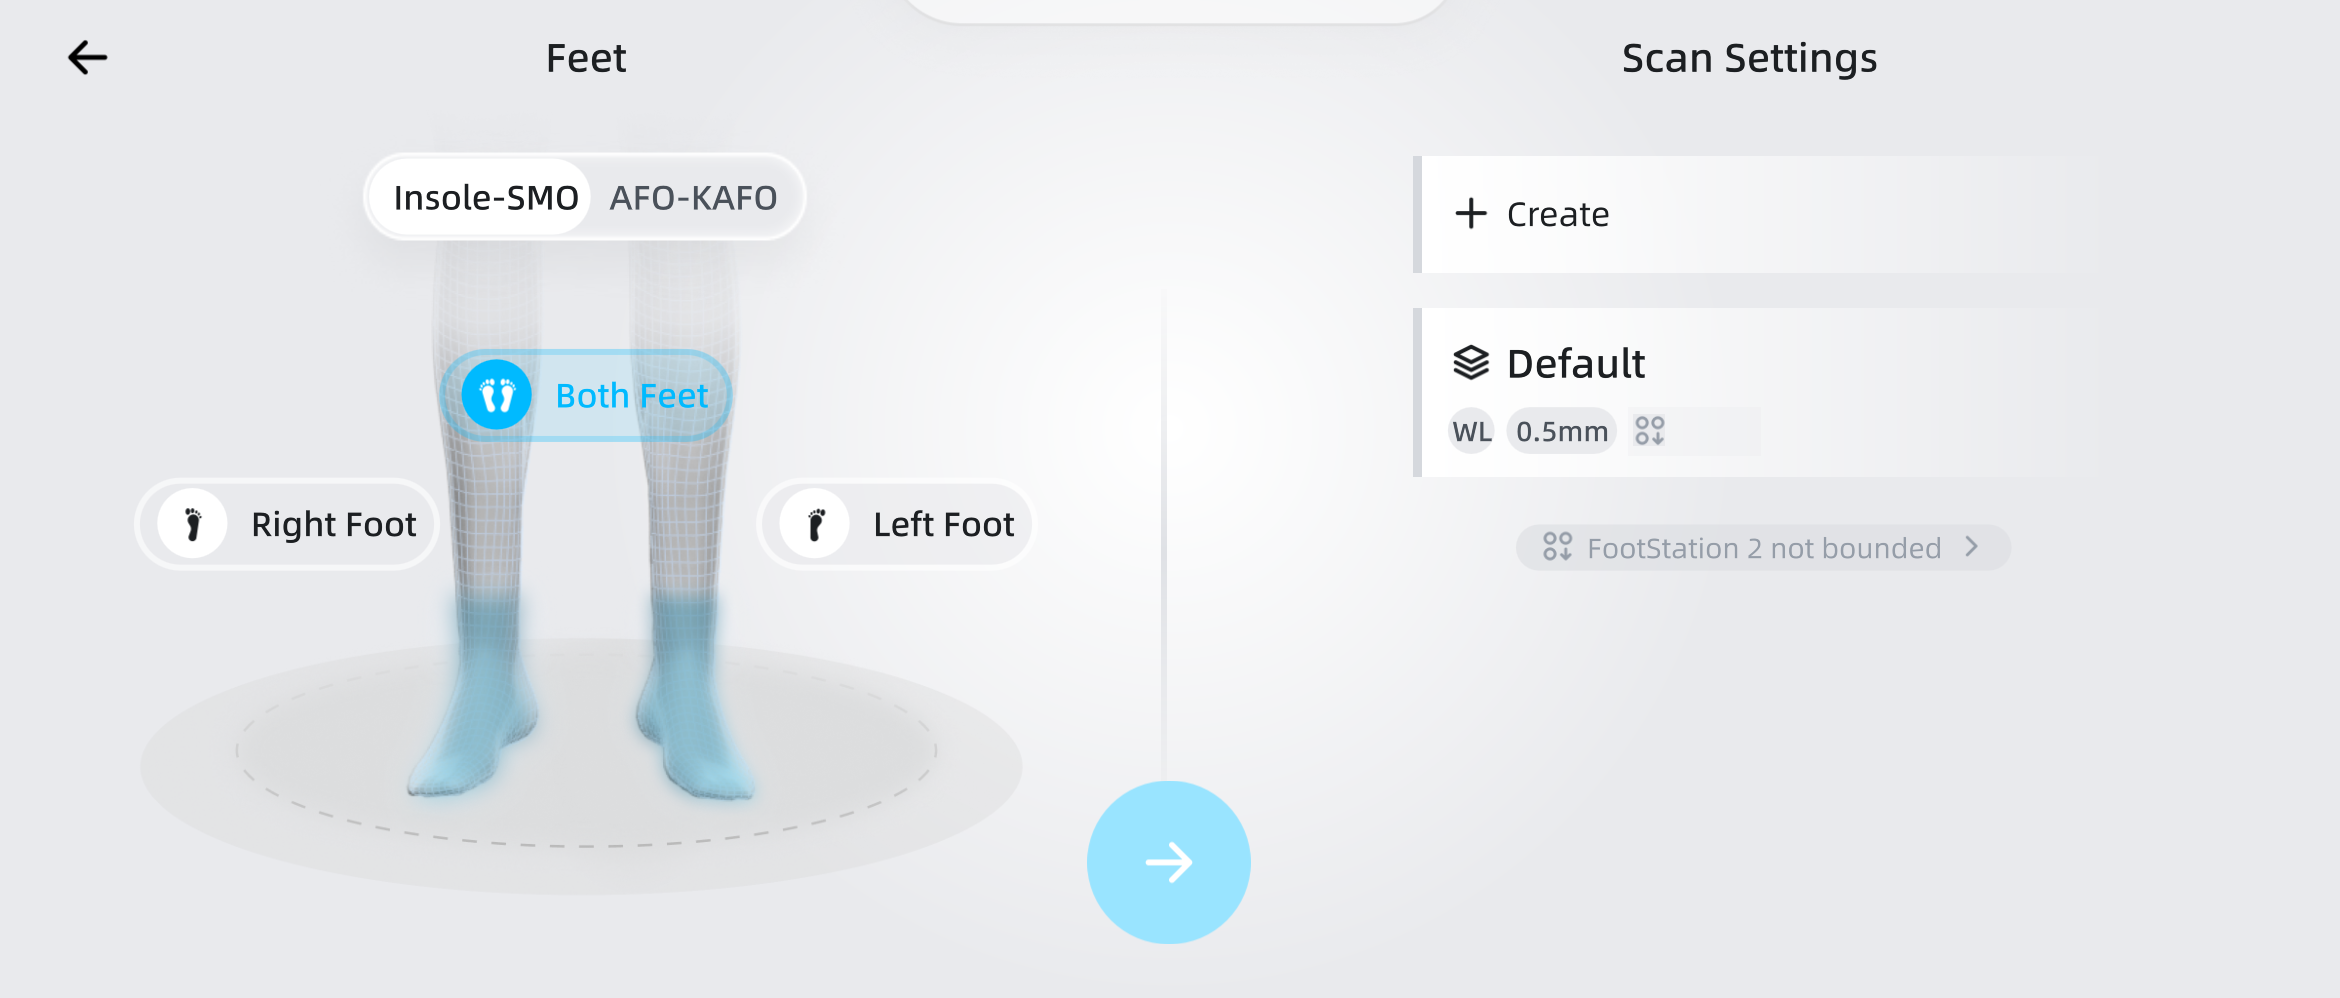
-
Place the foot on the station according to the guide.
Col
Left Foot
Col
Right Foot
Note
Tap
 in the upper right corner of the scanning interface to view the foot placement guide.
 -
Tap
 to open the camera window, and adjust to the appropriate scanning brightness based on the camera view; during the scanning process, you can adjust the scanning brightness again according to the scanning effect.
Note
- For more detailed information, please refer to Scanning Settings.
-
If you choose the both feet mode, you need to scan the feet in the order prompted by the scanning interface; the scanning order of the feet can be changed before scanning.
-
Tap
 at the bottom of the interface to start scanning.
 -
During the scanning process, please monitor the image data on the screen in real-time, and move the scanner slowly and steadily until the object is completely scanned.
Note
- If "Tracking Lost" prompt appears during scanning, please adjust the posture, move the scanner to the already scanned area, and continue scanning after re-tracking.
- During the scanning process, you can enable the
 Data Quality Indicator to check data quality based on the color of the data; blue represents high-quality scanned data and yellow represents insufficient scanned data that requires further scanning.
-
Tap
 at the bottom of the interface to pause the scanning.
 -
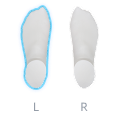
Check the integrity of the data through operations such as rotation and zooming.
Function Description Pan Slide to pan the model with two fingers. Rotate Slide to rotate the model with one finger. Zoom Pinch or spread with two fingers to zoom the model. 
Tap this button to restore the model to its original size and reset it to the center of the screen. 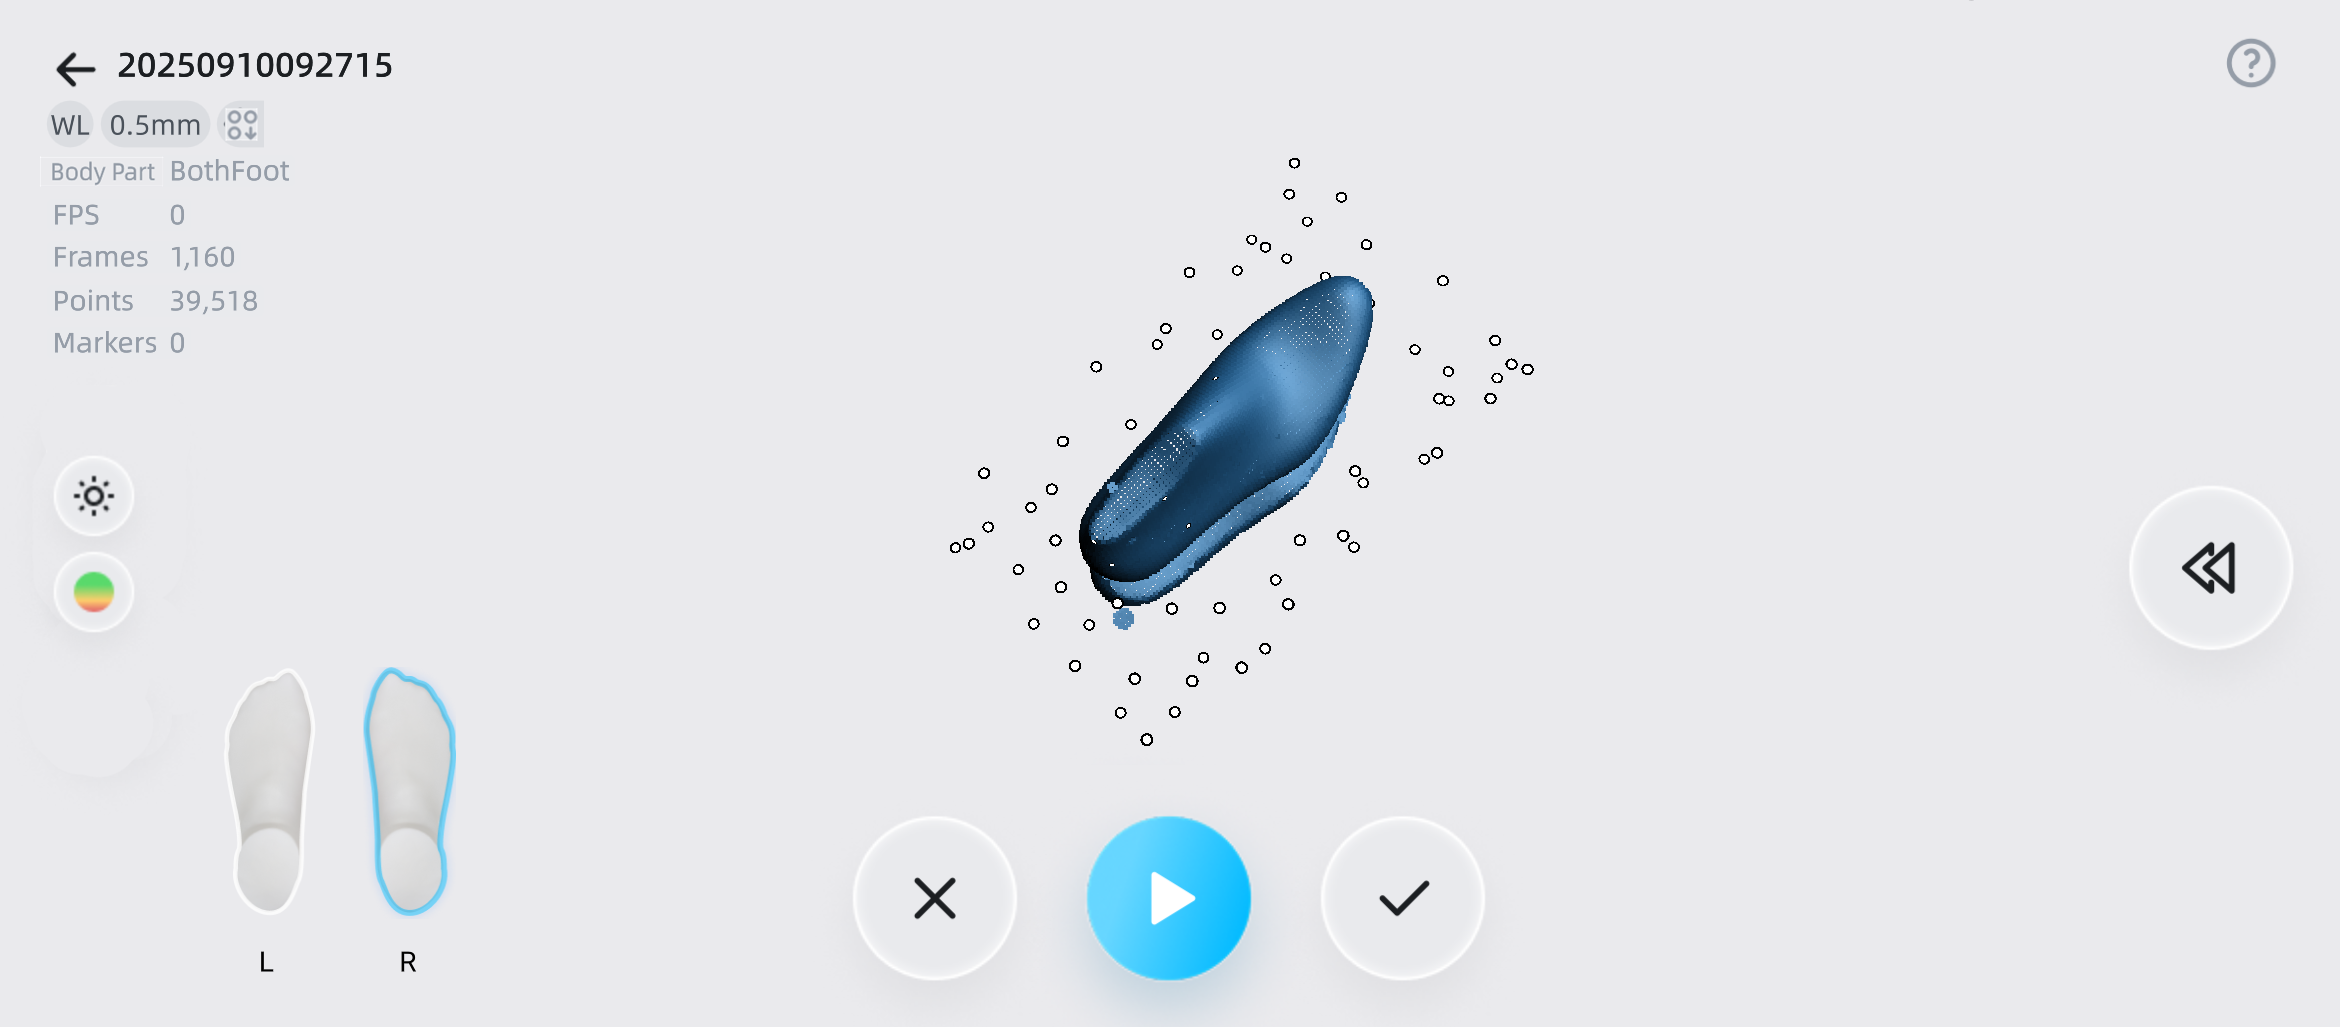
-
If the data is incomplete or of low quality, tap the
button at the bottom of the interface to continue scanning; if you need to rewind the frame, tap the  button to access the rewind function; if you are not satisfied with the overall data, tap the
  button to clear the scanned data and start scanning again.
 - After completing the scan, tap the
 button at the bottom of the interface to enter the Point Cloud Editing interface, where you can edit and clip the scanned data to remove redundant data.
Note
If you choose the both feet mode, you need to complete the scanning of both feet; otherwise, you will not be able to proceed with subsequent data editing and post-processing steps.