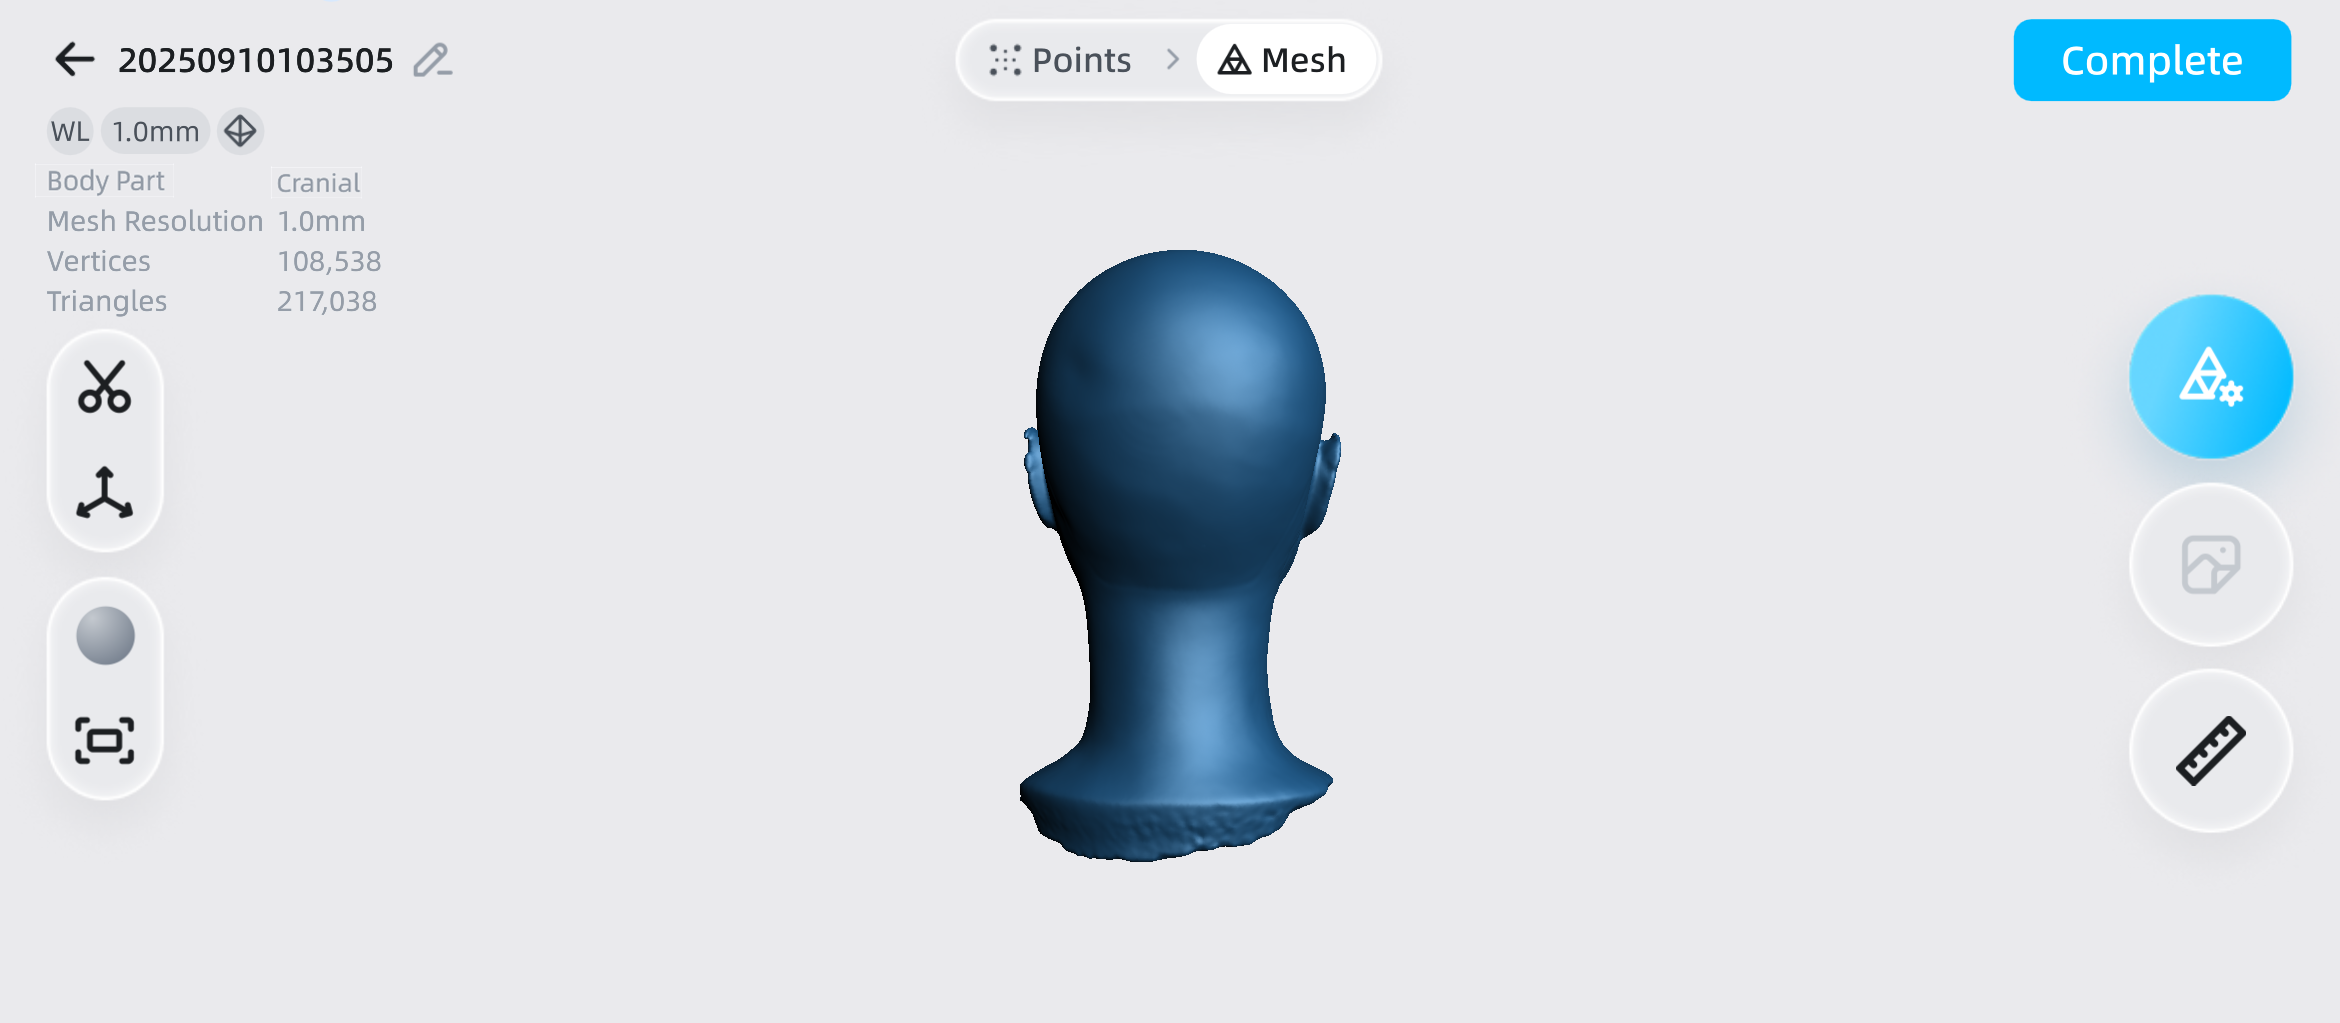
Mesh Interface
After meshing, you can edit the mesh in the ![]() mesh interface. For specific functions, see the table below.
mesh interface. For specific functions, see the table below.
Overview
| Function | |
|---|---|
| Tap the corresponding button to switch the current data to point cloud or mesh. | |
| Tap this button to rename the current project. | |
| Tap this button to enter the clipping interface to clip the data and remove noise data. | |
| Tap this button to align the model to make it easier to measure the bounding box and perform other post-processing operations. For details, please refer to Alignment. | |
After tapping this button, you can choose to turn texture display on or off.  Note NoteOnly projects that have turned on Acquired Texture can support turning on texture display. |
|
| Tap this button to restore the model to its original size and center it on the screen. | |
| Tap this button to open the Mesh Editing window. Here, you can adjust the texture and fill the holes. For details, please refer to Mesh Editing. | |
| Tap this button to perform texture mapping.Note This function is unavailable if you do not enable Acquire Texture before scanning. |
|
| Tap this button to measure the model; see Measurement for details. | |
| Tap the button to display the menu panel and select the export option for the project file.Note After opening the project file from the project list, this button will appear in the upper right corner of the |
| Function | |
|---|---|
| Complete | Tap the button to display the menu panel and select the export option for the project file; tap |