Activation and Connection
Before using the scanner, activate it by logging into the SHINING 3D passport: Power On > Connect to Network > Register / Login.
Note
The scanner can still be used for scanning without a network connection or login, but the scanned data can only be stored on its SSD and cannot be uploaded to the SHINING 3D Cloud .
Power On
Press and hold the power button (for about 2 seconds) until the screen displays the startup animation, indicating that the scanner has powered on successfully.
After powering on, please select a language; the default is English. You can change the language later in Settings > Language.
Note
- If the scanner remains black or shows a charging prompt, please charge it promptly.
- After powering on and selecting a language, please check the "End User License Agreement" first; otherwise, you cannot proceed to the Next Step.
Power Off
- Press and hold the power button for approximately 3 seconds to bring up the shutdown interface, where you can choose to restart or power off.
- Press and hold the power button for approximately 6 seconds to force shutdown.
Connect to Network
After entering the network connection interface, the scanner will automatically search for available wireless networks (every 10 seconds). Tap the corresponding network to connect; if you need to disconnect from the network, press and hold the connected network and select Delete Network.
Note
- After connecting to the network, tap Next Step to register or log into the SHINING 3D passport.
- If there is a network connection error, please retry or switch networks; if the issue persists, please restart the scanner.
- If you choose to Skip connecting to the network and go directly to the Scanning process, you will not be able to upload scanned data to the SHINING 3D Cloud or transfer files to a computer.
Register / Login
Col
After entering the login interface, you can choose to log in with a verification code or password.
After login, you can enter the Scanning interface.
Col
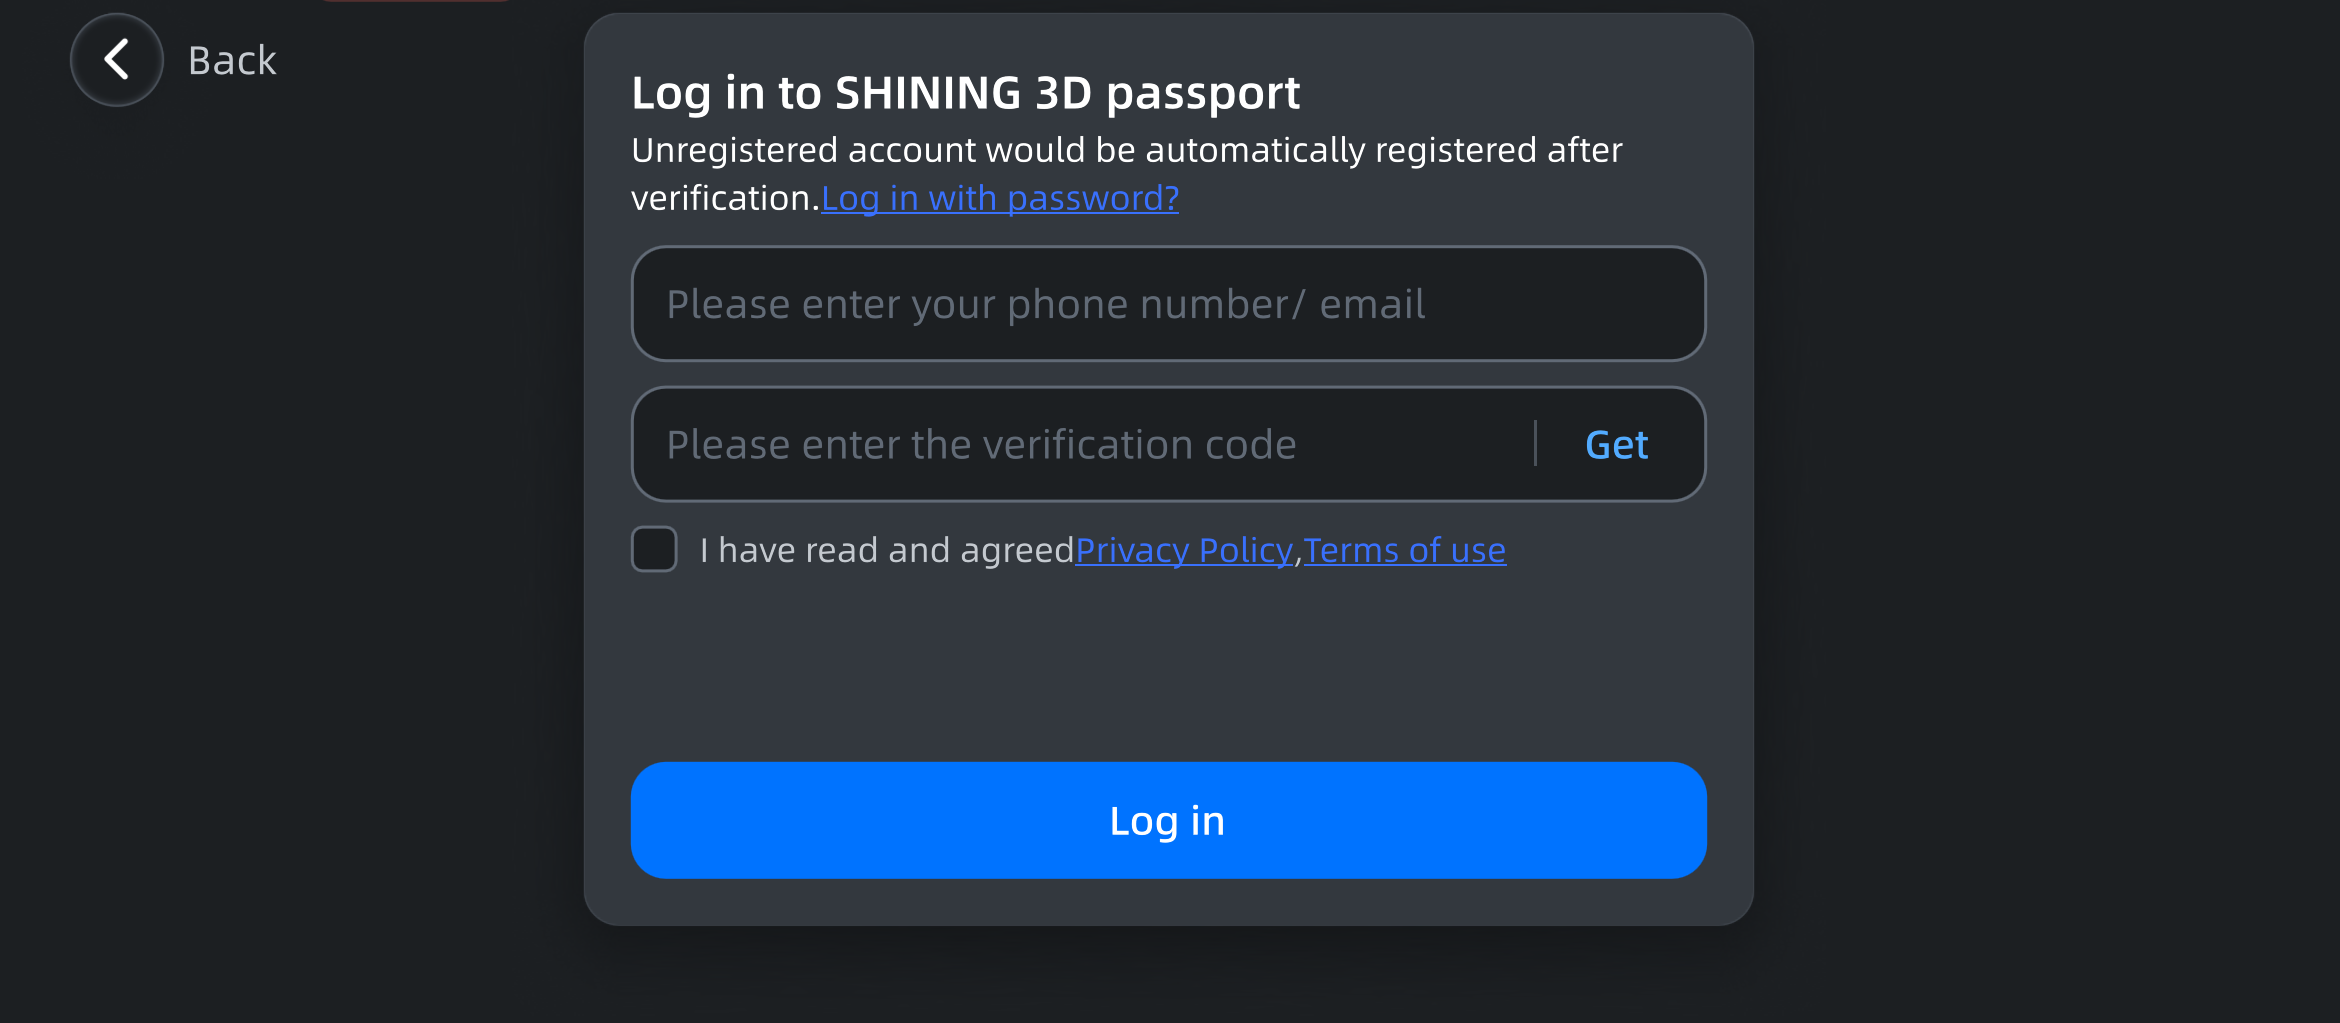
Note
- Successfully logging into the passport indicates that the scanner has been activated.
- The warranty period starts after activation.
- If this is your first login, it is recommended that you use the verification code login; registration will be completed automatically after a successful login.
Connection
Note
You cannot connect the scanner to a computer for file transfer before activation.
After connecting the scanner to EXScan Rigil via wireless or wired methods, you can perform file transfers or online scanning; for details, please refer to the EXScan Rigil User Manual.
Note
- Please use the Type-C data cable that comes with the product for connection.
- For Windows users, if the connection fails, please open the firewall and network protection notifications on your computer, and click Allow if a notification from Windows Security Center appears.