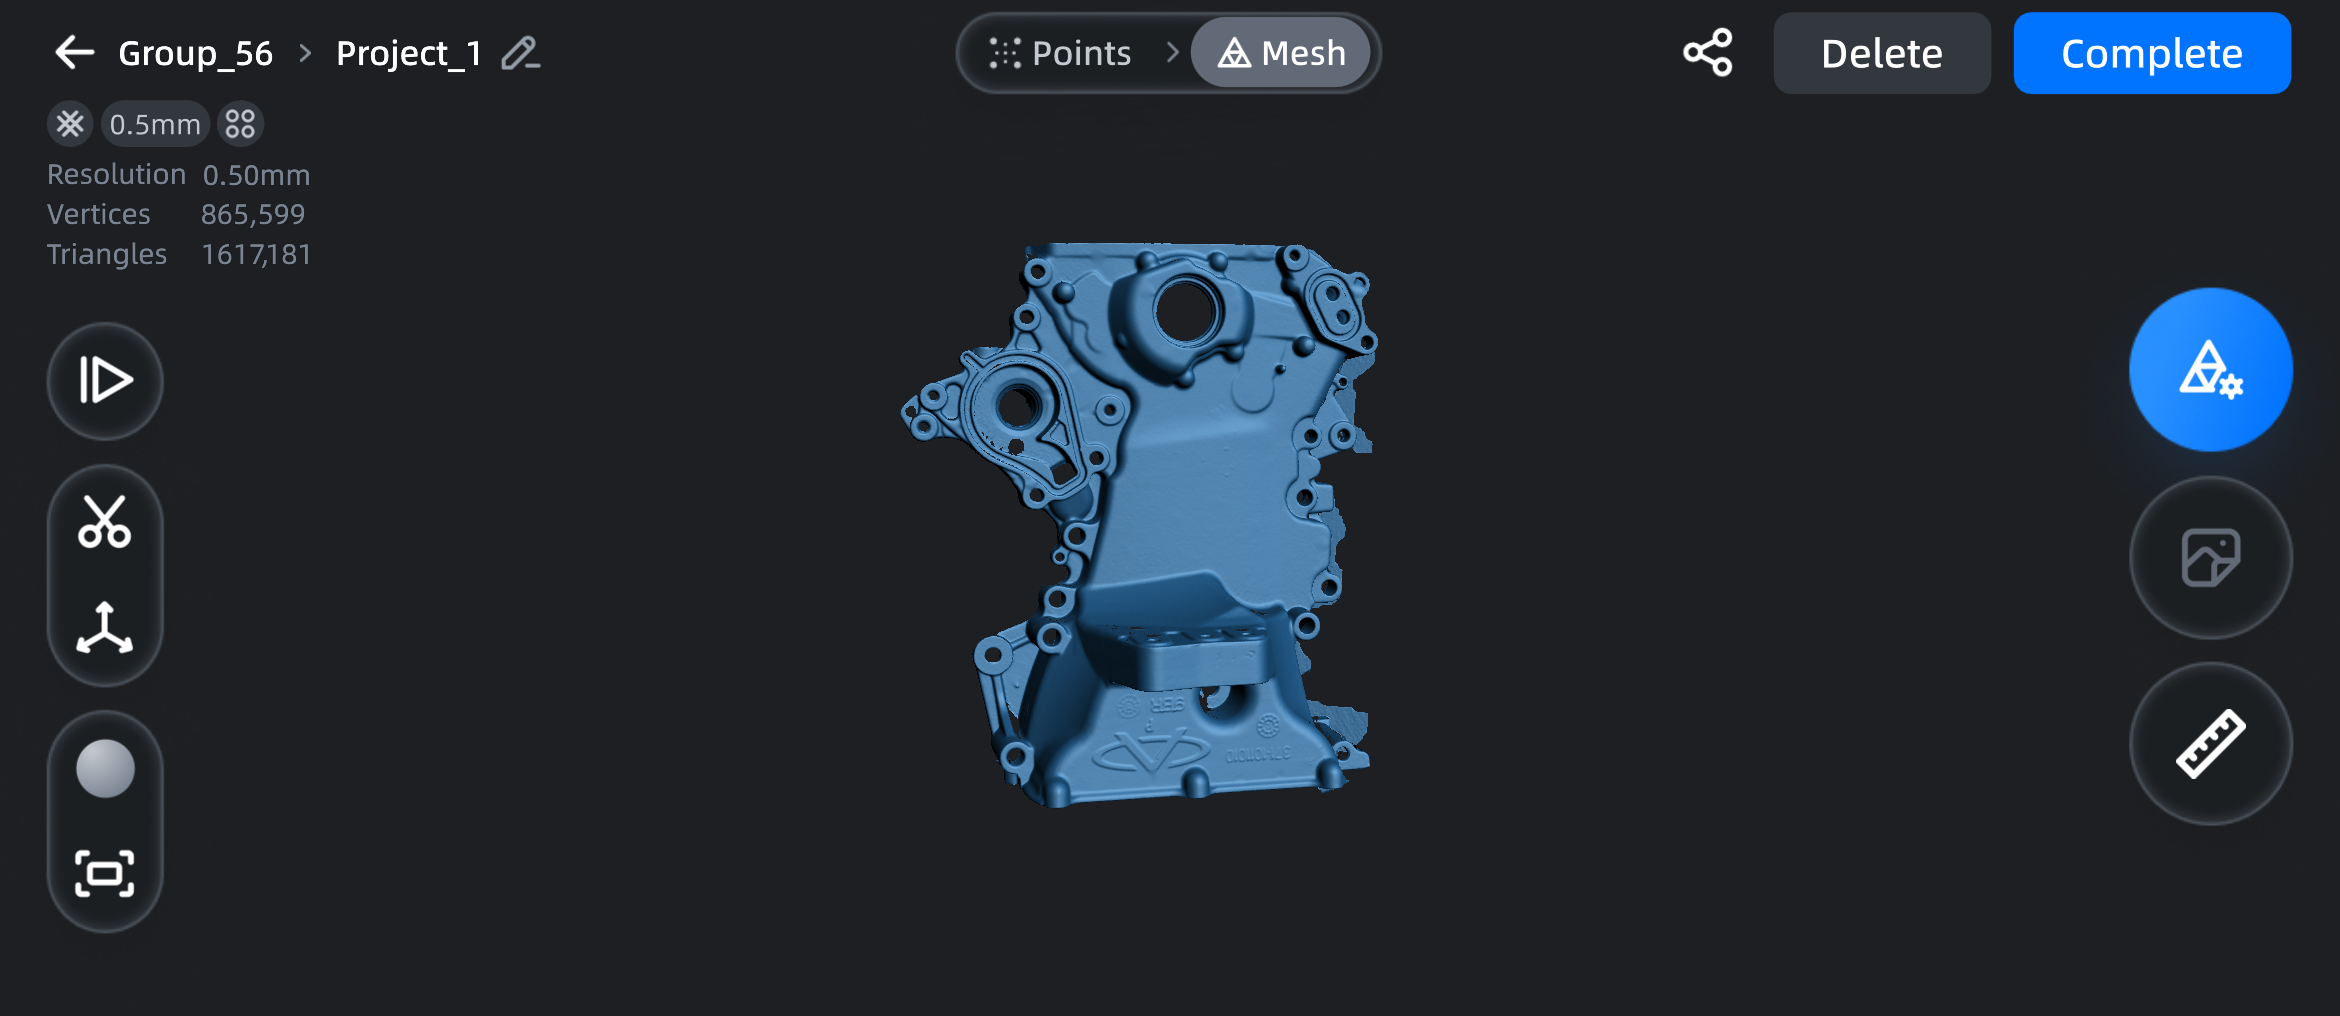
Mesh Interface
After meshing, you can edit the mesh in the ![]() mesh interface. For specific functions, see the table below.
mesh interface. For specific functions, see the table below.
Overview
| Function | |
|---|---|
| Tap the corresponding button to switch the current data to point cloud or mesh. | |
| Tap this button to rename the current project. | |
Tap this button to return to the scan interface and continue scanning.  Note NoteAfter returning to the scan interface, it does not support switching the scan mode of the project or rolling back previously edited data. |
|
| Tap this button to enter the clipping interface to clip the data and remove noise data. | |
| Tap this button to align the model to make it easier to measure the bounding box and perform other post-processing operations. For details, please refer to Alignment. | |
| After tapping this button, you can choose to turn texture display on or off. Note Only projects that have turned on Acquired Texture can support turning on texture display. |
|
 |
Tap this button to restore the model data to its original size and reset it to the center of the screen. |
| Tap it to pop up the Mesh Editing window, where you can adjust the texture and fill the holes; for details, please refer to Mesh Editing. | |
| Tap this button to do texture mapping. | |
| Tap this button to measure the model; see Measurement for details. | |
| Tap this button to upload the model to digital cloud storage; see Save and Share for details. | |
| Complete | Tap this button to save the current project and return to the Scan interface. |
| Delete | Tap this button to delete the data of the current project. Note After deleting data, it cannot be restored again. |