Alignment
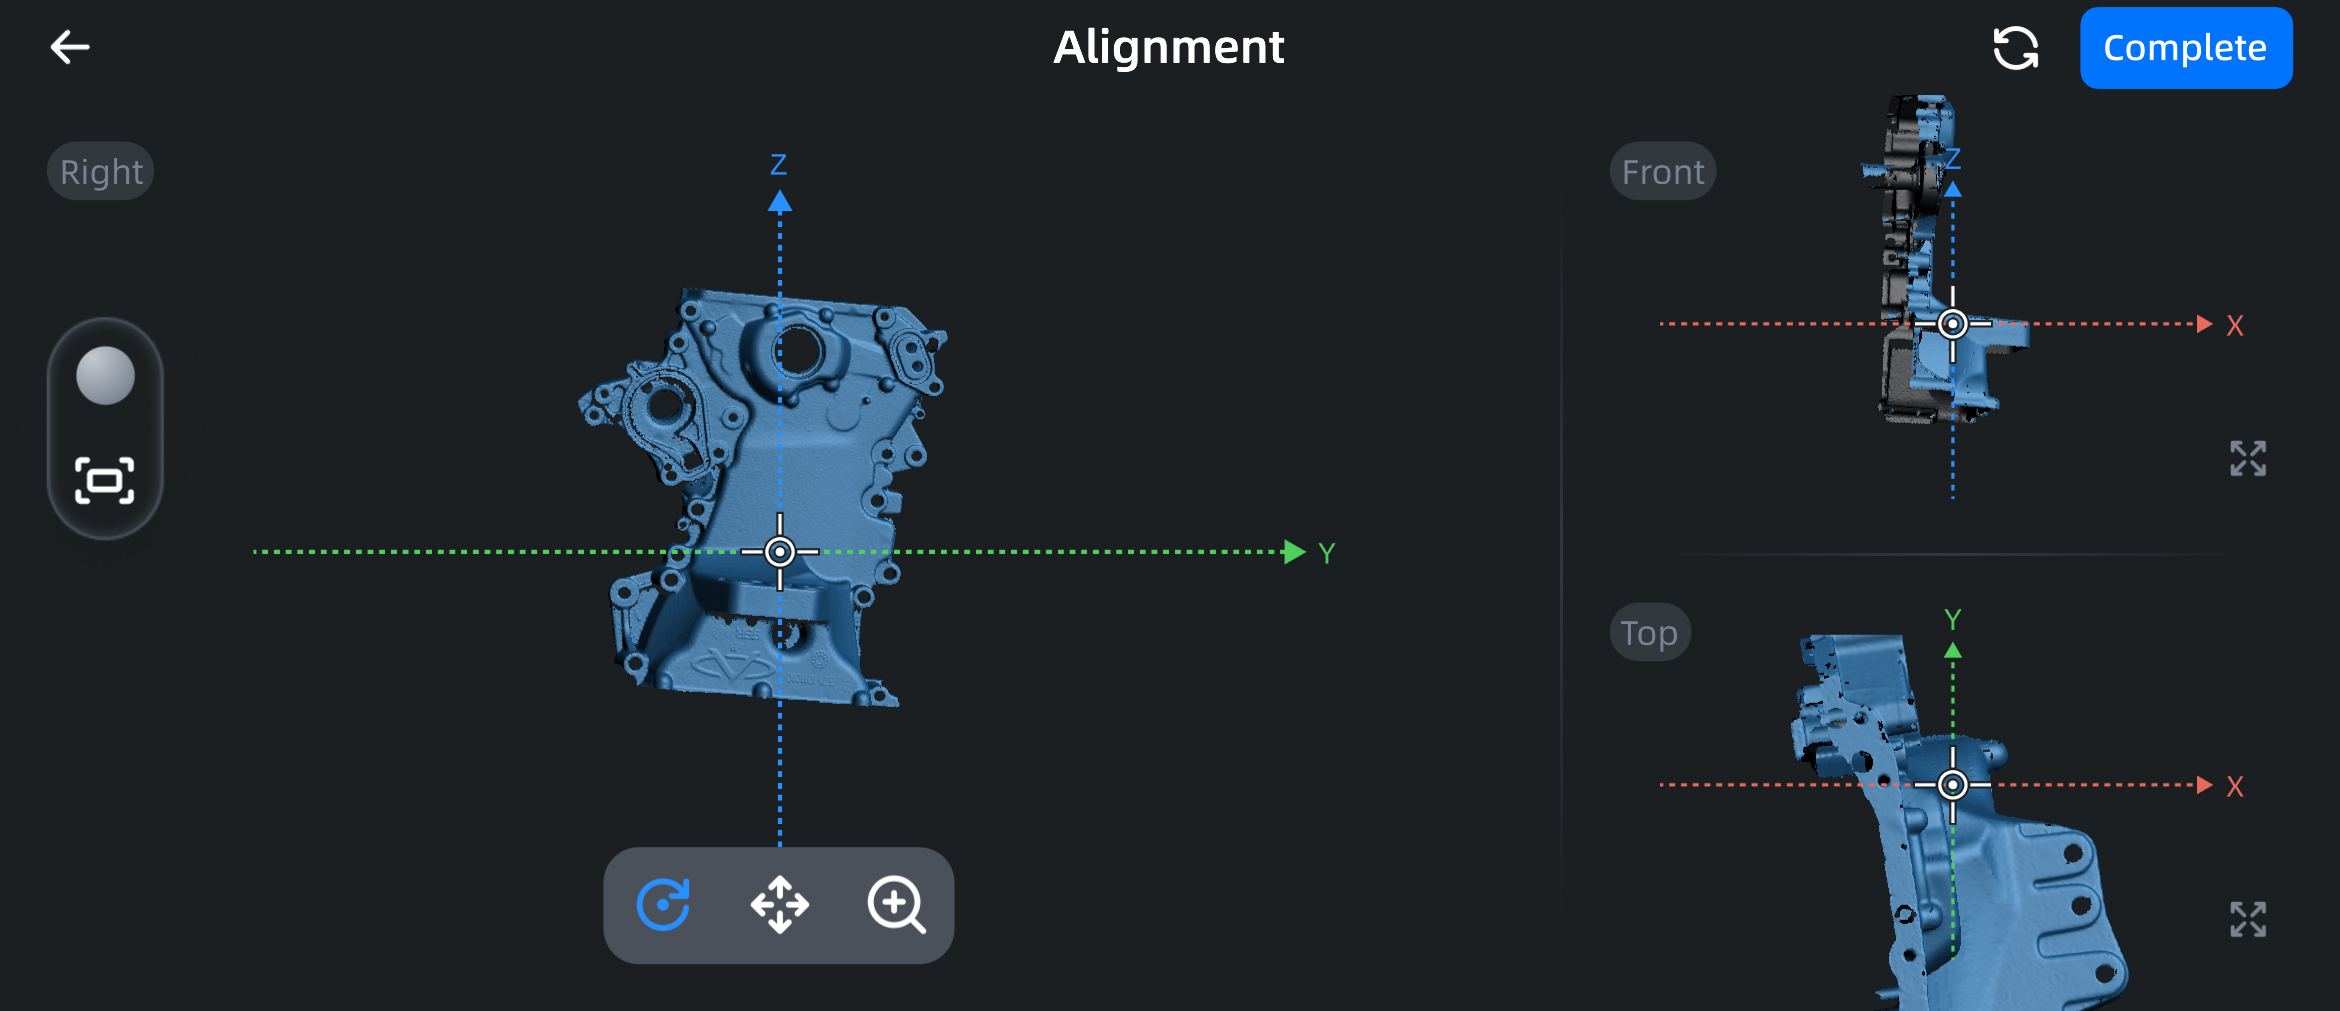
Tap ![]() to enter the alignment interface. The left main view (model operation area) is the front view, while the right small views (model preview area) represent the right view and the top view, arranged as shown in the following illustration.
to enter the alignment interface. The left main view (model operation area) is the front view, while the right small views (model preview area) represent the right view and the top view, arranged as shown in the following illustration.
Function
| Function | |
|---|---|
| Tap this button to return to the previous interface. | |
| Tap this button to turn texture display on or off. | |
 |
Tap this button to restore the model to its original size and center it on the screen. |
| Tap this button and slide on the screen to rotate the model. | |
| Tap this button and slide on the screen to pan the model. | |
| Tap this button and slide on the screen to scale the model with two fingers. | |
| Tap this button in the small view area on the right to switch the view in the upper right or lower right corner to the operation area on the left. | |
| Tap this button to restore to the default view layout when entering the alignment interface. | |
| Complete | Tap this button to save the current project and return to the Mesh interface. |
Operation
-
Adjust the position of the model in the left main view on the coordinate axis by panning and rotating the model.
Note
- When panning and zooming the model, the three views will change synchronously.
- Zooming the model only affects the current view and does not affect the actual model.
-
If the adjustment is completed, tap the
 button to align other views; if you are not satisfied with the adjustment, tap the
  button to restore the model position to the default view layout when entering the alignment interface.
 - Follow the above steps to align the model in the top view and right view.
- Tap the Complete button to save the current project and return to the mesh interface.
Note
If you realign a mesh model that has already been uploaded to the SHINING 3D Cloud, you will need to re-upload it.