Mesh Model
After generating point cloud, it is allowed to convert the point cloud into a triangular mesh surface through meshing.
Click in the right sidebar of Scan interface to enter Post processing.
Note
The data after mesh can be directly used for rendering, measurement or printing.
Mesh type
| Icon | Function | |
|---|---|---|
 |
Unwatertight | Unclosed model stays the way it is scanned. Processing time is quicker than Watertight. |
 |
Half-watertight | Some holes will be filled. |
 |
Watertight (default) |
All holes will be filled automatically. The data can directly be 3D printed. Only watertight mesh can set model quality: High, Med(default), Low. |
Mesh Optimization
Filter
Optimize the data and improve the clarity of the data. The higher the level, the less the small details.
- None: No optimization.
- Standard (default): Optimizes data slightly and preserves data characteristics.
- Med: Reduce the noise on the surface of the scan data.
- High: Reduce the noise on the surface of the scan data and sharpen it powerfully.
Smooth
Smooth the possible noise on the surface of the scan data.
Three optimization options are available: Standard (default), Med, High.
Remove small floating parts
Remove small floating parts isolated from the the main data.
Set the isolated data ratio by dragging the slider or clicking the up/down arrow. Default value is 1, with a range of 0 to 100. The value 0 indicates not removing isolated data.
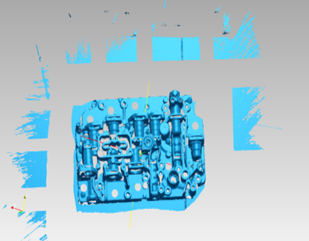
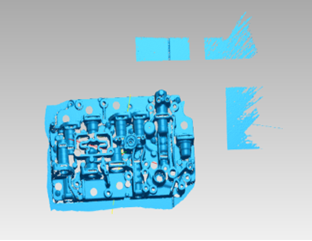
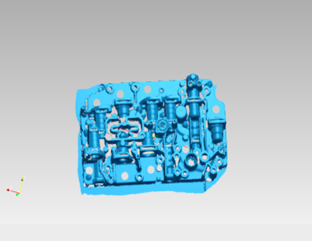
For a specific illustration of the effect, refer to the following images:
Col
 Original data
Col
 Set value as 50
Col
 Set value as 100
Simplification
Set the triangle number (disenabled by default. If enabled, the default value is 20 with a range of 0 to 99).
Note
When the simplification is greater than the maximum triangles, prioritize the simplification.
Maximum triangles
Disabled by default. Set max plate number to get mesh model’s triangle plate number is within configured plate number.
Note
- Please input the value reasonably, avoiding entering too small values, as excessive simplification may result in lower data quality.
- Under the constraint of simplification, if the input number of triangles is too small, the data will not be simplified to the extent of the input value.
Remove spike
Enabled by default. Remove spike-like data on the image edge, and detect and flatten single-point peaks on a polygon mesh.
Marker hole fill
Fill in the surface of the object that is not scanned to the pasting marker.
Note
In the Markers mode, this function is enabled as default for unwatertight or half-watertight models, and can not be disabled for watertight models; otherwise, this function can not be enabled.
Texture remapping
(Only supported for the software of V4.0.0.8 version or above) When meshing the project with scanned texture, this function can be enabled (by default) to remap the texture; if this function is disabled, you can still remap the texture when editing the mesh.
Note
This function can not be applied to the project without scanned texture.
Recommended Parameters
When turning on, it will automatically use the recommended parameters for meshing.
Operation
-
Click Preview to confirm the settings and start meshing.
Note
If there exist texture model files that exceed the resolution limit in the project, the model will be displayed in a lower resolution after clicking Preview. When saving the model, you can choose to reduce the resolution (the default is the resolution value after software processing) or keep it unchanged.
-
After the mesh, click Confirm to confirm and save the mesh result.
Note
Click
to restore and regenerate the mesh.