Accuracy Evaluation
When encountering issues such as failure to recognize markers, frequent prompts of tracking loss, or spelling errors during the scanning process, it is recommended to perform an accuracy evaluation to determine if there is excessive error.
Note
If the detected error is greater than 0.05 mm, it is recommended to perform a recalibration.

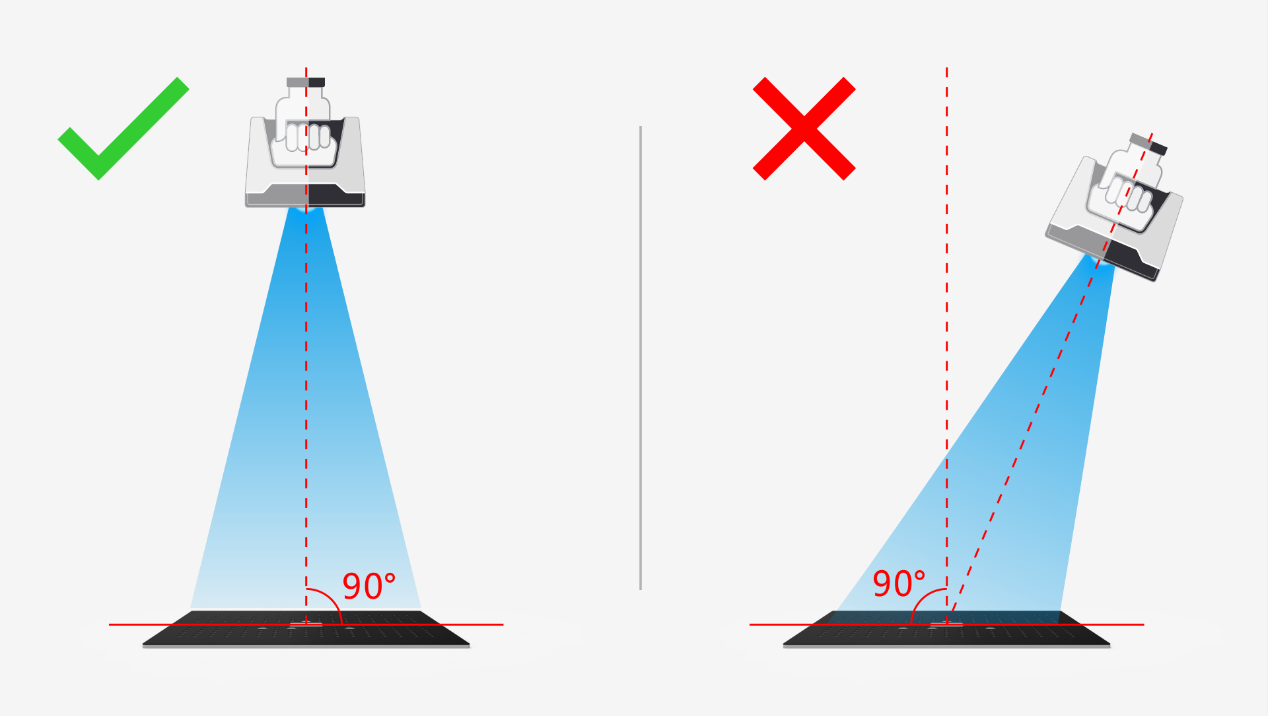
1.Place the calibration board with the front side (black background with white dots) facing up, flat on the table, and align it in the same orientation as shown in the diagram.
2.After picking up the scanner, move it above the calibration board. The scanner should be positioned vertically, facing directly towards the table, in the same direction as shown in the diagram. Ensure that the crosshair projected by the scanner is positioned within the white square at the center of the calibration board.
3.Click  Click to start or press button on the scanner to start calibration.
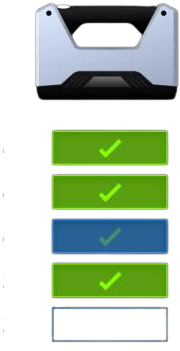
4.During the data collection process, you need to move the scanner up and down (ensuring that the crosshair remains within the white square) until the distance indicator on the software interface shows all green.