Calibration Process
Two ways to enter the calibration process are introduced as follows.
-
Tap
 Calibration in the control center module to enter the Setting > Calibration interface, where you can tap Start calibration to enter the calibration process.
 -
In the status bar on the top of the interface, tap the calibration prompt (if there is) to enter the Setting > Calibration interface, where you can tap Start calibration to enter the calibration process.
Note
- Before calibration, please tap Scan to recognize the calibration board in the Setting > Calibration interface, to bind the calibration board.
- If this is your first calibration, you will be automatically directed to the calibration Help interface:
Tap button to enter the next step of the guide, tap
 button to return to the previous step of the guide; in the final step, tap Start calibration to enter the actual calibration process.
 - During the calibration process, tap
 button to re-enter the calibration Help interface; tap
  button to exit the calibration process.
During the calibration process, you need to change the position of the calibration board for 5 times to complete the entire calibration process.
Specifically, calibration includes HD scan calibration and
Fast scan calibration.
Note
The calibration process for two scan modes is the same, and for each calibration, you need to do the HD scan calibration.
Take HD scan calibration as an example, the operation steps for device calibration are as follows:

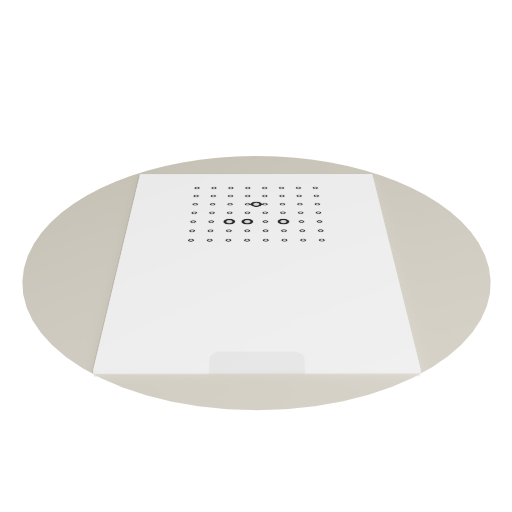
1. Please place the calibration board on a flat surface as shown in the figure, and get the bracket.

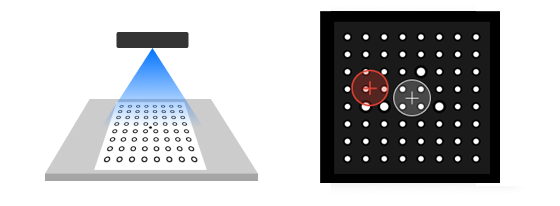
2. Align the board to make the board match with the figure; when matched, the area will turn green.

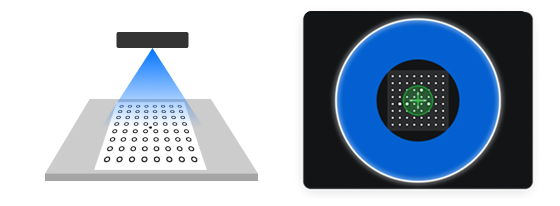
3. Move the scanner vertically to remove all blue areas.
Caution
- When moving the scanner up and down, please make sure:
- The center of the scanner is aligned with the center of the calibration board.
- The scanner remains parallel to the plane where the calibration board is placed.
 Keep the scanner level and align the center" and you will need to redo the step 2 to reposition.
 - When moving the scanner up and down, if it prompts that "
 Please move closer to the board" or "
 Please move away from the board", please adjust the distance between the device and the calibration board accordingly.

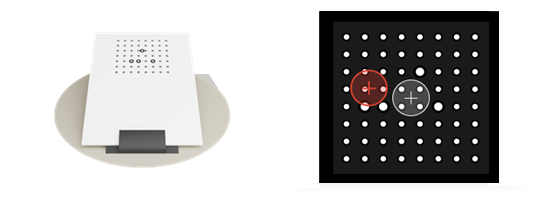
4. Adjust the position of the bracket and the calibration board according to the illustration, and repeat the step 2 and step 3 for a total of 4 times.
5.After completing the HD scan calibration, you will be automatically directed to the
Fast scan calibration; and a calibration file will be generated after all calibration steps are completed.
Note
- After a successful calibration, there will be a pop-up window indicating the successful calibration.
- If calibration fails for several times, please contact technical supports.