Mesh Editing
After mesh generation and optimization, you can further process the mesh using the tools of the sidebar and the editing toolbar of the Post-Processing interface.
Left Sidebar
Click + to expand the left sidebar.
Texture
Adjust the brightness and contrast of the texture to improve the texture effect.
Note
- The default value is 0, and the range is -100 to 100.
- This function is available for the project with textures.
Simplification
Set the reduction level of the number of triangles in the mesh.
Note
- The default value is 0, and the range is 0 to 99.
- Excessive simplification will cause the loss of some data details.
Mesh Optimization
Optimize the quality of the data by adding more triangles to curvature regions.
Note
- The default value is 0, and the range is 0 to 100.
- The optimization time increases with the volume of data.
Smooth
Smooth the possible noise on the surface of the scanned data.
Note
The default value is 0, and the range is 0 to 100.
Remove Small Floating Parts
Delete any small disconnected data from the main body data.
Note
The default value is 0, and the range is 0 to 100.
Col
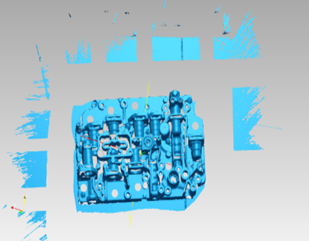 Original
Col
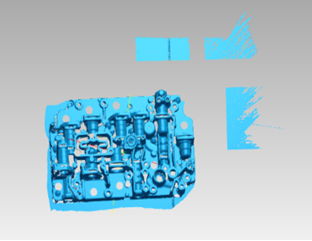 Remove 50
Col
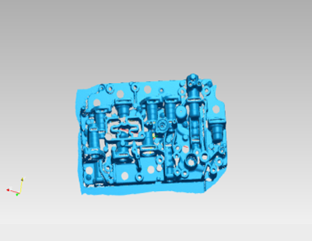 Remove 100
Auto Hole Filling
Fill every hole automatically whose perimeter is within the entered value (unit: mm).
Col
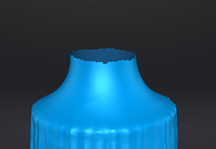 Original
Col
 Curvature
Col
 Tangent
Col
 Flat
Flat
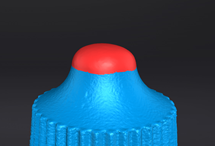
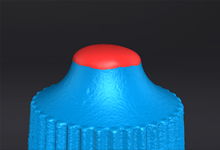
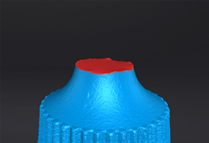
Manual Hole Filling
Fill the hole by clicking the edge of the hole.
Note
The edge of the hole to be filled is displayed green, and the filled hole is displayed red.
Flip Normal
To redefine the front direction of the scanned data in reversal engineering.
Note
- Use Shift + Left Button to select data.
- If you don't select an area, the normal of the entire data will be flipped.
- Texture Remapping should be performed first as it is unavailable after Flip Normal.
Cutting Plane Tool
Adjust the coordinate of the data with a custom plane as the bottom.
Note
Use Shift + Left Button to create a straight line and generate a plane.
Mirror
Draw a straight line as the central axis and perform a symmetrical copy.
Note
Use Shift + Left Button to create a central axis.
Zoom
Adjust the scaling ratio of the model.
Note
The default value is 100, which means to maintain the original size.
Buttons
| Button | ||
|---|---|---|
| Resetting the preview effect. | It is unavailable in Cutting Plane Tool and Zoom. | |
| Apply | Applying the operation. | |
| Cancel | Undoing the operation and exit. |
Editing Toolbar

| 功能 | |
|---|---|
Select Visible |
Selecting visible data on the front view only. |
Select Through |
Selecting the visible area and the data behind it at the same time. |
Note
To learn more, see Editing Toolbar.
Right Sidebar
| Function | |
|---|---|
Mesh |
Reopen the mesh panel to regenerate the mesh. Note NoteIf the mesh is imported locally, this function is not available. |
Open File |
Open a project for post-processing. |
Export Your Scan |
|
Share Your Scan |
|
Texture Remapping |
Refining texture misalignment issues after mesh optimization and mesh editing.Note
|
Show Texture / Hide Texture |
Toggle model texture visibility. |
Model Display |
After clicking the button or press F12, the model will be displayed in rotation, and the rotation speed can be adjusted by clicking |