Standard calibration
If there is no calibration data in the software, perform standard calibration before using the scanner.
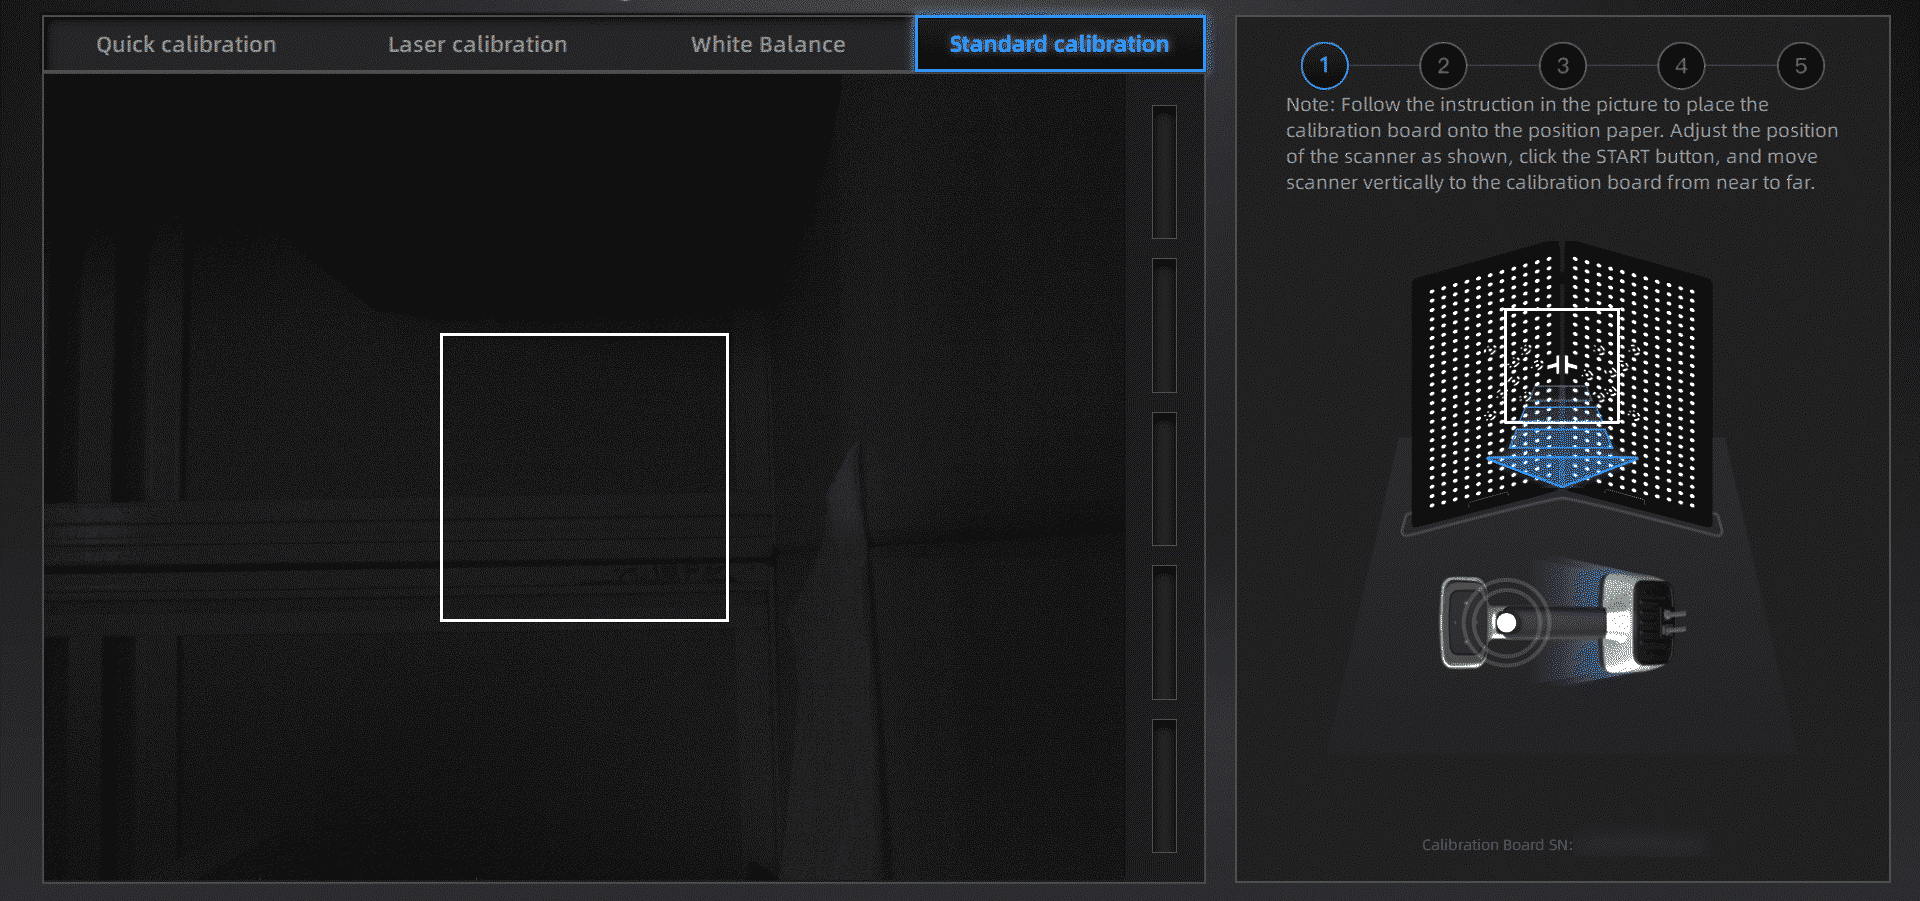
Follow the calibration wizard in the software and calibrate the scanner from 5 different positions.
| Position 1 | Position 2 | Position 3 | Position 4 | Position 5 |
|---|---|---|---|---|
 |
 |
 |
 |
 |
Steps
-
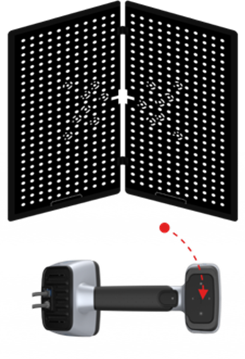
Place the arrow-shaped positioning paper on a flat surface with the arrowhead pointing forward.

-
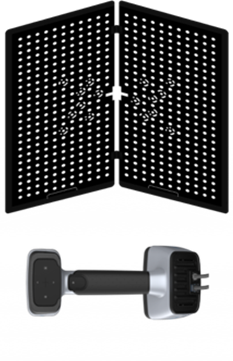
Open the calibration board with its black dotted side toward you and place it vertically on the positioning paper to match the outline.
-
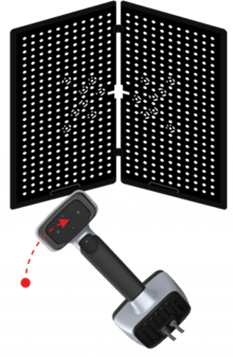
Adjust the scanner according to the illustration and make sure it has the same direction.
-
Press
 on the scanner to start calibration.
Caution
Do not move the board during the calibraion.
-
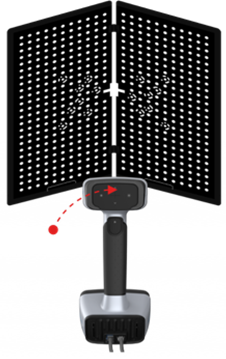
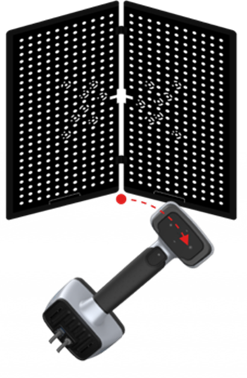
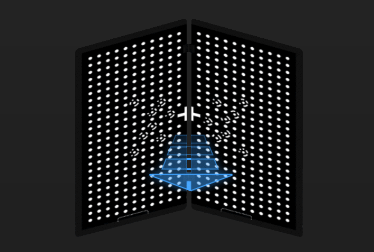
Move the scanner back and forth slowly untill all distance indicators turn green.
Color bar Color Note 
Empty Not calibrated 
Blue Calibrating Green Calibrated Caution
Pay attention to the camera window on the left during the calibration, and direct the camera at the cross in the middle of the calibration board.
-
When all distance indicators turn green, calibration in the current position is completed. The software will move on to the next position automatically.
-
Adjust the scanner according to the illustration and repeat step 3 ~ 5 until the calibration in all 5 positions is completed.
Note
- If the calibration fails, please try it again.
- When this calibration is completed, click Next to go to the laser calibration.
- If you still fail to calibrate the scanner, please contact your supplier or our support team.