Device Introduction
The Einstar2 offers high-quality 3D scanning with its hybrid light source, wireless design, and vibrant full-color capture. From small statues to full-body scans, and from indoor setups to outdoor adventures, both professionals and hobbyists can easily and quickly use the Einstar2 for 3D scanning.
Packing List
Col
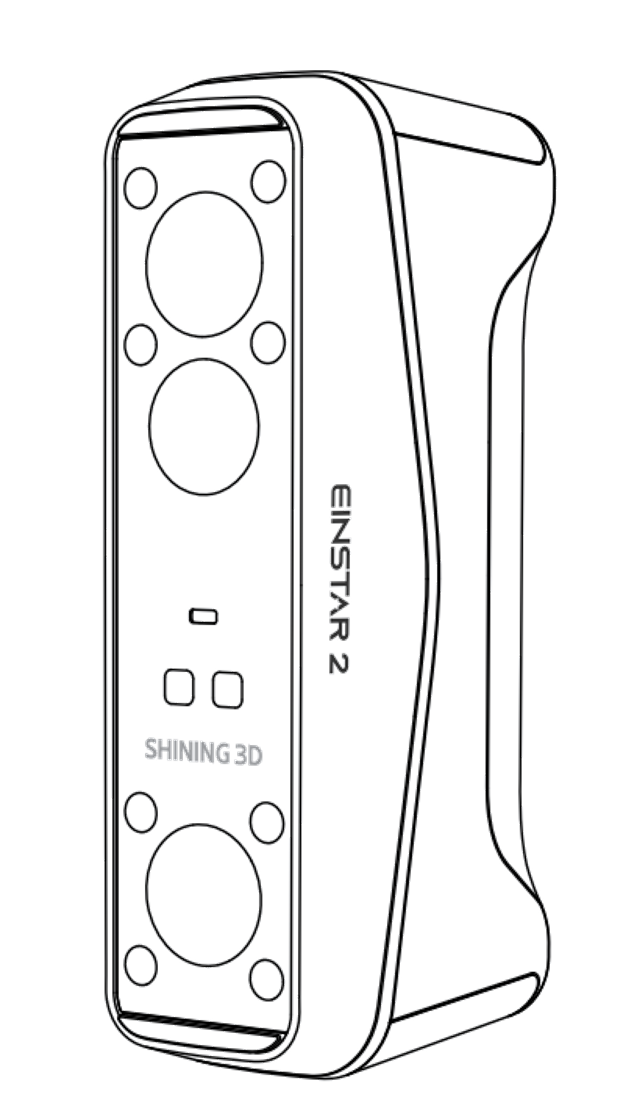
Einstar2 3D Scanner
Col
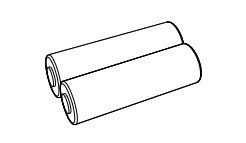 Battery
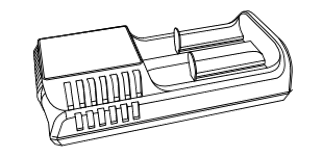 Battery Compartment
 Battery Compartment Charging Cable
Col
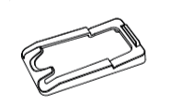 Universal Holder (Calibration Board)
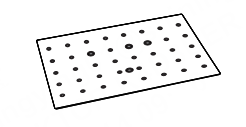 Calibration Board
Col
 Type-C Cable for Scanner and Battery Compartment
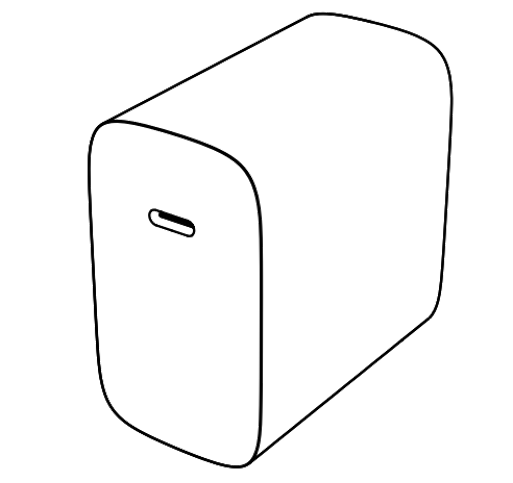 Power Adapter
Col
 3 mm and 6 mm Reflective Markers Set
Col
 Packing List
Battery Specifications and Requirements
| Specification | Description |
|---|---|
| Type | Rechargeable Lithium-ion Battery |
| Length | 75.4 ± 0.3 mm |
| Diameter | 21.7 ± 0.3 mm |
| Nominal Voltage | 3.6 V |
| Capacity | 5500 mAh |
| Cycle Life | Over 400 times |
| Operating and Storage Requirements | Description |
|---|---|
| Operating Temperature | Charging: 0 ~ 45℃ Discharging: -20 ~ +60℃ |
| Storage / Transport Temperature | -20 ~ +45℃ (less than 1 month) -20 ~ +35℃ (less than 3 months) -20 ~ +25℃ (less than 6 months) |
| Storage / Transport Relative Humidity | ≤ 75%RH |
Device Structure and Composition
Col
Col

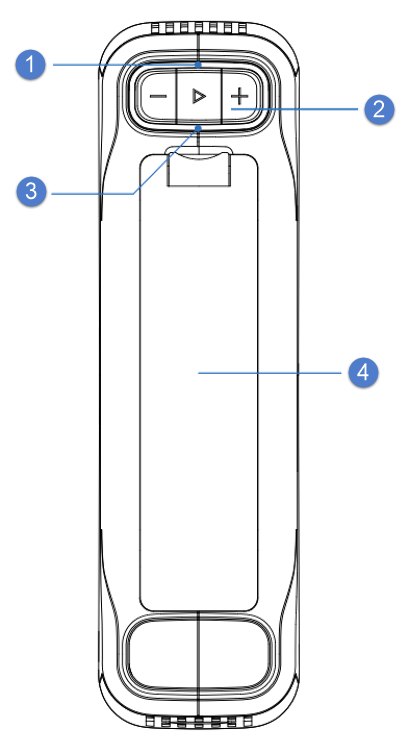
This indicator light shows the device's connection status or scanning status.
Non-scanning Status
Scanning Status
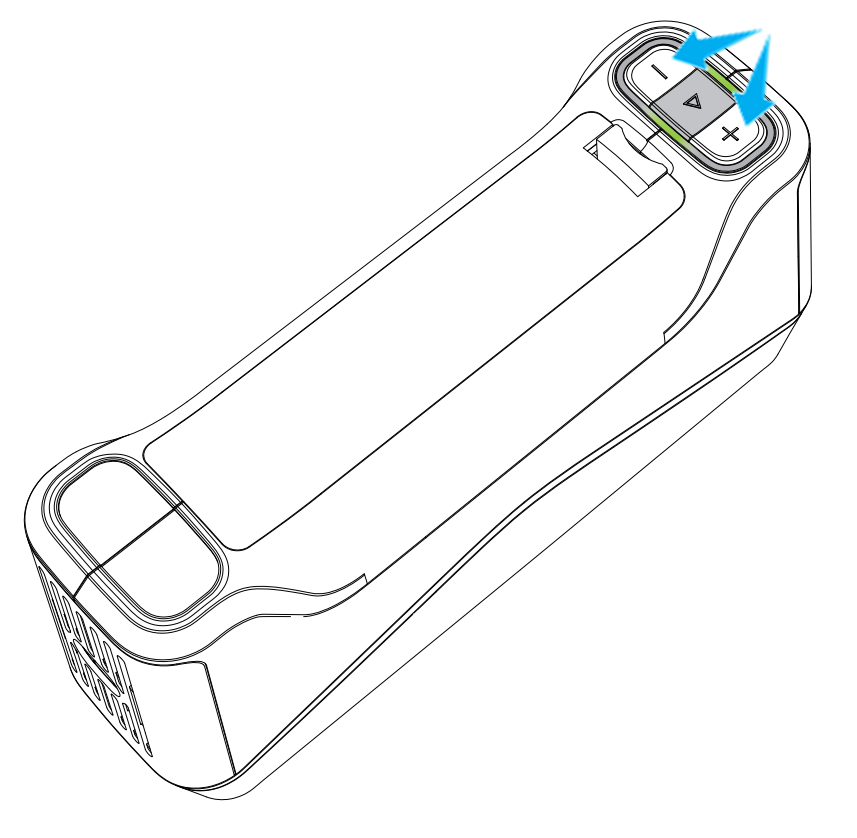
 The button controls power on/off, starts calibration, switches scanning status and light sources, and brings up the menu.
Col
- Long press for about 2 seconds until the status indicator and battery indicator light up, indicating the device is powered on.
- Long press for about 5 seconds until the indicators turn off, indicating the device is powered off.
- Calibration interface: Press to start calibration.
Col
Scanning interface:
- Press to start scan preview; multiple presses cycle through scan preview, scanning, and pause scanning states.
-
Press
twice to bring up the menu and select the control range for the  /
/  buttons (black and white camera brightness adjustment, texture camera brightness adjustment, or view zoom).
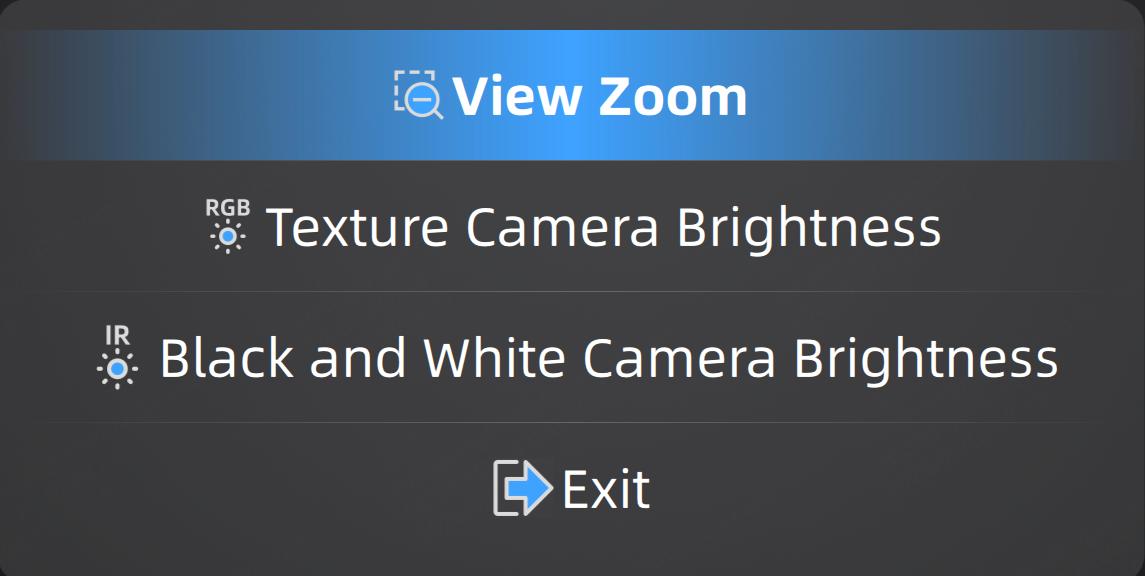
![]() /
/ ![]() buttons control the brightness increase or decrease of the black and white camera and texture camera, or the zoom size of the view.
buttons control the brightness increase or decrease of the black and white camera and texture camera, or the zoom size of the view.
Col
- Press / to increase or decrease camera brightness or zoom in or out of the model view.
- Press / twice directly changes to the highest/lowest brightness level or the maximum/minimum state of the model view.
- Long press / to continuously increase or decrease camera brightness or continuously zoom in or out of the model view.
Col
- Green (steady): Battery level > 50%.
- Yellow (steady): 10% < Battery level ≤ 50%.
-
Red (steady): Battery level ≤ 10%.
Note
When the device is connected to a Type-C cable for charging, the battery indicator light will change from steady to breathing state.
-
Red (flashing): The device is overheating.
Note
If the device is powered on with an insufficient battery, the battery indicator will flash red rapidly, and the device will shut down automatically.
Col
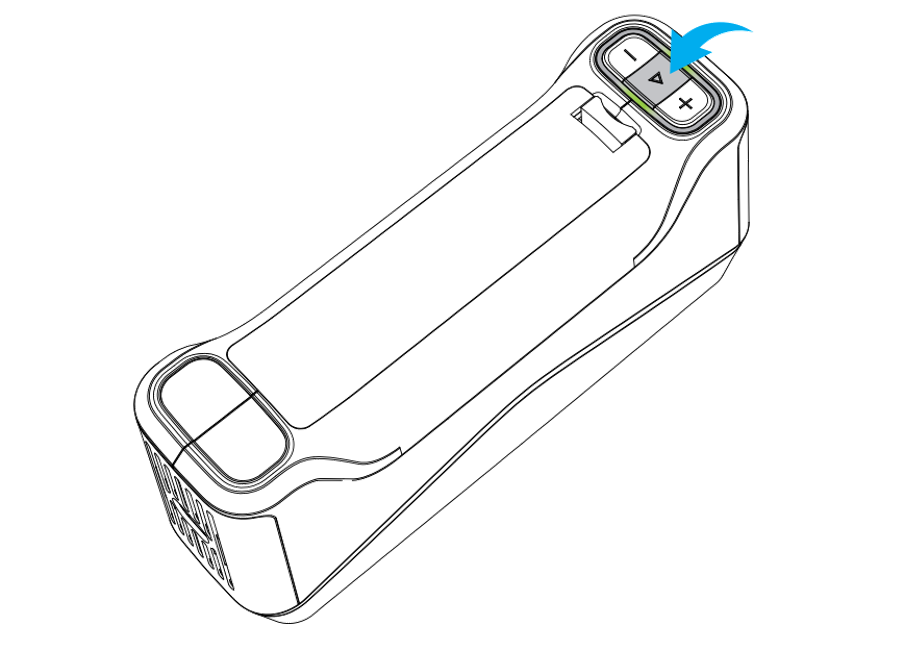
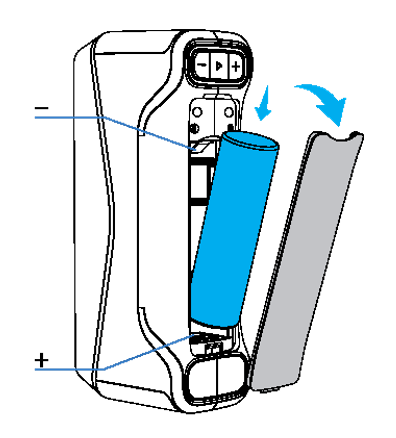
Open the battery compartment to insert the battery.
Caution
Please insert the battery correctly according to the indicated positive and negative directions.
Col
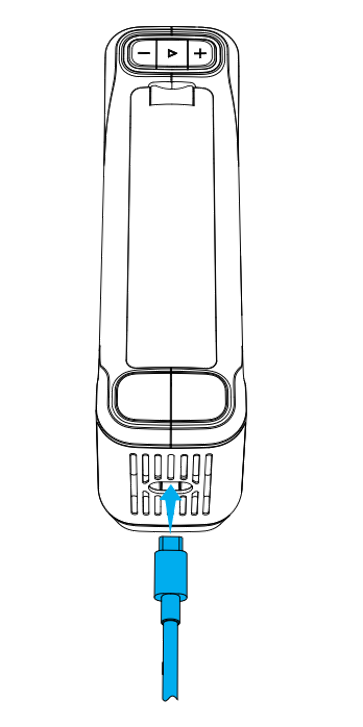
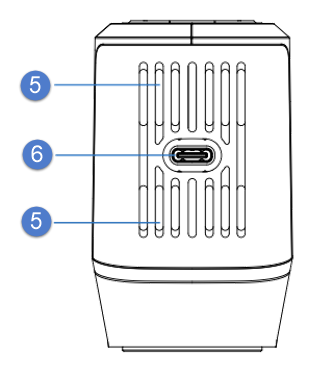
The device's air vents should not be blocked while the device is in operation.
Col
Connect the device to a computer using a Type-C cable for wired scanning or charging.
Col