White Balance
If the Texture Scan is selected, you need to calibrate white balance, in order to calibrate the texture camera for the first use; when the texture scanning effect is not satisfactory in the subsequent scan, it is recommended that you calibrate again.
Specific white balance calibration steps are shown as follows:
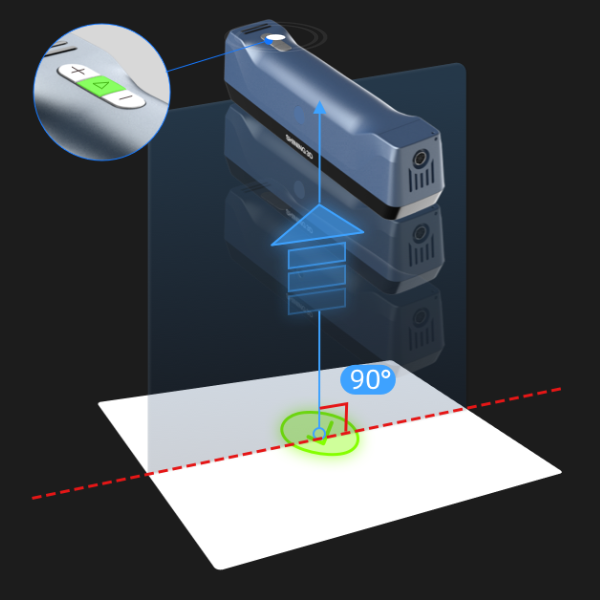
1.Place the calibration board with the white side facing up, flat on the table.

2.After picking up the scanner, move it above the calibration board. The scanner should be positioned vertically, facing directly towards the table, in the same direction as shown in the figure. Ensure that the blue circle projected by the scanner is positioned within the grey circle at the center of the calibration board and turns green.
3.Press on the back side of the scanner to start collecting the image.

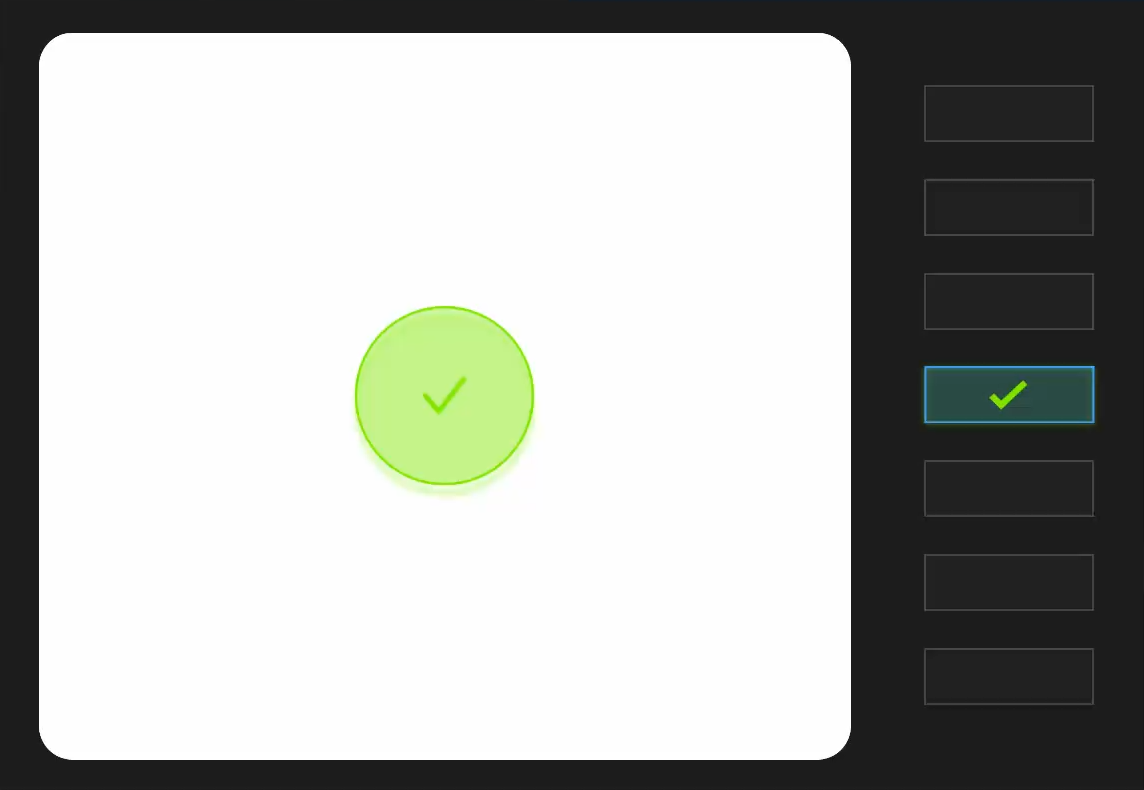
4.Move the scanner up and down (ensuring that the projected circle remains green) until one box is ticked.

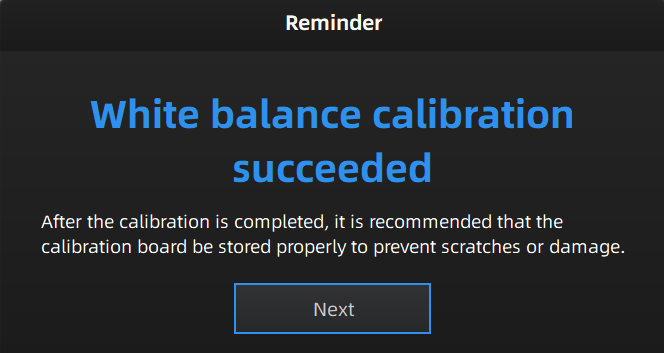
5.Check calibration result; click Next to enter the scanning step.
Note
- Please do not do the white balance calibration under strong or uneven light, or it my result in color cast and other issues.
- If the calibration fails, please repeat step 2 ~ 4.
- If you cannot get the pass result anyway, please contact your supplier or our support team.