Setup Wizard
The following is the setup process for the device:
1. Power On and Charging
Power On
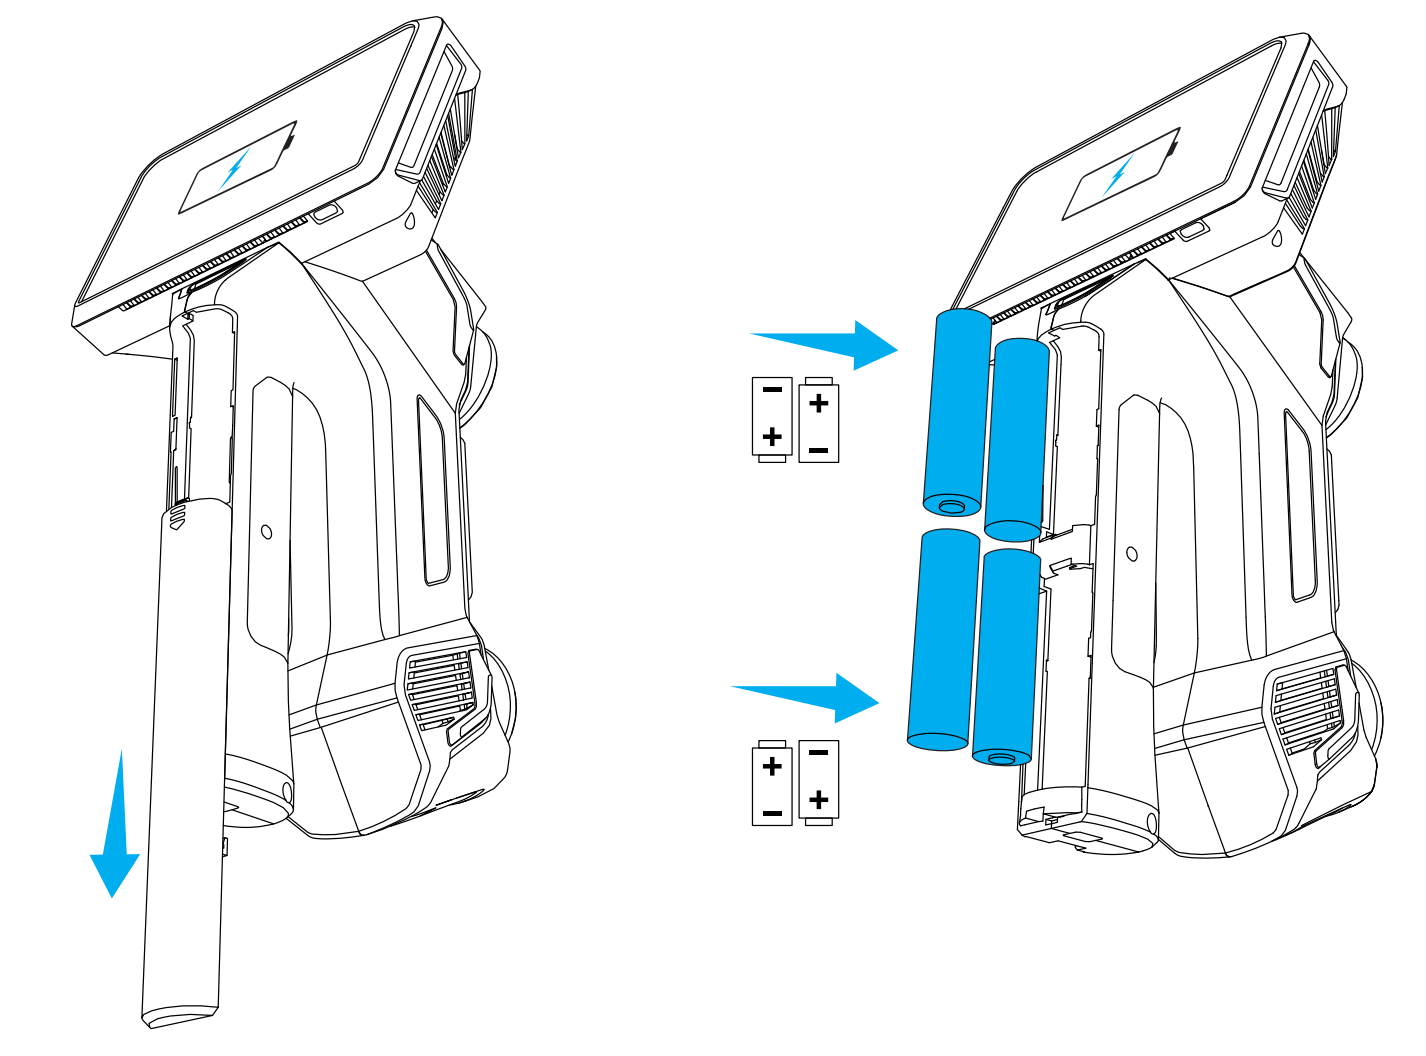
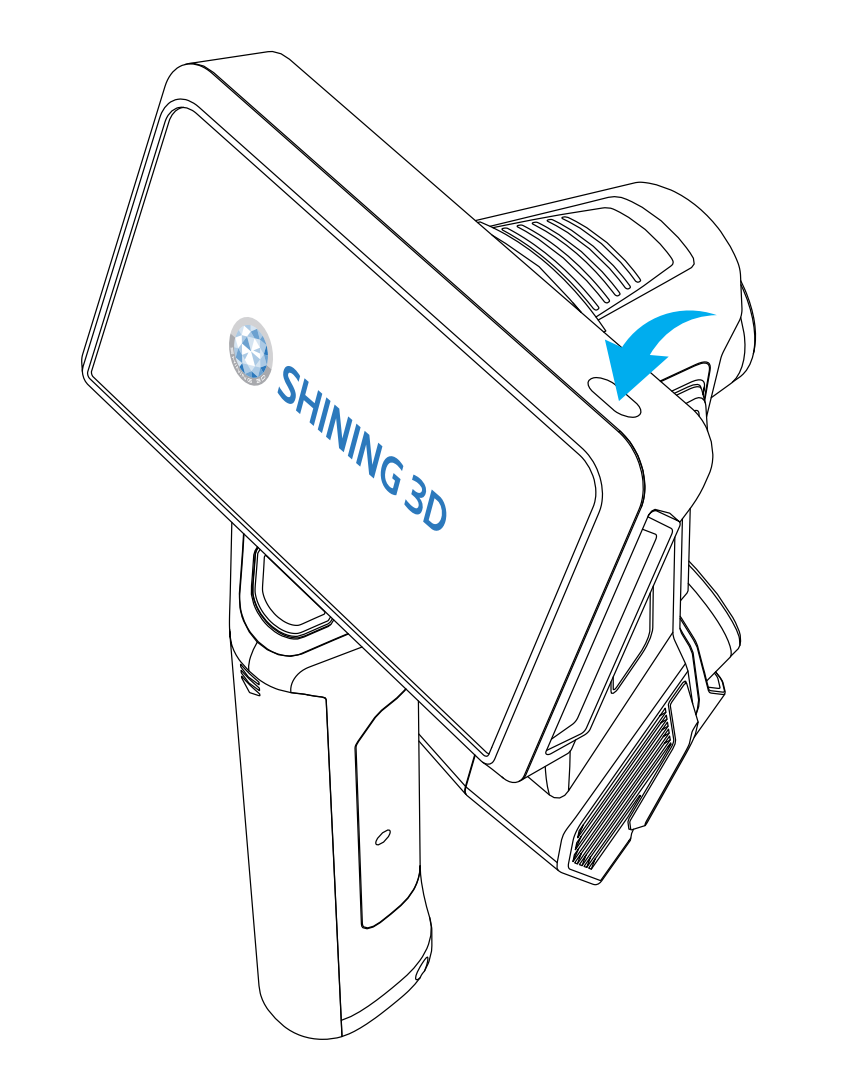
Insert the included battery into the device, then press and hold the power button for 2 seconds until the screen displays the boot animation, indicating that the device has been powered on successfully.
Col
Col
If the screen remains black or shows a charging prompt, please connect it to the power adapter.
Caution
Performance will be limited if the difference between the two sets of batteries exceeds 50%; if the difference within the same set exceeds 50%, scanning functions may be abnormal. Please replace the batteries as soon as you receive a prompt.
After powering on, you need to select a language, with the default being English. You can change the language later in Settings > Language.
Shut down
Press and hold the power button for 2 seconds to open the power off menu, then tap Shut down. To force shut down, press and hold the power button for 6 seconds.
Charging
There are two ways to charge your device:
-
Charging the Battery Separately: Place the device's battery into a battery charging dock. Once the battery is fully charged, swap it with the battery currently in your device.
-
Charging with the Smart Dock: Position your device securely onto the smart dock. Ensure the smart dock is connected to a power supply. A flashing green light on the left side of the dock indicates that your device is actively charging.
Note
Please use the provided power cable and power adapter to avoid damaging the device.
2. Read the User License Agreement
Before using this product, please be sure to read and understand the "User License Agreement". This agreement outlines the legal rights and obligations between you and us. By accepting the agreement, you agree to comply with all terms outlined in it.
The "User Experience Program" aims to continuously improve product features and performance by collecting anonymous usage data. Joining this program will not collect your personal information, only statistical data regarding application usage.
Caution
- If you do not agree to the "User License Agreement," please do not check I have read and agree to the above terms, and you will not be able to continue using this product.
- If you do not wish to join the "User Experience Program," please do not check Participate in the User Experience Program, which will not affect your use of this product.
3. Select Time Zone
After connecting to the network, the corresponding time zone will be automatically selected based on the IP address. If not connected to the network, the default time zone will be GMT-5:00 New York (New York).
An incorrect time zone selection will lead to inaccurate time display. To modify the time zone later, please follow these steps:
-
Go to Settings > General > Time Zone.
-
Select the correct time zone.
4. New User Guide
Upon first use, the system will automatically pop up a new user guide, showcasing common operation instructions, including power on/off, sleep mode, and scanning.
After completing the setup, you will enter the scanner's homepage.