Settings
Laser scan
Scan mode
Choose the proper scanning mode to scan.
| Scan Mode | |
|---|---|
| Scan Point Cloud | Acquire the data as point cloud. It could be switched to scan point cloud mode after scanning markers. It is also feasible to import the generated global marker file and then scan the point cloud. |
| Partial HD Scanning | Partial HD Scanning means selecting the area to be rescanned when the requirement of resolution is high. Targeted scanning can save scanning time and make the data obtained completer. |
| Scan Markers | Only scan markers. Acquire marker data fast. There is no laser line in the scanning process. Markers can be scanned to supplement in the global marker file generated before. When switching to Scan Markers, the current scanned data will be cleaned up and the data can not be recovered. |
| Photogrammetry | Photogrammetry can improve the accuracy of global markers data. According to the size of the scanned object, import suitable scale bar files and place the matching scale bar near the scanned object before starting the scanning. Generally, photogrammetry is suitable for measurements for big parts in industrial applications that require high accuracy. |
High-speed Mode
The high-speed mode of the scanner will lose some details. Please turn off the mode when the point distance is less than 0.1mm. This mode cannot recognize 3mm markers.
Light source mode
Select the different mode of laser lines to scan.
| 13 cross laser lines to scan large objects quickly | |
| 5 parallel laser lines to scan fine details | |
| A single laser line for deep holes and pocket area scanning | |
| 98 cross laser lines to scan large objects quickly. Only one above mode can be used for the same project. |
Object
Select different brightness levels according to the materials of different objects.
Outdoor mode
To scan normally in the glare environment such as outdoors.
Caution
Please avoid direct sunlight when scanning objects.
Optimized feature alignment
When you select 98 lines (features mode or hybrid mode) in light source mode, it is recommended that you enable this function to scan objects that are predominantly non-planar.
Once enabled, the data with weak geometric features will not be included in the alignment process, thereby improving alignment performance.
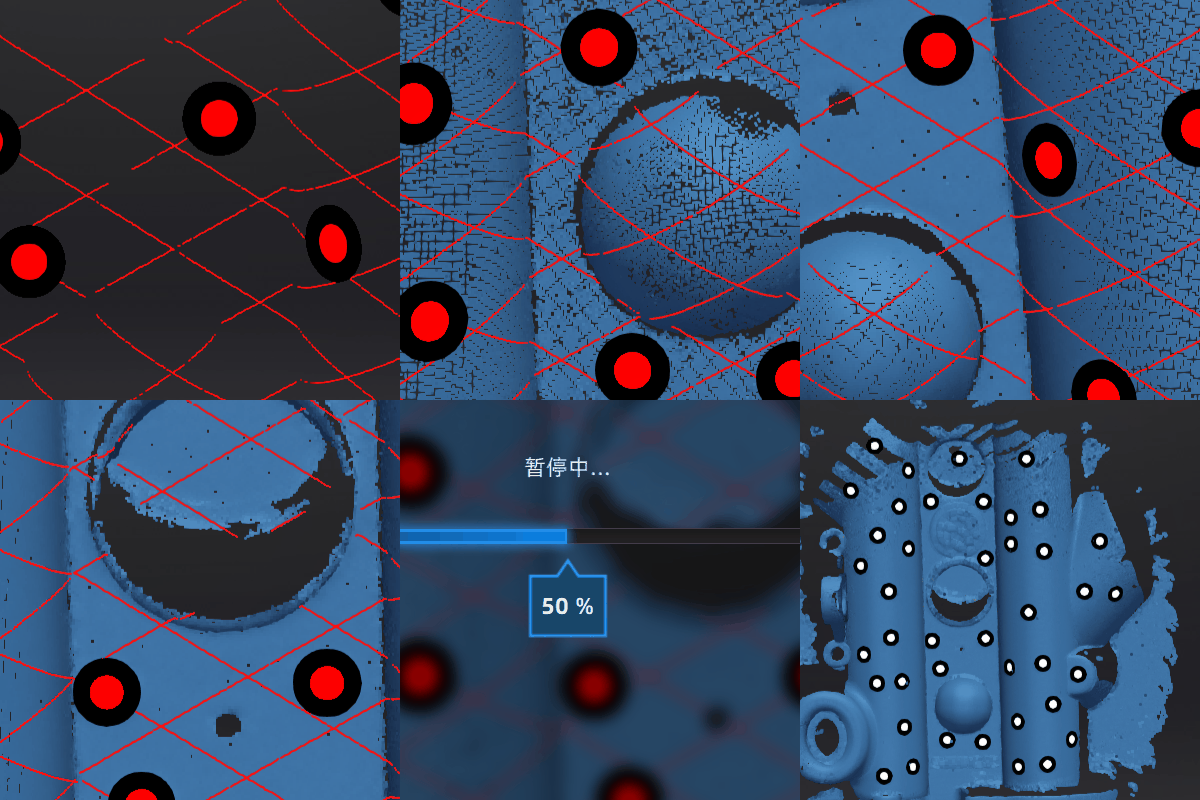
Local enlarged view
When the function is enabled, the scanning interface only displays the local perspective of the scanned object, which can be used for supplementary scanning of small holes. It is recommended to enable under 0.2mm point distance.
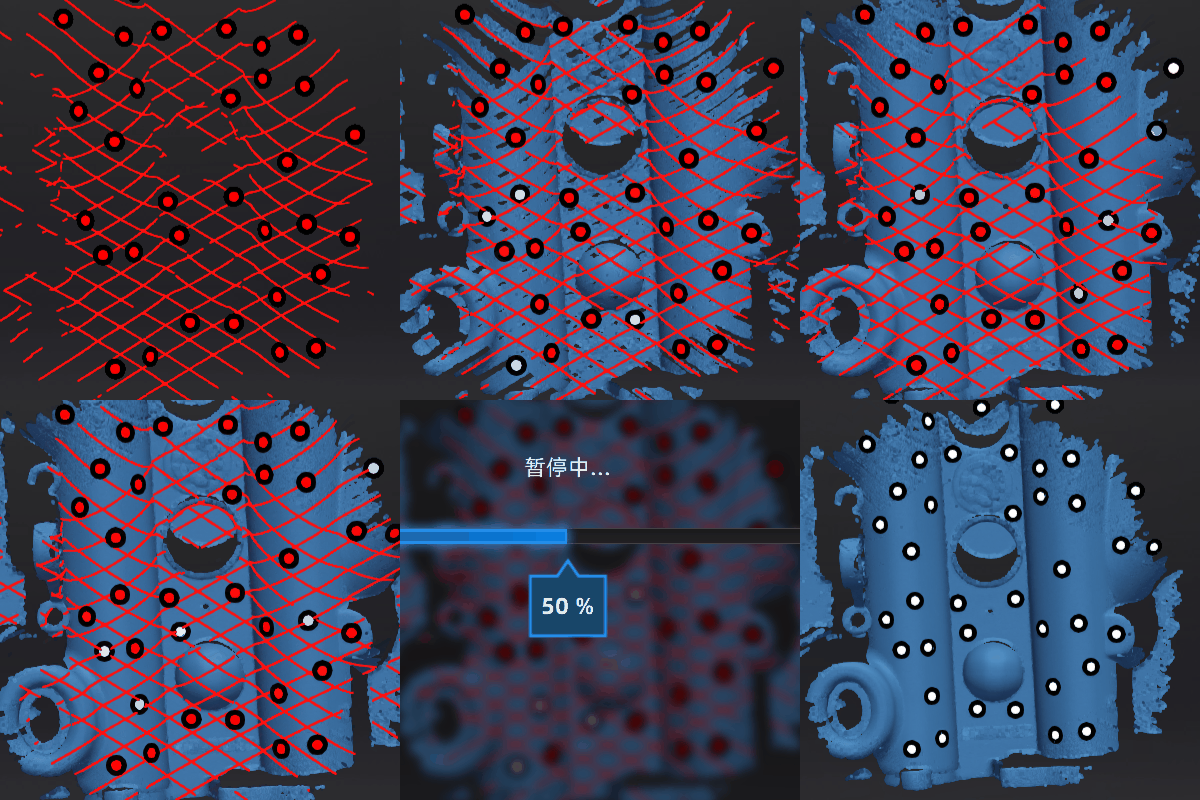
View lock
The object view will be locked during scanning and not follow the scanning path, when the function is enabled.
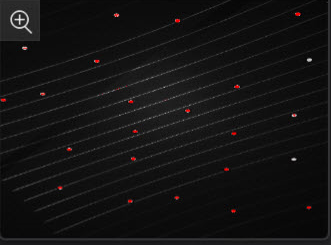
Brightness
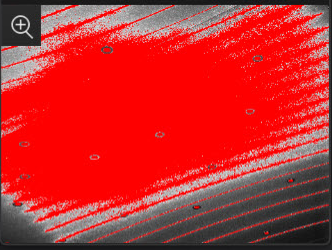
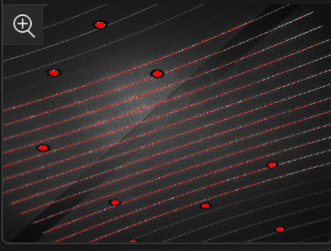
For objects of different materials and colors, adjust the brightness of the scanner to scan better.
| Too Bright | Proper | Too Dark |
|---|---|---|
 |
 |
 |
Scanning distance indicator
There is a bar on the left side of the scanning interface, displaying the scanning distance. Do adjustments according to the color of the indicator.
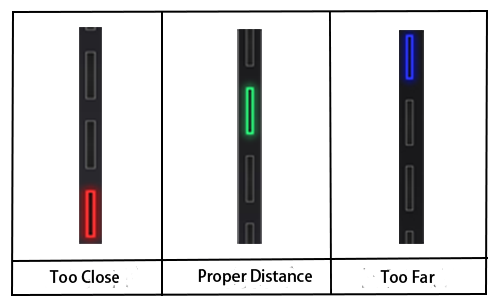
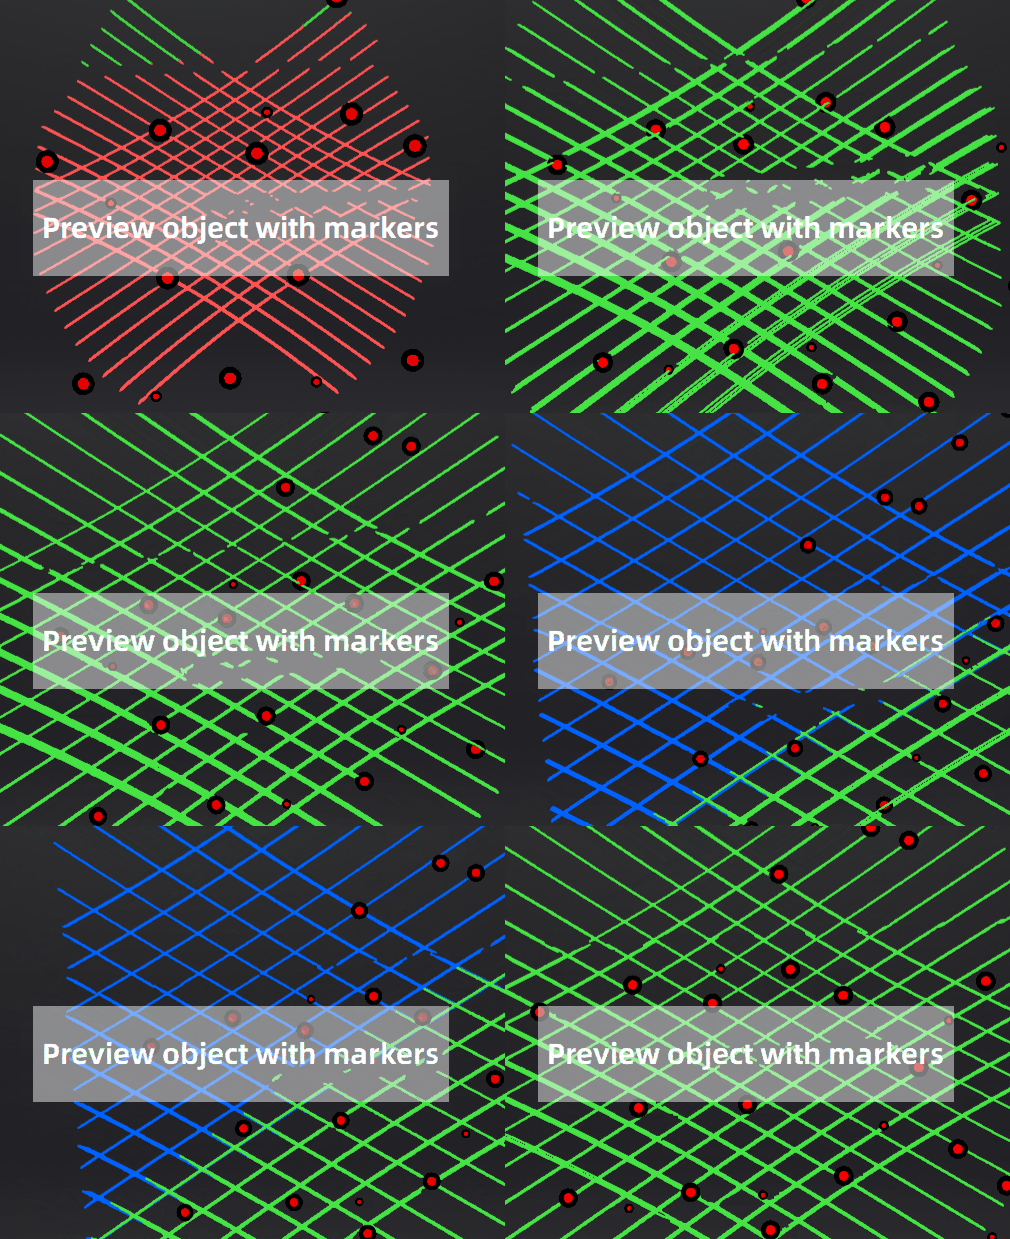
Click ![]() > Scanning Distance Indicator and uncheck the function, the distance bar will no longer be displayed. The scanning distance can be adjusted according to the color of the laser lines.
> Scanning Distance Indicator and uncheck the function, the distance bar will no longer be displayed. The scanning distance can be adjusted according to the color of the laser lines.
-
The Partial HD Scanning mode, High-speed mode and projects with a point distance below 0.2 are not supported on the 98- line mode.
The Features Mode and Hybrid Mode of 98-line mode do not support importing or scanning frame points, nor can they be used with photogrammetry at the same time; it can not switch the light source mode and athe lignment mode when finishing the scanning; when the number of markers is <3, the plane detection will be turned on. ↩