Running
If you are using the device for the first time, after logging in and launching the software, it will automatically go to the calibration interface. You need to complete the calibration before using the device properly. Once the calibration is done, the next time you enter the software, it will skip this step and go to the scan mode interface. You can choose the appropriate mode for scanning based on your actual application scenario.
Note
-
If the software takes a long time to start after running, you can open Windows Security Center > App and Browser Control after closing the software, disable SmartScreen for apps and files, and then restart the software.
-
Please make sure to reserve at least 15 GB of storage space on the system drive and the software installation drive before running the software.
Interface
Caution
Check the device connection status by  in the upper left corner. If the device is not connected or connected abnormally, check the device connection and then click
 ![]() to reconnect the device.
to reconnect the device.
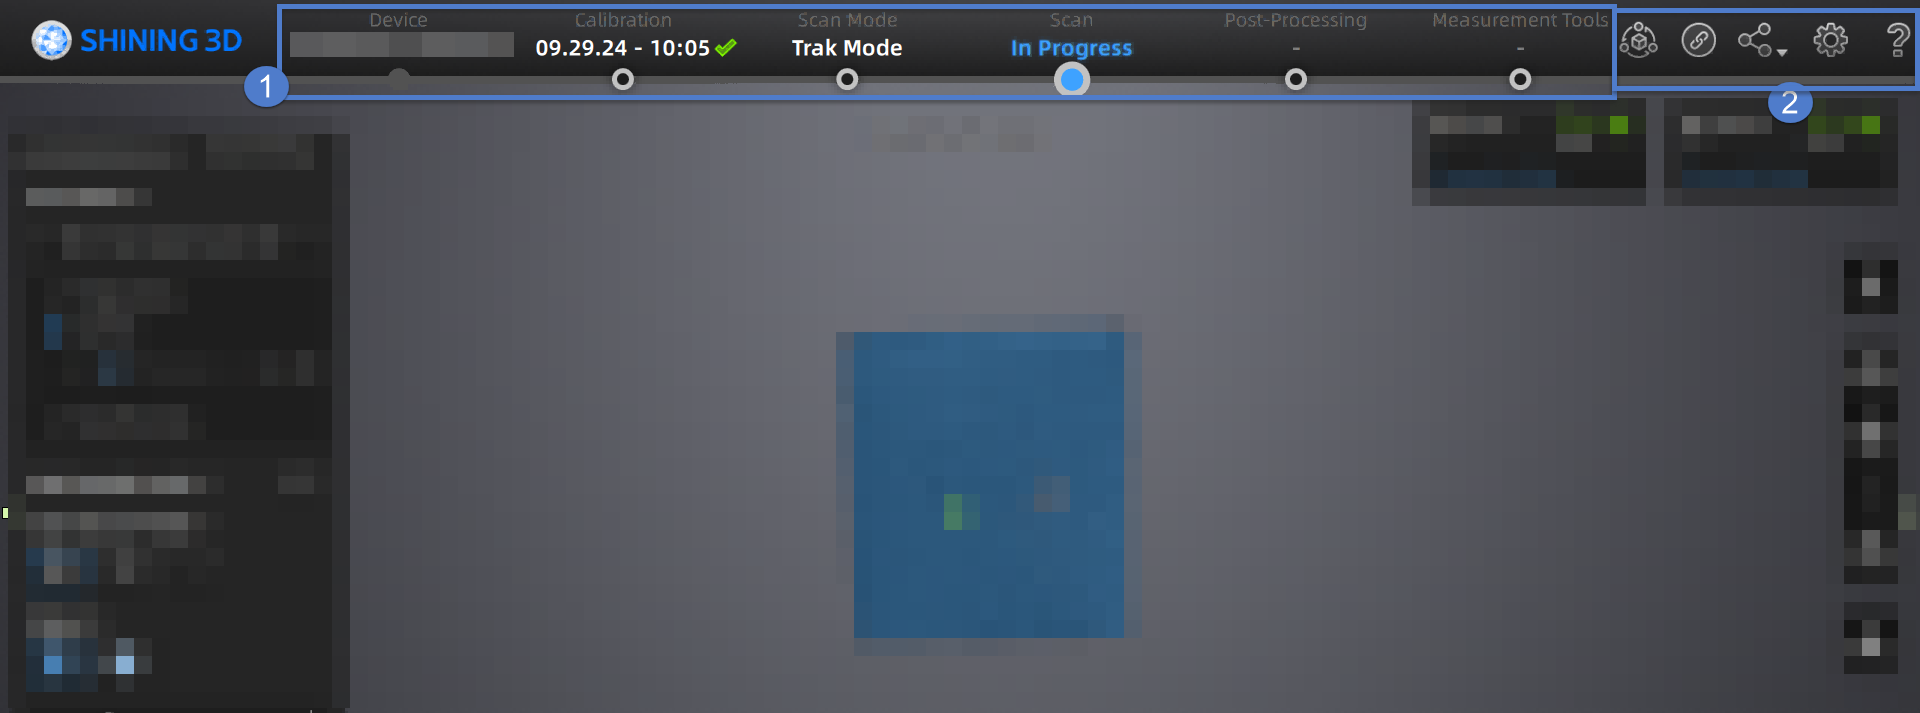
① Navigation Bar
| Button | Description |
|---|---|
| Device | To display the device status: Online / Offline. Device online: To show the device name. Device offline: Click |
| Calibration | Click |
| Scan Mode | Click |
| Scan | Click |
| Post Processing | Click You can also click |
| Measurement | Click |
② Settings and Feedback
Reverse Engineering Service: If you encounter any problems, please send us the project files and specific information so that we can assist you with your projects.
Pairing Guide: You can refer to the wired/wireless pairing guide in the pop-up to complete the pairing process; if there are issues with pairing, please contact technical support promptly. For specific pairing operations, please refer to Device Pairing.
| Option | |
|---|---|
| Official Website | Open our official website to learn about the company's products and information. |
| Check the Facebook account and get latest information. |
General Settings
- Language: To set the language of the software.
-
Preview: To preview the scanning effect before scanning when enabled.
-
Global Marker Mode: You can select real-time scanning or still photography before using Trak Mode. For specific scanning operations, please refer to Scan Global Markers and Photogrammetry.
-
Shape Detection Optimization: To improve the accuracy of sphere diameter at the cost of some details of the scanned data.
- Scanner Tone: To turn on / off the scanner's beep.
Laser Scan Settings
- Scanning Distance Indication Method: There are two methods to indicate the scanning distance.
During scanning, you can adjust the scanning distance according to the color indication.
Blue: The scanning distance is too far.
Green: The scanning distance is proper.
Red: The scanning distance is too close.
Col
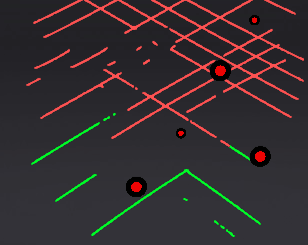 Laser Line Indicator
Col
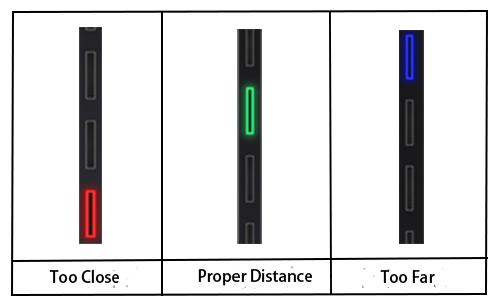 Scanning Distance Indicator
- The Laser Line Closes Intelligently: Not to project laser lines when not enough markers are recognized.
Probe Setting
Select or switch to a third-party software for using the probe1.
Factory Default
Click Recover to restore the software to its factory settings.
- About: To view related scanner information, software version, etc.
- System Diagnose: To check if the computer meets the operating conditions. If all items show
 , it indicates that the configuration meets the operation requirements. If not, please resolve the problem according to the prompts in the interface. Click Refresh to diagnose the system again.
 - Support: You can open the user manual, get remote assistance and check contact information of technical support here.
-
The probe is an optional accessory and needs to be purchased separately. ↩